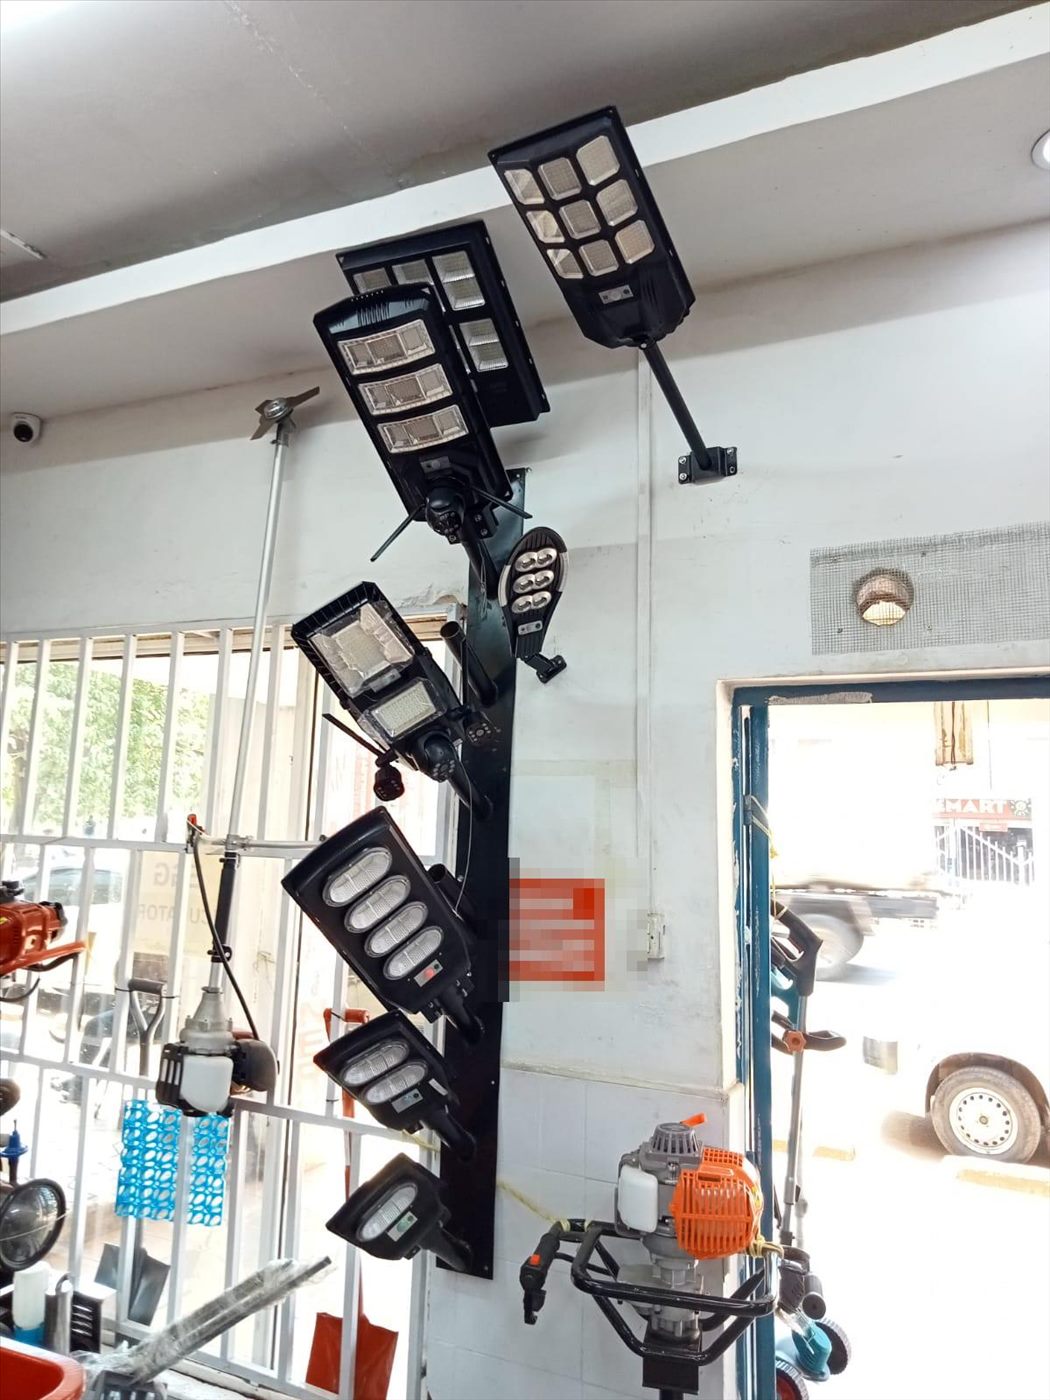
The security light on the cowshed went off at nine last night instead of six this morning. The battery is two years old, the panel looks clean and the charge controller shows a green light, but something is wrong. The installer is in Nakuru and wants a site visit fee just to look. With a basic digital multimeter and twenty minutes, you could find out whether the problem is the panel, the wiring, the controller or the battery before you spend a shilling.
A small off grid solar system has only four main parts: the panel, the charge controller, the battery and the loads, joined by cables and connectors. Each part either produces, passes on or stores a voltage you can measure. Once you know what the readings should be, faults that seem mysterious become obvious.
This guide explains which multimeter settings you need, how to measure safely, how to test a panel, the cables, the charge controller and the battery, and how to read the results. It is written for the small 12 volt systems common on Kenyan farms and homes. Larger systems with high voltage panel strings and big inverters should be tested by a licensed technician; our guide to hiring an EPRA licensed solar installer explains what to ask for.
The Multimeter Settings You Need
A basic digital multimeter costs little and does everything a small system needs. You will use three functions:
- DC volts (V with a straight line). For panel, controller and battery voltages. Choose a range above the voltage you expect, such as 200 V on a manual ranging meter, or let an auto ranging meter choose.
- DC amps (A with a straight line). For panel short circuit current, only on small panels and only if the meter's 10 A socket and fuse are rated above the panel's current. Moving the red lead to the amps socket is the step most people forget to undo.
- Continuity or resistance (the sound wave or Omega symbol). For checking cables and fuses, always with the power disconnected.
Safety Before You Measure
Twelve volt systems will not normally give you a dangerous shock, but batteries can deliver enormous current into a short circuit. A spanner or a ring dropped across battery terminals can glow red, weld itself in place and cause severe burns or a battery explosion. Remove rings and watches, use insulated tools, and keep metal objects away from the battery top. Lead acid batteries also give off hydrogen when charging, so no flames or sparks near them.
Panels produce voltage whenever light falls on them, and you cannot switch a panel off. Several panels in series can reach voltages that are dangerous. If your system has more than one or two panels in series, or any mains AC wiring from an inverter, leave the testing to a qualified technician.
Step 1: Test the Panel
Do this in full sun, around midday, with the panel clean and unshaded. Disconnect the panel from the charge controller first. If your system has a fuse or isolator on the panel line, open it; otherwise unplug the MC4 connectors or remove the panel wires from the controller terminals, covering the bare ends.
Open circuit voltage (Voc). Set the meter to DC volts. Touch the red lead to the panel positive and the black to the negative. Compare the reading with the Voc printed on the label on the back of the panel. A "12 volt" panel typically shows an open circuit voltage around 20 volts or more in sun, because the extra voltage is needed to push charge into a battery. A reading close to the label value means the cells and internal connections are fine.
Short circuit current (Isc). Only if the panel's Isc on the label is safely below your meter's amps rating: move the red lead to the 10 A socket, set the meter to DC amps, and touch the leads briefly to the panel terminals. The reading should approach the label's Isc in strong sun. Then move the red lead back to the volts socket immediately.
Readings well below the label in good sun point to shading, dirt, a cracked cell, moisture in the junction box or a failing bypass diode. Cloud makes a big difference to current and a smaller difference to voltage, so take readings in steady sun and compare like with like. Our guides to panel cleaning and mounting, tilt and shade cover the most common causes of low output.
Check the meter itself too. A weak battery inside the multimeter can give wrong readings; most meters show a battery symbol when it needs changing. Test the meter on a battery you know is good before trusting a strange result.
Step 2: Test the Cables and Connectors
Reconnect the panel to its cable, but leave the cable end at the controller disconnected. Measure the voltage at the controller end of the cable. It should be almost the same as at the panel terminals. A much lower reading means a poor connection, a damaged cable or a corroded connector somewhere along the line.
With everything disconnected, continuity mode will tell you whether each core of a cable is complete from end to end. Twist the far ends together and test at the near end; the meter should beep. Check fuses the same way, out of their holders. Look closely at MC4 connectors and screw terminals for green or white corrosion, especially after the rains; our guide to PV cable and MC4 connectors covers how to make joints that stay dry.
Step 3: Test the Charge Controller
Reconnect the system in the order the controller's manual specifies; most require the battery to be connected first so the controller can detect the system voltage. In the sun, measure:
- At the controller's panel terminals: the voltage will drop from the open circuit value to near the battery voltage while charging. That drop is normal; it shows current is flowing.
- At the controller's battery terminals: the voltage should rise above the resting battery voltage while the sun charges it.
- At the load terminals: the voltage should be close to the battery voltage when the load output is switched on.
If there is voltage at the panel input but the battery voltage never rises in good sun, the controller may be faulty, set to the wrong battery type, or in a protection mode. Check the settings in the manual before replacing it. Our guide to PWM and MPPT charge controllers explains the settings and why sizing matters.
Step 4: Test the Battery
For a lead acid battery, the most useful test is the resting voltage. Disconnect the loads and the panel, or test early in the morning before sunrise after the loads have been off for some hours, and measure across the battery terminals. Battery makers and solar handbooks publish tables relating resting voltage to state of charge; values vary by type and temperature, but the pattern for a 12 volt lead acid battery is broadly as below.
A battery that shows a good voltage but collapses quickly when a load is switched on has lost capacity. Measure the voltage with the light on: if it drops sharply within minutes and the load cuts out, the battery is likely worn out, whatever the resting reading said. Lithium iron phosphate batteries hold an almost flat voltage over most of their charge, so a voltmeter says little about their state of charge; use the battery's own monitor or app, or the charge controller's display. Our guide to lithium versus lead acid batteries explains the difference.
Keep a Simple Readings Log
A single set of readings tells you whether something is broken today. A log of readings over months tells you what is wearing out. Once a month, on a clear day around midday, write down the panel open circuit voltage, the battery voltage before sunrise, and anything unusual such as lights cutting out early. Keep the notebook with the system.
Patterns show up quickly. A battery whose morning voltage creeps lower month by month, in similar weather and with the same loads, is losing capacity and will need replacing soon. A panel whose midday voltage drops after the dusty season and recovers after cleaning tells you how often to clean. A sudden change between two readings points to a fault, such as a loose connector or a failed cell, rather than wear.
The log is also useful if you call in an installer or claim on a warranty. Readings with dates show what happened and when, and help the technician find the fault faster; our guide to farm equipment warranty and service explains what records make warranty claims easier.
Reading the Results: A Fault Finding Table
| Symptom | Reading | Likely fault |
|---|---|---|
| Lights die early in the night | Panel Voc normal, battery low every morning | Battery worn, or loads bigger than the panel can supply |
| Nothing charges | No voltage at controller panel terminals | Broken cable, open fuse, corroded connector |
| Panel voltage low in sun | Voc far below label | Shading, dirt, damaged cells or junction box |
| Battery never rises in sun | Panel voltage present at controller | Controller fault or wrong settings |
| Load does not come on | Battery healthy, no voltage at load terminals | Controller low voltage cut-off, load fuse, wiring |
During the short rains, a battery that is low every morning may simply be the weather: several cloudy days in a row can leave a system short even when every part is healthy. Our guide to solar performance in the rainy season explains how to tell a weather problem from a fault.
Solar Parts, With Prices
These prices are from the Fuga price list at the time of writing; check the site or call a branch for current prices and stock.
| Item | Stock code | Price |
|---|---|---|
| PANEL 100W/18V | 6313 | KSh 5,000 |
| CHARGE CONTROLLER 20 AMPS | 6835 | KSh 1,200 |
| CHARGE CONTROLLER 30A | 6152 | KSh 3,000 |
| 100 AMPS LITHIUM BATTERY | 6833 | KSh 19,000 |
| PV SOLAR CABLE 6MM | 6724 | KSh 300 |
| Y-TYPE SOLAR CONNECTOR | 6723 | KSh 600 |
Test the panel, then the cables, then the controller, then the battery, and the fault usually shows itself. If a part has failed, see our 20 amp charge controller and 100 amp lithium battery, browse the full solar equipment range, or WhatsApp 0716 961 018 with your readings and we will help you work out what to replace.
Key Takeaways
- You need three multimeter functions: DC volts, DC amps (used carefully) and continuity.
- Never put a meter set to amps across a battery, and always move the red lead back to volts after a current test.
- Test the panel in steady midday sun, disconnected, and compare open circuit voltage and current with the label.
- Voltage at the controller end of the cable should almost match the panel; a big drop means a bad cable or connector.
- Resting voltage gives a rough state of charge for lead acid batteries, but not for lithium iron phosphate.
- A monthly readings log shows a battery wearing out long before it fails.
Frequently Asked Questions
How do I test a solar panel with a multimeter?
In steady midday sun, disconnect the panel from the controller, set the meter to DC volts and measure across the panel terminals. Compare the reading with the open circuit voltage on the label. Measure short circuit current only if the panel's rated current is safely within the meter's amps rating.
What voltage should a 12 V solar battery show when full?
A fully charged 12 V lead acid battery at rest typically reads around 12.6 to 12.7 V, and about 12.2 V at half charge, though values vary by type and temperature. Check your battery maker's table. Lithium batteries hold a flat voltage, so use their monitor instead.
Why is my solar battery not charging?
Check for voltage at the controller's panel terminals in sun. If there is none, look for a broken cable, open fuse or corroded connector. If panel voltage is present but the battery never rises, the controller may be faulty or set wrongly.
Is it safe to test my own solar system?
Small single panel 12 V systems are generally safe to test with care, but batteries can deliver huge short circuit currents, so remove rings and keep metal away. Leave high voltage panel strings and inverter AC wiring to a licensed technician.