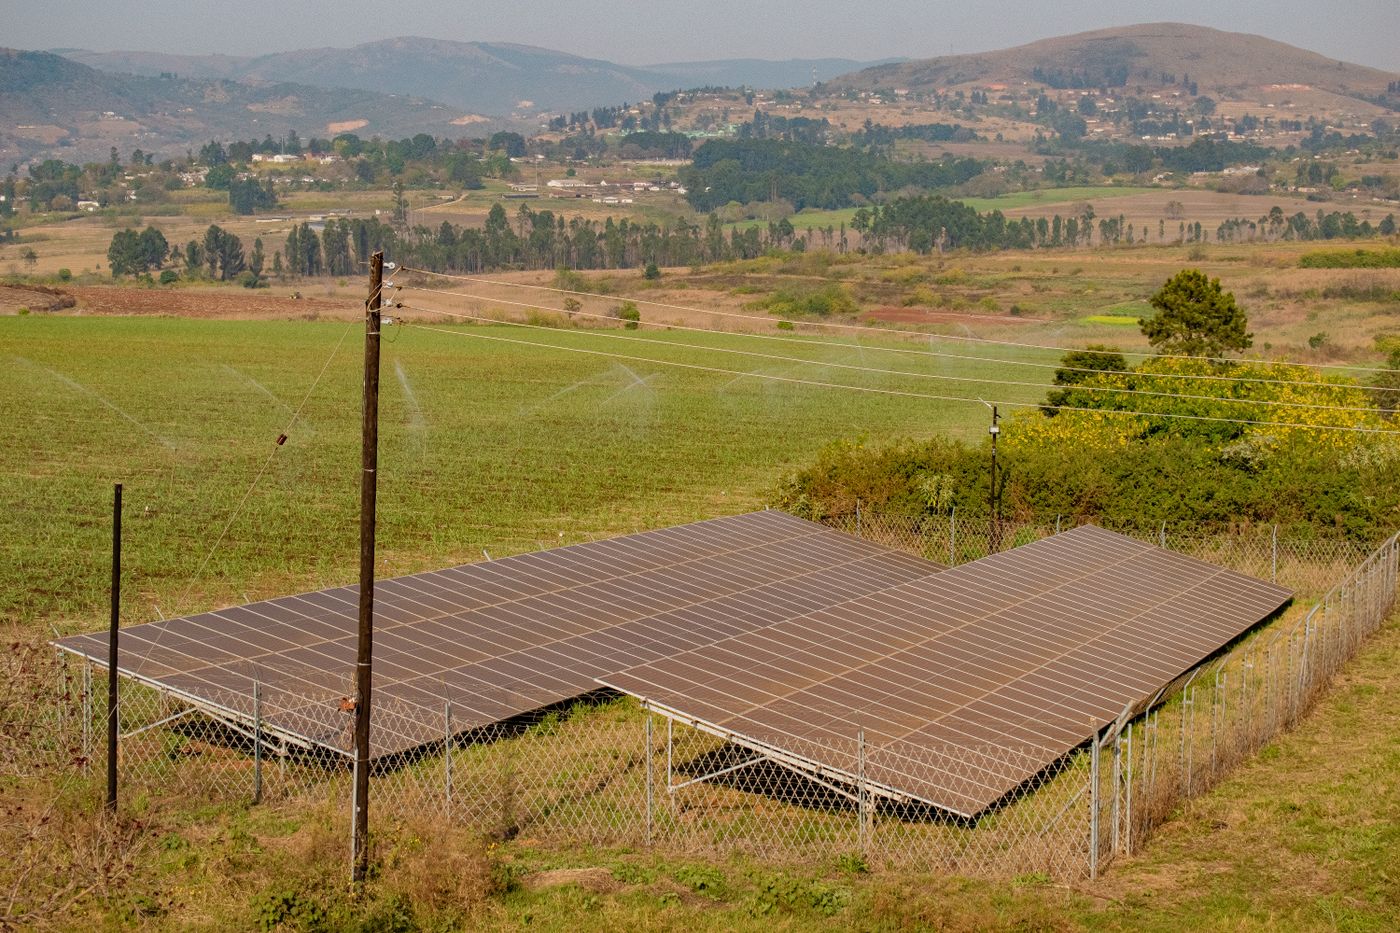
It is the second week of the short rains. The new solar street light over the farm gate came on bright at dusk every night in September, but tonight it is a faint glow by nine o'clock and dark before midnight. Down the drive, the two lights by the dairy unit are no better. Nothing is broken. The lights were simply chosen and mounted for a sunny month, and October is not a sunny month.
A solar street light looks like the simplest purchase on the farm: a head, a bracket, a pole, no cable. That simplicity hides four decisions that decide whether it still works in November and whether it is still on the pole in December. The size of light against the job, the height and spacing of the poles, how much battery is left after a run of grey days, and how hard the head is to steal.
This guide works through those four decisions for a farm compound, a gate, a poultry or dairy unit and a school. It builds on our overview of solar flood and street lights for farm security, which explains where floods and street heads each belong. Here we go further into the street light itself: choosing between sizes, laying out a line of poles, surviving the rains, and mounting so the light stays yours.
Start From the Job, Not the Box
Before comparing sizes, write down what each light must do, because a gate, a drive and a school path are three different jobs. A light that is perfect for one is wasted or too weak for the next.
- The gate: light the face of whoever stands there and the front of any vehicle, all night, every night. This is the light that must never run out, so it gets the biggest unit and the most conservative settings.
- The drive or main path: a continuous line of light with no dark gaps between pools. Brightness matters less than evenness, so several modest heads beat one powerful one.
- The poultry or dairy unit: enough light at the door and along the wall to see who is there and to do the 4 a.m. milking or the night check on brooding chicks without a torch.
- A school compound: the routes children actually walk after dark, from dormitory to latrine block, from classroom to dining hall, and the gate where the watchman sits.
Mark these on a sketch of the compound after a night walk with a torch. That sketch is the specification.
Choosing Between the Sizes on the Shelf
As our earlier guide explains, the wattage printed on an all-in-one solar street light is an advertised size class, not a measured electrical draw. What sets night-time performance is the panel on top of the head, the battery inside it and how the controller spends that battery through the night. So the useful comparison between two sizes is physical: how big is the panel, what battery capacity is printed on the specification label, and what weather rating does the housing carry.
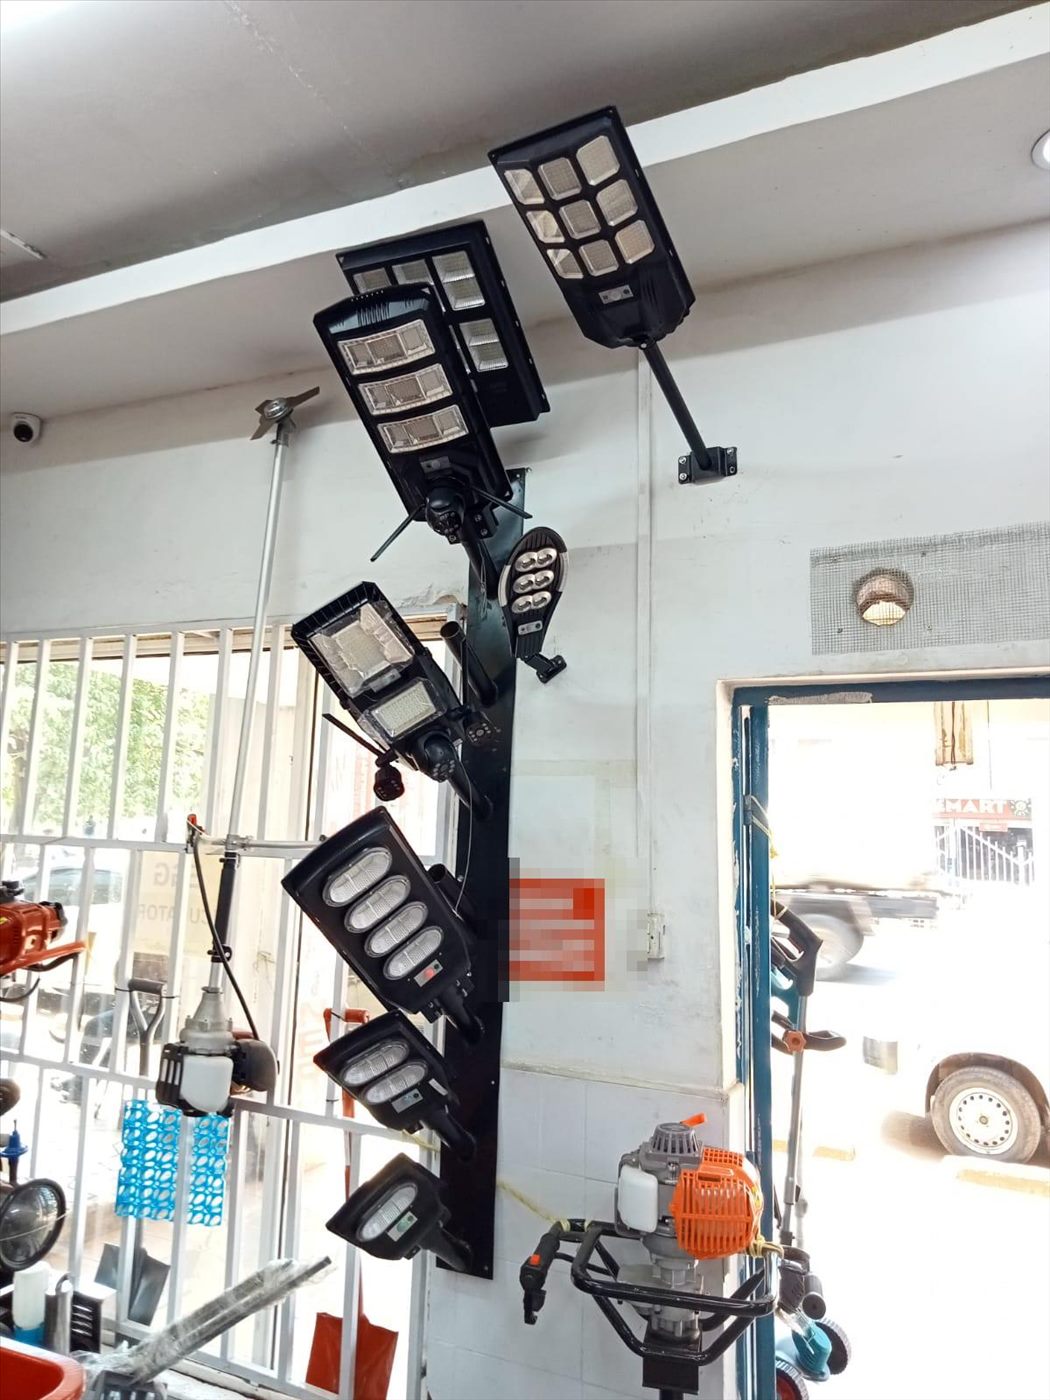
These are the street lights currently on our price list. Prices change with stock, so confirm on WhatsApp before you travel.
| Model | Stock code | Price |
|---|---|---|
| 100W STREET LIGHT(JORTAN) | 6776 | 1,500 KSH |
| 300W STREET LIGHT(JORTAN) | 6775 | 2,500 KSH |
| 200W STREET LIGHT (ALLTOP) | 6761 | 3,500 KSH |
| 300W STREET LIGHT (ALLTOP) | 6760 | 5,500 KSH |
Notice that the two 300W lights are not the same price. That is the size-class point made in shillings: same number on the box, different products. In the shop, put the heads side by side and compare the panels and the battery line on each label.
A practical way to spend the budget is to put the largest head you can afford at the gate, where an empty battery is unacceptable, and use smaller heads for path lighting, where the job is evenness and a light that dims in the small hours does little harm.
Pole Height and Spacing: Laying Out a Line Without Dark Gaps
A street head drops a pool of light below and in front of it. Raise the head and the pool gets wider and softer; lower it and the pool gets smaller and harsher. For a line of lights along a drive, the aim is for the edge of one pool to reach the edge of the next, so that someone walking the drive is never in the dark between them.
A widely used rule of thumb for path and road lighting is to space poles at roughly three to four times the mounting height. Treat that as a starting point: a brighter head or a pale murram surface lets you stretch it, while a weak head means closing it up. The night walk is the real test.
A worked example shows the method. A drive 120 metres long from the gate to the house, with heads mounted at 6 metres. At three times the height, spacing is 18 metres; at four times, 24 metres. Dividing 120 metres by those spacings gives between five and seven gaps, so six to eight poles including the one at each end. Put the first two in, walk them at night, and settle the spacing for the rest from what you see.
Mounting height has its own limits. Too low and the head is within reach of a person on a wall or a ladder, which matters later in this guide; too high and a modest head spreads its light so thin that faces are hard to read. On a farm, heights from about five to seven metres suit most drives and gates. Over a poultry or dairy unit door, a head on a bracket under the eave or on a short pole beside the wall usually does the job, as long as the panel still sees open sky.
The Pole Itself: Foundation, Wind and the Panel as a Sail
An all-in-one head carries its panel on its back, and in a storm that panel catches the wind like a small sail. A pole that is fine on a calm day can lean after the first rains soften the ground, and a leaning pole tips the panel away from the sky and shifts the pool of light off the gate.
- Use a straight, sound pole: galvanised steel tube is the usual choice; a treated timber post works for a lower head but check it for rot at ground level every year.
- Set it in concrete: a common rule of thumb is to bury roughly a sixth of the pole's length, deeper in loose or black cotton soil. Where the pole maker gives a figure, follow it instead.
- Plumb it and drain it: brace it in two directions while the concrete sets, and slope the concrete top away from the pole so water does not stand against the steel.
Most street heads come with an adjustable bracket. In Kenya, close to the equator, the sun crosses nearly overhead through the year, so the main reason to tilt the panel is not to point it at the sun but to let rain run off it. A tilt of about ten to fifteen degrees, which is a common installer rule of thumb, helps the rain wash dust away instead of leaving it to dry as a film.
Battery Autonomy: Getting Through a Grey Week in the Short Rains
Days of autonomy means how many nights the battery can carry the light without a useful recharge. A light that runs the battery nearly flat every night has no autonomy at all: one dull day and it fails. The short rains from October to December bring exactly the run of overcast days that exposes this, and our guide to solar in the rainy season explains why the drop in harvest is real and why you must measure your own site rather than trust a single figure.
You cannot add a battery to a sealed all-in-one head, so autonomy is bought in three ways. Buy a head with a bigger battery and panel. Spend less each night, using the controller's dimming or motion mode. And keep the panel clean and unshaded so that every bright hour counts.
Most all-in-one heads offer modes on a small remote: full brightness all night, a stepped profile that dims after midnight, or a low glow that jumps to full when the motion sensor sees someone. For path lights, the stepped or motion modes are the right choice from October onward. For the gate, a stepped profile that keeps a steady light all night is better than a motion mode that leaves the gate dark until someone is already there.
Theft-Proof Mounting: Making the Light Hard to Take
A solar street head is light, valuable and resaleable, which makes it a target. The first defence is placement, and the rest is hardware and habit. None of these steps is expensive; together they turn a five-minute theft into a noisy half-hour job in full view.
- Height and sight: mount the head where it cannot be reached from a wall, a roof or the top of a parked vehicle, and where it can be seen from the house or the watchman's post.
- Security fasteners: replace the ordinary bolts that hold the head to the bracket with security-headed bolts that need a special bit, or with shear nuts that snap off once tightened and cannot be gripped by a spanner.
- Lock the bracket: on a steel pole, have the bracket clamp tack-welded once it is aimed, or burr the exposed bolt threads with a centre punch so the nut cannot be backed off. Our guide to welding machines for a rural workshop covers the tool for the tack.
- Guard the pole: a collar of barbed wire or a welded spiked ring a little above head height makes climbing slow and painful. Keep ladders locked away at night.
- Mark and record: engrave the farm or school name and a phone number inside the housing and on the bracket, photograph each unit, and note any serial number. A marked light is harder to sell and easier to claim back.
Lighting is one layer of compound security, not the whole of it. Pair it with a sound fence and a gate that locks; our guide to solar electric fencing covers the barrier that the light helps people see.
Planning a School or Institution Compound
A boarding school, a church compound or a training centre has the same four decisions as a farm, with one difference: many people, often children, moving at night along fixed routes. Walk those routes after dark with the matron or the watchman and mark them.
- Light the routes end to end, with pools that meet, so there is no dark stretch on the way to the latrines.
- Put the biggest units where failure is least acceptable: the gate, the latrine block entrance and the dormitory doors, and set them to stay on all night rather than waiting for motion.
- Mount high and guard the poles, because a compound with many visitors and day scholars has more people who know where the lights are.
- Make one person responsible. A simple monthly round, wiping panels in the dry months, checking that every light comes on at dusk and noting any that dim early, catches a failing battery long before a dark night.
Commissioning: The First Month Tells You Everything
Do not judge a new light on its first night, when the battery is fresh and full. Judge it over the first few weeks, ideally including some dull days. For each light, note when it comes on, whether it is still at useful brightness at midnight and at 5 a.m., and how it behaves after an overcast day.
A light that fades early in fine weather is usually shaded, dirty, wrongly set or undersized. Check for midday shade, wipe the panel and change the mode; if it still fades, move it to a lighter job.
If you are planning a compound, a drive or a school, send us a sketch with the distances and the jobs each light must do, or visit any Fuga branch, or message us on WhatsApp 0716 961 018. We will match head sizes and modes to each position, and the full range is on our solar equipment page.
Key Takeaways
- Write down the job each light must do first: the gate, a drive, a poultry or dairy door and a school path need different sizes and settings.
- Compare street heads by panel size and printed battery capacity, not by the wattage on the box; put the biggest unit at the gate.
- As a rule of thumb, space poles about three to four times the mounting height, then confirm with a night walk after the first two poles.
- Set poles plumb in concrete, drain the base and tilt panels about ten to fifteen degrees so the rain washes them.
- From October, use dimming or motion modes on path lights so the battery carries a reserve through grey days in the short rains.
- Make theft slow and visible: mount high and in sight, fit security fasteners, lock the bracket, guard the pole, and mark every unit.
Frequently Asked Questions
Why does my solar street light go dark before morning in the rainy season?
On overcast days the panel harvests less, so the battery starts the night part empty. A light set to full brightness all night then runs out. Clean the panel, check that nothing shades it at midday, and switch to a dimming or motion mode for the rainy months. If it still fails, the head is too small for that position; move it to a less demanding job and fit a bigger head where the light must stay on all night.
How high should a solar street light be mounted on a farm?
For most farm drives and gates, a head at about five to seven metres works well: high enough to spread the light into an even pool and to keep the head out of reach, low enough that faces are still easy to read. Over a poultry or dairy unit door, a bracket under the eave or a short pole beside the wall often does the job, provided the panel still sees open sky.
How far apart should solar street light poles be?
A widely used rule of thumb is three to four times the mounting height, so poles with heads at six metres go roughly 18 to 24 metres apart. Brighter heads and pale ground let you stretch that, weaker heads mean closing it up. Install the first two poles, walk them at night, and set the spacing for the rest so the pools of light just meet with no dark gap.
How do I stop solar street lights from being stolen?
Mount them high and in sight of the house or the guard, replace ordinary bolts with security-headed bolts or shear nuts, tack-weld or burr the bracket fixings so they cannot be undone, fit an anti-climb collar on the pole and keep ladders locked away. Engrave the farm or school name and a phone number inside the housing and record each unit with a photo, so a stolen light is hard to sell.
Which solar street light should go at the gate?
The largest head you can afford, with the biggest panel and battery, set to stay on all night rather than waiting for motion. The gate is the one position where an empty battery is unacceptable, because that is where people arrive and where you need to see faces and vehicles. Smaller heads are fine along paths, where evenness matters more than brightness.