Two quotes arrive for the same farm solar system. One is a single line on a WhatsApp message: "Complete solar set, 4 panels, battery, inverter, installation, all inclusive." The other runs to a page, naming the panel wattage and model, the battery chemistry and capacity, the controller type, the cable sizes, the breakers and surge protection, the mounting rails and the warranty on each part. The first is cheaper. Six months later, it is usually the more expensive of the two.
Most of the solar problems Kenyan farmers bring to us are not equipment failures. They are installation problems: undersized cable that runs hot, no fuse between the battery and the inverter, panels shaded for half the day, batteries cooking in a tin box, or a system sized by guesswork that runs flat every evening. The installer you choose decides whether good equipment performs or disappoints.
This guide explains how to choose a solar installer in Kenya: what the law requires of them, how to read and compare quotes, what should happen on installation day, and what you should be handed when the job is done. It applies whether the job is a few panels for lighting and phone charging or a larger system running pumps, an incubator or a milk cooler.
Solar Installers in Kenya Must Be Licensed
Many buyers do not know that solar installation is a regulated trade in Kenya. Under the Energy (Solar Photovoltaic Systems) Regulations, 2012, people who design and install solar PV systems must hold a licence. Licensing is now handled by the Energy and Petroleum Regulatory Authority (EPRA), which took over from the former Energy Regulatory Commission under the Energy Act, 2019.
The regulations set out licence classes for individual technicians and for contractor firms, T1 to T3 for technicians (T1 covers small DC systems, T3 grid-connected and hybrid work) and V1 and V2 for firms (V1 for design, sale and installation, V2 for manufacture and import), with each class limited to certain types and sizes of system. The details can change, so check the current rules and the licence lists published on EPRA's website rather than relying on what an installer tells you. The point for a farmer is simple: ask to see the licence, note the name and number, and confirm that the class covers the kind of system you want.
A licence is not a guarantee of good work, but it shows the installer has been trained and assessed, and it gives you a regulator to complain to if the job is dangerous. An installer who refuses to show one, or says it is not needed for a farm, has told you something important.
A Good Installer Starts With Your Loads, Not the Kit
The first sign of a competent installer is the questions they ask. Before naming any equipment, they should want to know exactly what the system will power: every light, the pump, the incubator, the milk cooler, the television, the phone chargers, the electric fence energiser. For each one they need the power rating, how many hours a day it runs, and whether it must run at night or only in daylight.
From that list they work out the daily energy need in watt-hours, then size the panels from the sun hours your site gets and the battery from how many hours or days the system must run without sun. Our solar sizing guide walks through the same method, and working through it yourself before you call anyone means you can check whether the installer's numbers make sense. Motors need extra attention, because pumps and chaff cutters draw several times their running power for a moment when they start, and the inverter must handle that surge. Our guide to inverter sizing explains why.
Be wary of an installer who offers a fixed "package" without asking about your loads. A package may suit your needs by chance, but more often it is too small for what you want to run or larger than you need to pay for.
The Site Visit
For anything beyond a very small kit, a proper installer visits before quoting. On the visit they should look at where the panels will go and check it for shade through the day, inspect the roof structure if it is a roof mount, decide where the battery, controller and inverter will sit, measure the cable runs, and look at any existing wiring the system will connect to. They should also explain where the cables will run, because long runs need thicker cable, as our guide to PV cable and connectors explains.
If an installer quotes for a pump system without asking the depth of the well, the height to the tank and the daily water need, the quote is a guess. The same goes for a system meant to power existing house wiring that nobody has inspected.
Reading a Quote: What Should Be Written Down
A good quote lets you see exactly what you are buying and compare it fairly with another. Each major item should be named with its key rating, not just described as a "set". Use this table to check every quote you receive.
| Item | What the quote should state | Why it matters |
|---|---|---|
| Solar panels | Number, wattage of each, type and brand or model | Total watts sets daily energy; model lets you check the datasheet |
| Battery | Chemistry (lithium or lead-acid), voltage and capacity in amp-hours or kilowatt-hours | Decides how long the system runs at night and how long the battery lasts |
| Charge controller | Type (PWM or MPPT) and current rating | A small or wrong controller wastes panel output |
| Inverter | Continuous rating, surge rating and output waveform | Must start your motors and run sensitive loads safely |
| Cable | Size and type for each run, PV cable on the panel side | Undersized cable wastes power and can overheat |
| Protection | Fuses or DC breakers, isolators, surge protection, earthing | Protects people, equipment and the building |
| Mounting | Rails, clamps, brackets and fixing method | Decides whether panels survive storms and roofs stay dry |
| Labour and transport | What is included and any extras | Avoids surprise charges on the day |
| Warranty | Terms for each component and for workmanship | Tells you who fixes what, and for how long |
Battery chemistry deserves particular attention because it is often the largest single cost and the item that wears out first. A quote that says only "battery" or "200 amps" is not enough. Our comparison of lithium and lead-acid solar batteries explains what to look for, and the same applies to the controller, covered in our guide to PWM and MPPT charge controllers.
Comparing Two Quotes Fairly
Quotes are only comparable when they deliver the same thing. Put them side by side and compare total panel watts, usable battery energy, inverter continuous and surge ratings, and the protection and mounting included. A cheaper quote with half the battery capacity, no surge protection and improvised mounting is not cheaper; it is a smaller, less safe system.
Watch for the common substitutions. Panels of a lower wattage than discussed. A lead-acid battery where you expected lithium, or a car battery in place of a deep-cycle battery. A PWM controller where the design needs MPPT. Household twin-and-earth cable on the panel side instead of PV cable. Missing fuses between the battery and the inverter, which is one of the most dangerous omissions because a battery can deliver a very large current into a fault. Also ask whether the panels and batteries come with genuine manufacturer documents; our guide to genuine versus imitation equipment covers how to check.
Installation Day: What to Watch For
You do not need to be an electrician to tell a careful job from a careless one. On the day, watch for these basic signs of good practice:
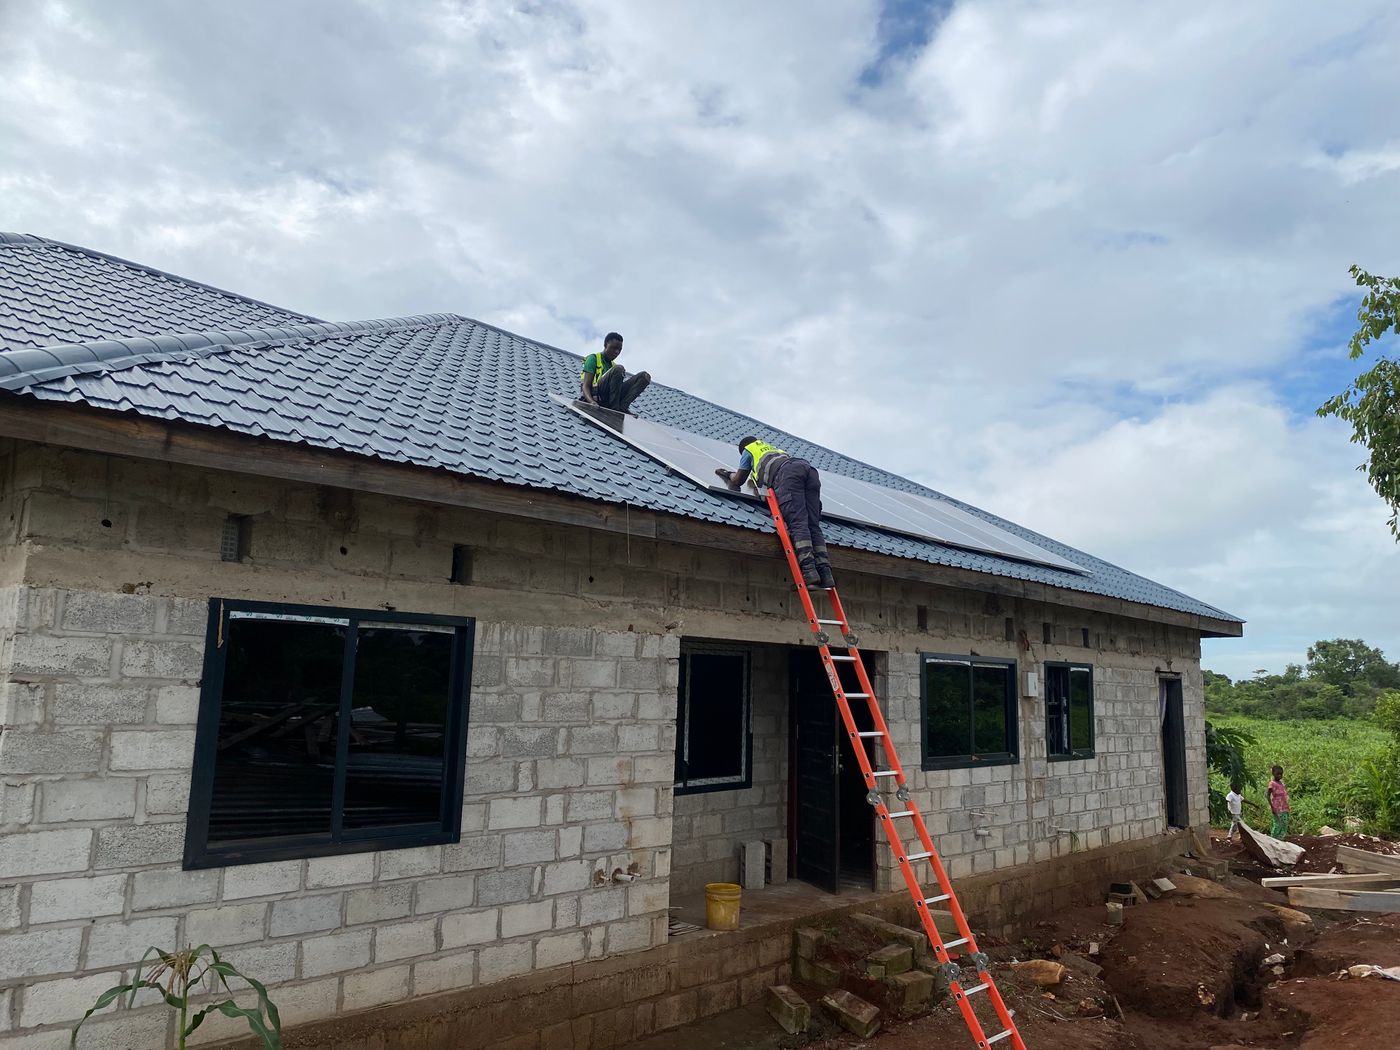
- Panels are fixed to proper rails anchored into the roof structure, with roof penetrations sealed.
- Cables are neatly run, clipped and protected where they pass through walls or over sharp edges, not left hanging or lying in gutters.
- The battery sits in a ventilated, shaded, dry place, off the bare floor, away from children and livestock, and not sealed in a hot metal box.
- There is a fuse or DC breaker close to the battery, and isolators that let you switch off the panels and the battery separately.
- An earth connection is installed, and surge protection is fitted where the design calls for it.
- Connections are crimped or clamped with the proper tool and terminals, not twisted and taped.
- Everything is labelled, so that anyone working on the system later knows what each switch and cable does.
Commissioning and Handover
A job is not finished when the lights come on. A good installer tests the system before leaving: checking panel voltages and charging current in sunlight, confirming the controller and inverter settings match the battery type, running the main loads, and checking that the protection devices work. Battery settings matter especially for lithium batteries, which need the controller and inverter set to the battery maker's values.
At handover you should receive:
- A simple wiring diagram or written description of the system, with the location of every isolator and fuse.
- The manuals and warranty documents for the panels, battery, controller and inverter.
- A receipt listing every component with its model, and the installer's name, licence number and contact.
- A short explanation of how to read the controller or inverter display, how to switch the system off safely, and what not to plug in.
- Written workmanship warranty terms, and the date of the first check-up visit if one is included.
Keep these papers together somewhere dry. If a component fails under warranty, the receipt and model numbers are what get it replaced. Our guide to equipment warranties and after-sales service explains how to make a claim stick.
Paying for the Job
For a larger system, agree a payment schedule in writing: a deposit to buy the equipment, a further payment on installation, and the balance after commissioning, once the system has been tested in front of you. Pay through traceable channels such as M-Pesa to a registered business or a bank transfer, and get a receipt each time. Avoid paying the full amount upfront to someone you do not know. If the system is a big outlay, our guide to financing farm equipment covers the options.
Installer Checklist
- You have written your own list of loads, ratings and running hours.
- The installer asked about your loads and visited the site before quoting.
- You have seen the EPRA licence, noted the number and checked the class on EPRA's website.
- The quote names every component with its rating and model, including protection, cable and mounting.
- You compared quotes on watts, battery energy, inverter ratings and protection, not just the total.
- Payments are staged, traceable and receipted.
- On the day, the battery is fused, cables are protected and everything is labelled.
- The system was tested in front of you and you received the diagram, manuals and warranties.
Fuga Equipment supplies solar panels, charge controllers, inverters and lithium batteries with their documentation at our Eldoret, Nairobi and Nakuru branches. Browse the solar equipment range, and if you have a quote you want a second opinion on, contact the team and we will go through the equipment list with you.
Key Takeaways
- Solar PV installers in Kenya must be licensed under the Energy (Solar Photovoltaic Systems) Regulations, 2012, now administered by EPRA; ask to see the licence and check its class on EPRA's website.
- A good installer starts by listing your loads and visiting the site, not by offering a ready-made package.
- Insist on an itemised quote naming every panel, battery, controller, inverter, cable, protection device and mounting part with its rating and model.
- Compare quotes on total watts, usable battery energy, inverter ratings and protection, not just on the bottom-line price.
- On installation day look for a fused battery, protected and labelled cables, proper mounting and an earth connection.
- Do not pay the balance until the system has been tested in front of you and you hold the diagram, manuals, warranties and receipts.
Frequently Asked Questions
Do solar installers in Kenya need a licence?
Yes. The Energy (Solar Photovoltaic Systems) Regulations, 2012 require solar PV technicians and contractors to be licensed, and licensing is now handled by the Energy and Petroleum Regulatory Authority (EPRA). Licences come in classes covering different system types and sizes, so check the installer's class on EPRA's website.
What should a solar installation quote include?
Every major item named with its rating: the number and wattage of panels, the battery chemistry, voltage and capacity, the charge controller type and current, the inverter continuous and surge ratings, cable sizes, fuses, breakers, isolators, surge protection and earthing, the mounting method, labour, transport and the warranty on each part and on the workmanship.
Why is one solar quote so much cheaper than another?
Usually because it is not the same system. Common differences are lower-wattage panels, a smaller or different battery, a PWM controller where MPPT is needed, household cable on the panel side, improvised mounting, or missing fuses and surge protection. Compare the itemised lists, not just the totals.
What documents should I get after a solar installation?
A wiring diagram or written description showing every isolator and fuse, the manuals and warranty papers for each component, a receipt listing every item with its model, the installer's name, licence number and contact, and written workmanship warranty terms.
Should I pay a solar installer everything upfront?
It is safer not to. Agree a written schedule such as a deposit for equipment, a payment on installation and the balance after the system has been tested in front of you. Pay through traceable channels and get a receipt for every payment.