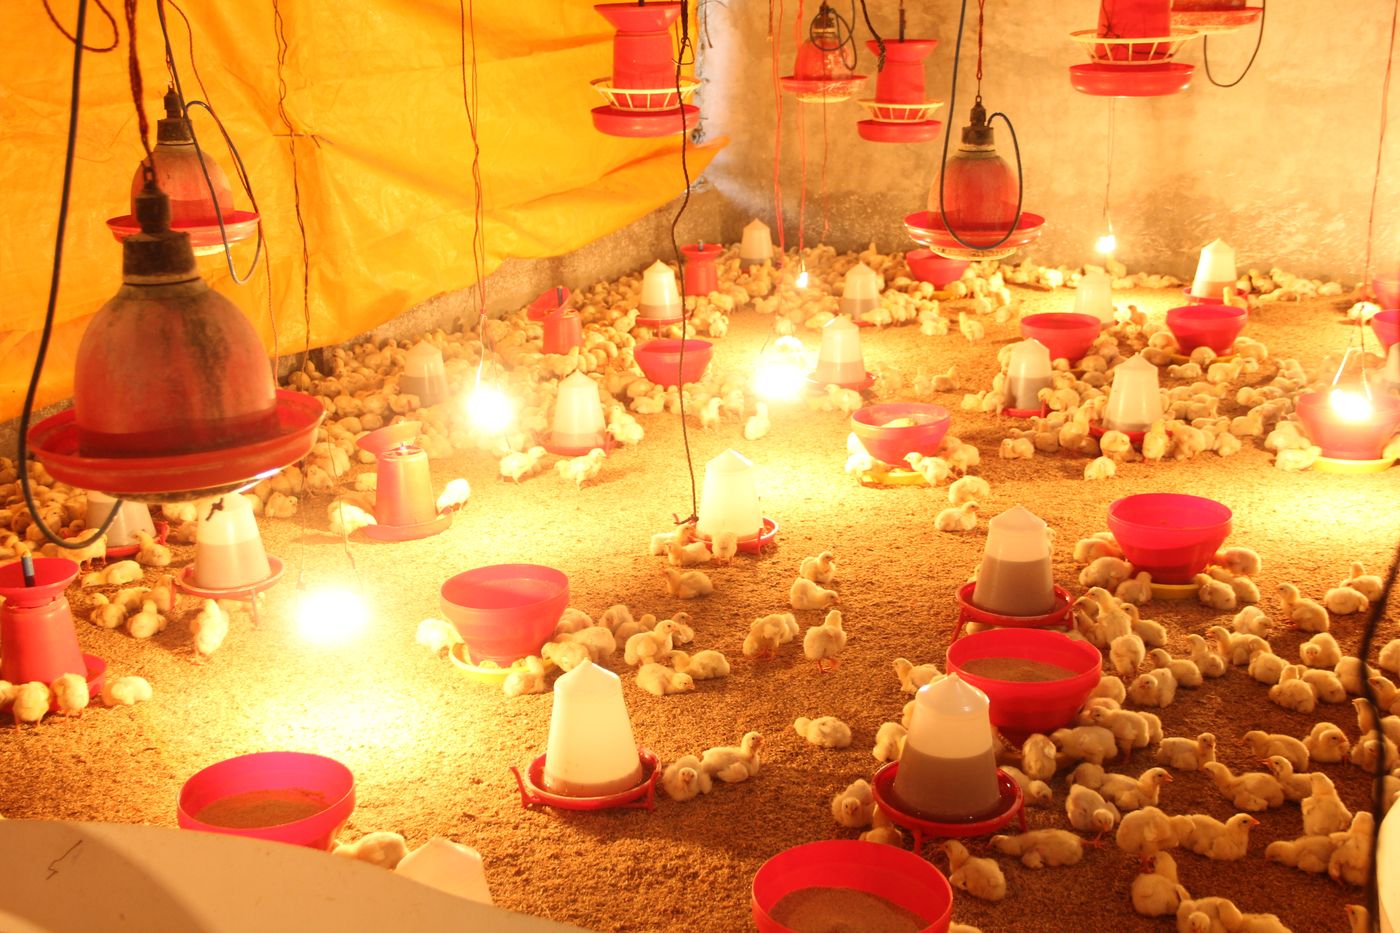
It is two in the morning, the rain has been drumming on the iron roof since evening, and the power went off an hour ago. In the brooder, three hundred day-old chicks are packed into a tight, cheeping heap in one corner. By morning, a dozen at the bottom of the pile are dead, and many of the rest will grow unevenly for weeks. Nothing was wrong with the chicks, the feed or the house. The weather simply beat the plan.
The short rains are a hard time to brood. Nights are cold and long, especially in the highlands, the air is damp, litter soaks up moisture, power cuts are more frequent during storms, and the temptation to close every opening traps fumes and ammonia. Kenya's national weather service forecast above-average October to December rainfall over about 80 per cent of the country for 2026, with prolonged wet spells, so many farmers will be brooding in exactly these conditions this season.
This guide is a wet-weather operating plan for the first three to four weeks. We have already covered brooding equipment and the choice between gas and electric brooders. Here we focus on what changes when it is cold and wet: preparing the house before chicks arrive, holding the right temperature at night, keeping litter dry, ventilating without chilling, and surviving a blackout.
Why Cold, Wet Weather Is So Dangerous for Chicks
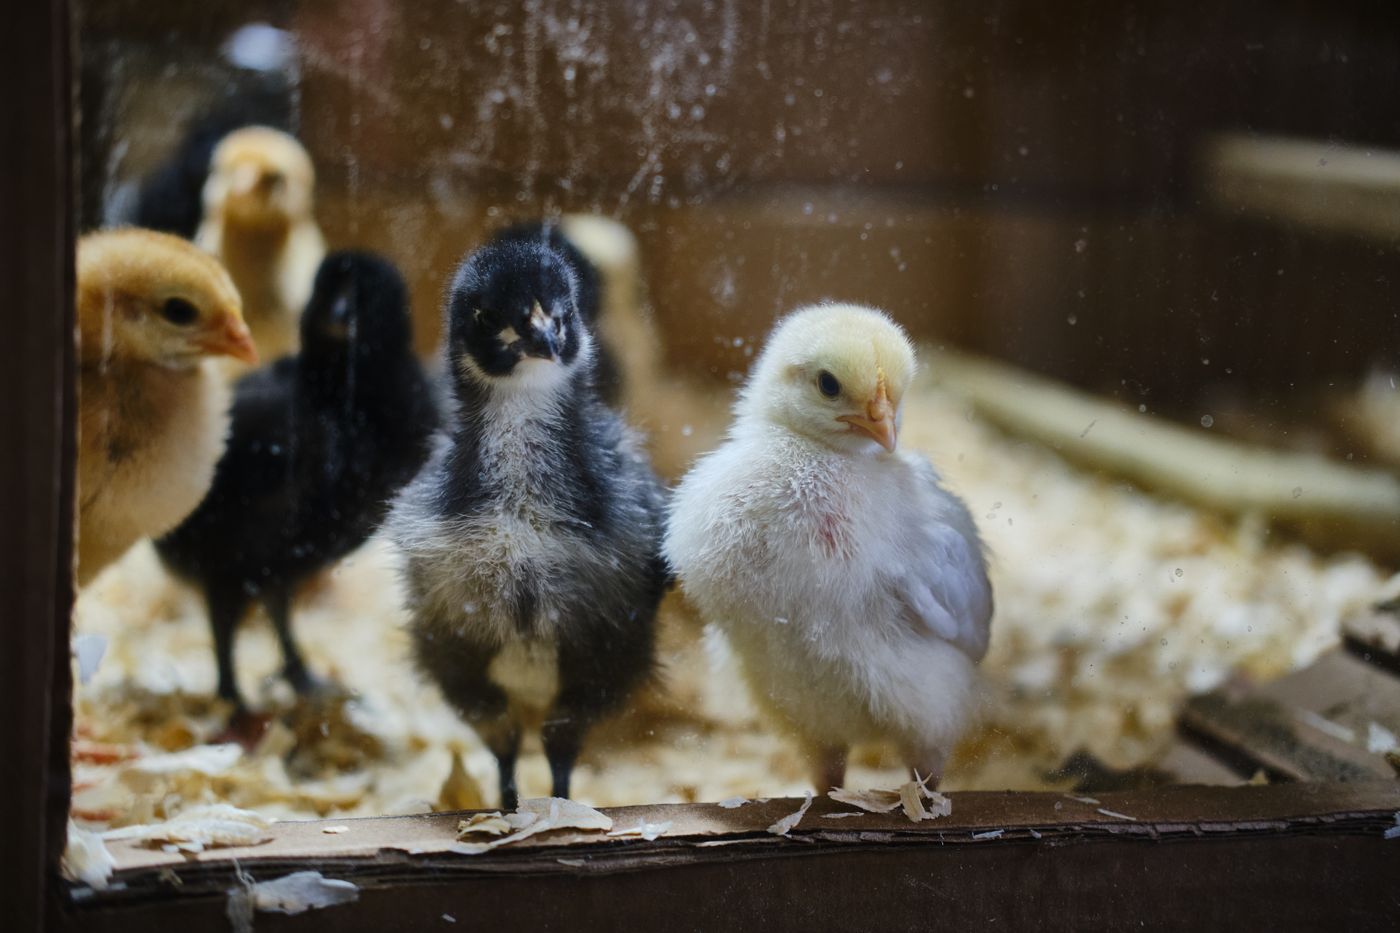
A day-old chick cannot control its own body temperature well. Its down is thin, it has little body fat, and it depends on the brooder for heat until its feathers grow in over the first few weeks. When a chick is cold it stops eating and drinking, huddles with others, and burns its remaining yolk reserves just to stay warm. Chicks that are chilled in the first week often never catch up in weight or uniformity.
Damp makes cold worse. Wet litter pulls heat out of chicks through their feet and bellies, and damp air carries heat away faster than dry air at the same temperature. Wet litter also breeds the coccidia parasites and bacteria that cause disease, a problem we discuss in our guide to wet litter in the rains. And a house closed up tight against the rain builds up ammonia and, if charcoal or gas heaters are used, carbon monoxide.
Prepare the House Two Days Before the Chicks Arrive
In the rains, preparation matters more than at any other time, because a cold, damp house takes many hours to warm up. Work through these steps before you collect the chicks.
Fix the roof and the drainage. Walk the house in daylight after a storm and look for drips, wet patches on the floor and water running in under the walls. Patch leaking sheets, clear the gutters, and dig a shallow trench outside the walls on the uphill side to lead runoff away. A brooder corner under a roof leak will be wet within a night.
Lay dry, deep litter. Use dry wood shavings or chopped dry grass, not damp material from a heap left in the rain. Store your litter bags under cover and off the floor before the rains start. A layer of about 5 to 10 centimetres, as commonly recommended in Kenyan extension guides, insulates the chicks from a cold concrete or earth floor. Some farmers lay newspaper or feed bags over the litter for the first few days so chicks do not eat shavings.
Build a draught-proof brooder ring. A circle of hardboard, cardboard or iron sheet about 45 to 60 centimetres high around the heat source keeps chicks close to the warmth and blocks floor-level draughts. Hang curtains of polythene or feed bags on the open sides of the house, fixed so they can be lowered and raised, rather than nailing everything shut.
Pre-heat for a full day. Switch on or light the brooder at least 24 hours before the chicks arrive in the rainy season, and check that the litter itself feels warm, not just the air. Fill the drinkers a few hours ahead so the water is not ice-cold when the chicks first drink.
Holding the Right Temperature Through Cold Nights
Widely used extension guidance, such as the Manitoba agriculture department's brooding guide, puts the temperature at the edge of the heat source at about 32 to 35 degrees Celsius in the first week, then lowers it gradually, roughly 3 degrees each week, until the chicks are feathered and the house temperature is enough. A Kenyan farm guide in The Standard recommends measuring about 5 centimetres above the litter, at chick height, and checking in the evening, when the night drop begins. Follow your hatchery's recommendation for the breed you buy.
The hardest hours are between about midnight and dawn, when outside temperatures are lowest and whoever is caring for the birds is asleep. That is when chilling happens. Practical steps help.
Use a thermometer at chick height. A simple thermo-hygrometer placed at the edge of the brooder ring, at chick level, shows both temperature and humidity and, on many models, the lowest reading overnight. Our guide to thermometers and hygrometers in the poultry house explains placement.
Plan for the night drop. Lower the side curtains and raise the heat in the late evening, before the cold arrives, not after you find chicks huddling. Shrink the brooder ring slightly at night if chicks are small, so the heat is concentrated.
Check last thing and first thing. A short visit at about 10 pm and again before dawn, looking at chick behaviour, catches most problems. On very cold nights, one more check after midnight is worth the lost sleep in the first week.
Charcoal, Gas and Fumes: Heat Without Poisoning
Many smallholders brood with charcoal jikos, kerosene lamps or gas brooders such as the Damly gas brooder. All of these burn fuel inside the house and use oxygen. When a farmer closes every curtain against the rain, fumes build up. Carbon monoxide has no smell, and it can kill chicks and people.
Never seal a house completely while a fuel heater is burning. Leave a gap at the top of the curtains on the side away from the wind, so warm, stale air can escape above the chicks. Light charcoal outside and bring it in only when it is glowing, not smoking. Keep jikos on a stand with a guard so chicks and litter cannot touch them, and keep a bucket of sand nearby. Service gas brooders as the maker recommends and check hoses and connections for leaks with soapy water.
Ventilation Without Chilling
Ventilation in the rains is a balance. Chicks need fresh air to remove moisture from their breath and droppings, ammonia and fumes. But cold air blowing across the floor chills them. The answer is to let air in and out high up, above the chicks, and to block draughts at floor level with the brooder ring.
Open curtains from the top down rather than the bottom up. Open more on the side away from the wind and the driving rain. Open a little more during the warmer middle of the day to dry the house out, and close down again in the late afternoon. Our guide to brooder house ventilation covers the layout in detail.
Keep Litter and Water Dry
In damp weather, the drinker is the most common source of wet litter. Chicks splash, drinkers leak, and a drinker placed too low collects litter and droppings. Raise drinkers as the chicks grow so the rim sits about level with their backs, set them on a small board or tray, and check them for leaks every morning. Nipple systems keep litter much drier once chicks have learned to use them; see our comparison of nipple and bell drinkers and Fuga's automatic drinkers.
Turn or rake the litter lightly every day or two, especially around drinkers and feeders. Remove any caked or soaked patches and replace them with dry material. Wet litter in the brooding weeks is the start of coccidiosis problems in week three or four, so talk to your vet about prevention, such as coccidiostat-containing starter feed or vaccination, before the chicks arrive.
When the Power Goes Off
Storms bring power cuts. An electric brooder without backup can lose its heat in minutes, and a cut that starts at midnight may last until morning. Decide in advance what you will do.
The simplest backup is a second heat source that does not need grid power: a gas brooder or a charcoal jiko kept ready, with fuel stored dry. A small generator can run an electric brooder; our backup power guide works through sizing, and Fuga stocks generators. Whatever you choose, test it before the chicks arrive, and make sure whoever is on the farm at night knows how to start it.
Feed, Water and the First 48 Hours
Cold chicks that do not find feed and water quickly lose ground fast. Put feed on paper, trays or chick feeders inside the warm zone, not at the cold edge of the ring, and spread enough feeder and drinker points that every chick can reach one within a short walk of the heat. Our guide to chick feeder types helps you choose, and Fuga's chicken feeders suit small flocks.
After a few hours, pick up a handful of chicks and gently feel their crops, the small pouch at the base of the neck. A soft, full crop shows a chick has found feed and water. Many hard or empty crops the next morning mean the chicks are too cold to move to the feeders, or feeders and drinkers are too few or badly placed.
Your Wet-Weather Brooding Checklist
| When | Check |
|---|---|
| Before arrival | Roof leaks fixed; runoff trench dug; dry litter stored under cover |
| 24 hours before | Brooder ring set; curtains fitted; heat on; litter warm; water filled |
| Every evening | Curtains lowered from the top; heat raised before the night drop |
| Fuel heaters | Ventilation gap above chicks; guarded stand; leak checks; sand bucket |
| Daily | Drinkers raised and leak-checked; wet patches replaced; litter turned |
| Blackouts | Backup heat tested; torch and fuel ready; night person trained |
| Health | Vaccination and coccidiosis plan agreed with your vet in advance |
Brooding Equipment for the Rains
Prices change, so we do not list them here. See each product page or the Fuga price list for current prices and stock.
| Item | What it does in wet weather |
|---|---|
| Damly gas brooder | Heat that keeps working when the grid fails |
| Thermo-hygrometer | Shows temperature and humidity at chick height |
| Automatic drinkers | Steady water with less spilling onto litter |
| Chicken feeders | Feed points inside the warm zone |
| Generators | Backup power for electric brooders |
Prepare the house early, pre-heat for a full day, watch the chicks more than the thermometer, ventilate high and block draughts low, keep litter dry and have a blackout plan ready. For brooders, drinkers and feeders, see our poultry and livestock range, or WhatsApp 0716 961 018 with the number of chicks you are brooding.
Key Takeaways
- Cold and damp together chill chicks fast; chilled chicks stop eating and rarely catch up.
- Fix roof leaks and runoff, lay 5 to 10 cm of dry litter and pre-heat the brooder for a full day before chicks arrive.
- Aim for about 32 to 35 degrees at chick height in week one, lowered about 3 degrees a week, and watch chick behaviour.
- Never seal a house with a charcoal or gas heater burning; leave a ventilation gap above the chicks.
- Ventilate high, block draughts low, raise and leak-check drinkers daily and replace wet litter.
- Have tested backup heat and a night routine ready for storm power cuts.
Frequently Asked Questions
What temperature do chicks need in the first week?
Common extension guidance puts it at about 32 to 35 degrees Celsius at chick height at the edge of the heat source in the first week, lowered by about 3 degrees each week until the chicks are feathered. Follow your hatchery's figures and adjust by watching how the chicks spread out.
How do I know if my chicks are cold?
Cold chicks crowd tightly under or near the heat source and cheep loudly. Comfortable chicks are spread evenly, moving, eating and resting in loose groups. Chicks bunched on one side away from a wall or opening are avoiding a draught.
Is it safe to use a charcoal jiko in a brooder house?
Only with care. Light the charcoal outside and bring it in glowing, keep it on a guarded stand, and never close the house completely while it burns. Leave a gap at the top of the curtains so fumes can escape, because carbon monoxide has no smell and can kill chicks and people.
What should I do if the power goes off during brooding?
Shrink the brooder ring and lower the curtains to hold heat, then switch to a backup heat source such as a gas brooder, a generator or a safely ventilated charcoal jiko. Check the chicks every hour until power returns, and test your backup before the chicks arrive.