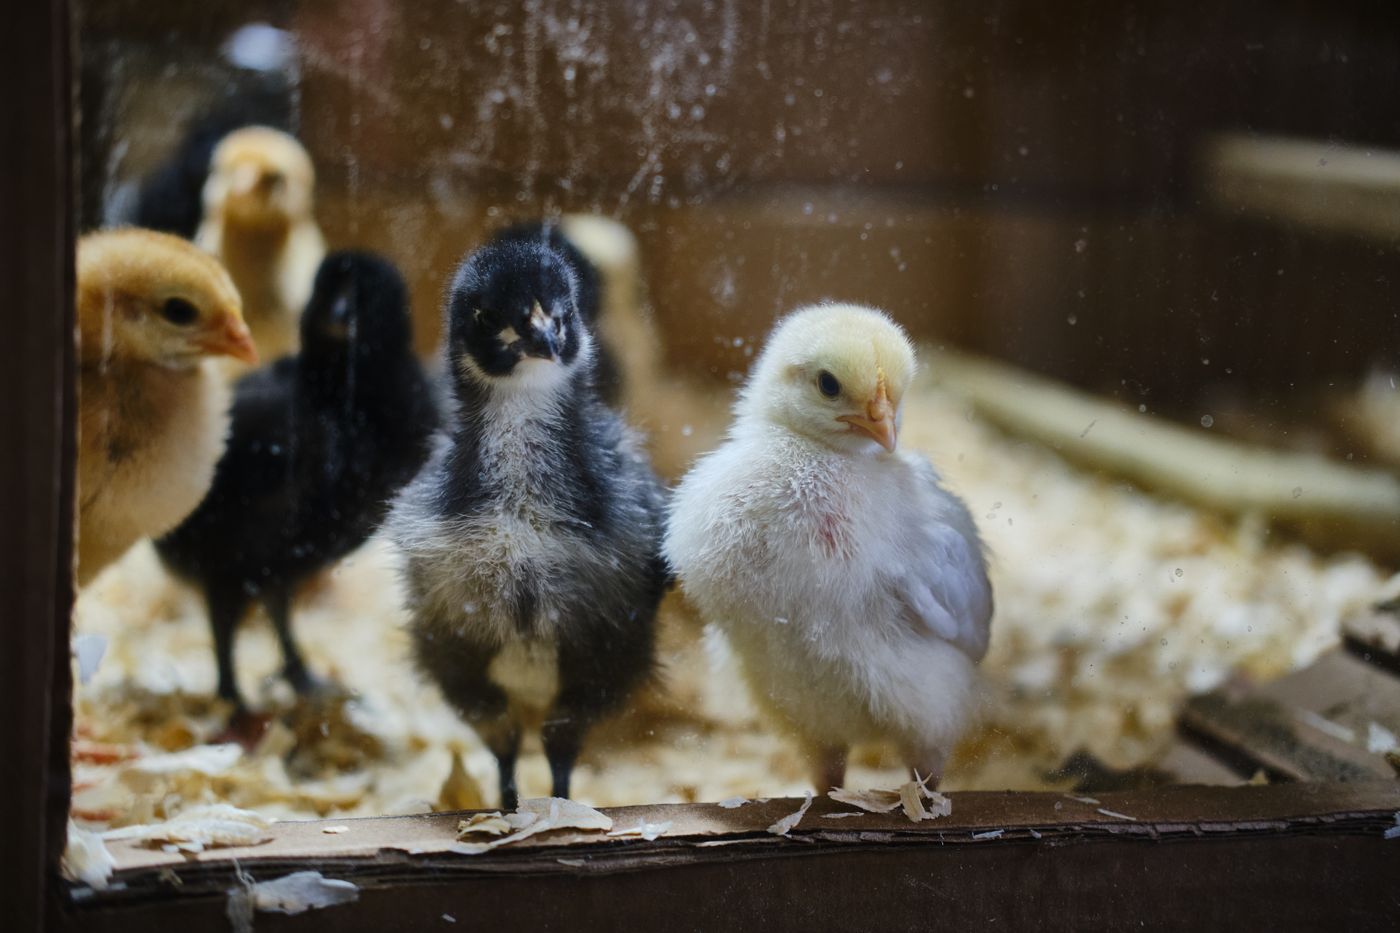
Open a fresh bag of chick mash on the morning the day-old chicks arrive, tip a little into a shallow lid, and watch what the birds do with it. Some eat. Others stand in the feed, sweep it sideways looking for the piece they want, and walk it into the litter. A beakful here, a scattered heap there, none of it looks like much. Multiply that by a few hundred birds, then by the eight or twelve weeks it takes to reach sale weight or the eighteen it takes to reach point of lay, and the loss stops being invisible. It is whole bags.
Feed is the largest running cost in almost every poultry enterprise, commonly somewhere between two thirds and three quarters of the money that leaves the farm. The feeder is the cheapest single thing that decides how much of that feed a bird actually eats and how much it bills onto the floor to rot. Pick the wrong feeder, hang it at the wrong height, or fill it too full, and you are paying for feed that never becomes an egg or a gram of meat.
This guide walks through the four feeder families a Kenyan poultry keeper will meet, from the flat chick tray to the layer trough. It explains how each one cuts wastage, how much feeder space each bird needs, how high to set the feeding lip as the flock grows, and exactly when to switch from one type to the next on the road from day-old to point of lay.
Feed Is the Bill, and the Feeder Decides How Much Is Wasted
Wastage on a poultry farm is quiet. It does not arrive as one dramatic loss you can point to; it leaks out a beakful at a time, which is exactly why it is so easy to ignore. By the time you notice the litter is dusted with pale mash, the money has already left.
A feeder controls two separate losses. The first is spillage, feed physically thrown clear of the pan when a bird rakes its beak sideways to sort the ration. The second is spoilage, feed fouled by droppings, splashed water or rain and then refused. A well made feeder fights both at once: a rolled or lipped edge holds billed feed inside the pan, a grill or a ring of fingers stops birds standing in the feed, and a raised position keeps droppings out.
None of this is expensive to get right, which is the encouraging part. The gap between a farm that feeds cleanly and one that scatters is rarely a gap in feed quality or genetics. It is a gap in a few cheap moulded parts and three or four habits. Our companion guide on how to reduce poultry feed wastage works through the habits in detail; this article is about the hardware that makes them easy.
The single most powerful habit costs nothing at all: never fill a feeder more than about one third of its depth. A pan filled to the brim invites a bird to rake feed out looking for the particle it prefers, and every rake throws some over the edge. A pan holding a shallow layer, topped up little and often, gives the bird nothing to throw. The same feeder, filled two ways, is the difference between tidy feeding and a carpet of waste under the birds' feet.
The cheapest feed saving on the farm. Fill feeders no more than a third full and top them up more often. It needs no new equipment and no labour worth counting, and it protects the single largest cost line in the whole enterprise. Every other trick in this article is secondary to this one.
The Four Feeder Families and What Each One Is For
Almost every feeder sold for chickens in Kenya belongs to one of four families. Each was designed for a stage of the bird's life, and matching the family to the stage is most of the skill.
Chick tray feeders. These are the shallow, wide trays and feeder lids you use in the first days. The low edge lets a wobbly day-old chick reach feed with no effort, and the wide surface means many chicks can eat at once, which matters when a new chick must find feed within hours of arriving. The weakness is the same as the strength: an open, low tray is easily fouled, tipped and stood in, so it is a starter, never a permanent solution. Getting the brooding stage right sits alongside feeding, and our guide to poultry feeders and drinkers pairs the two.
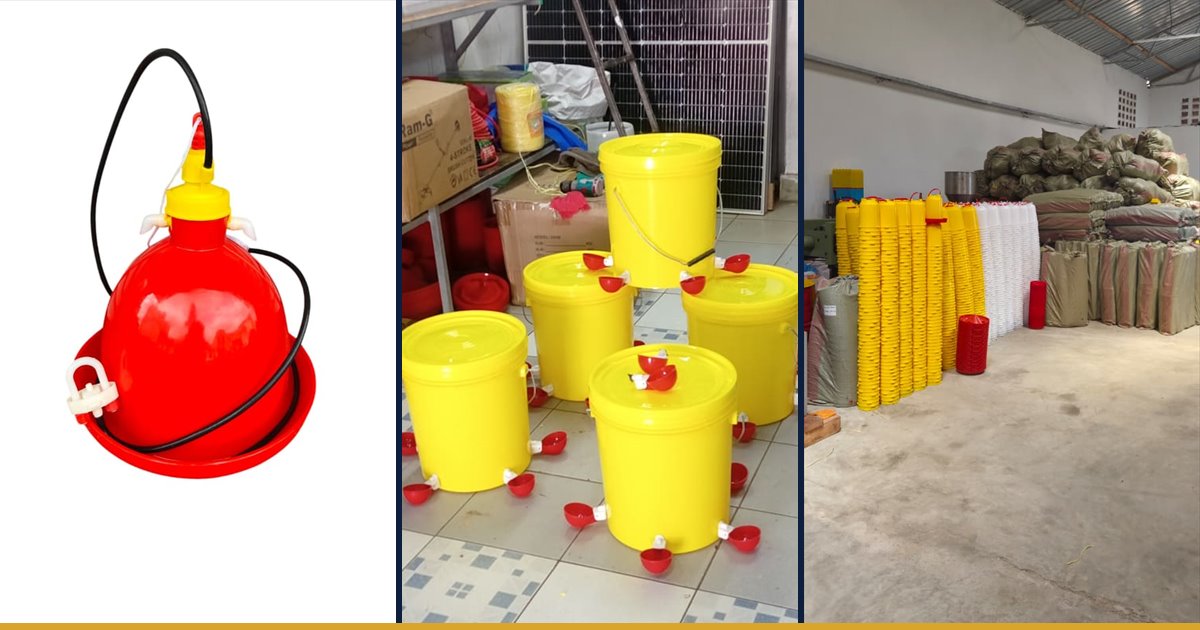
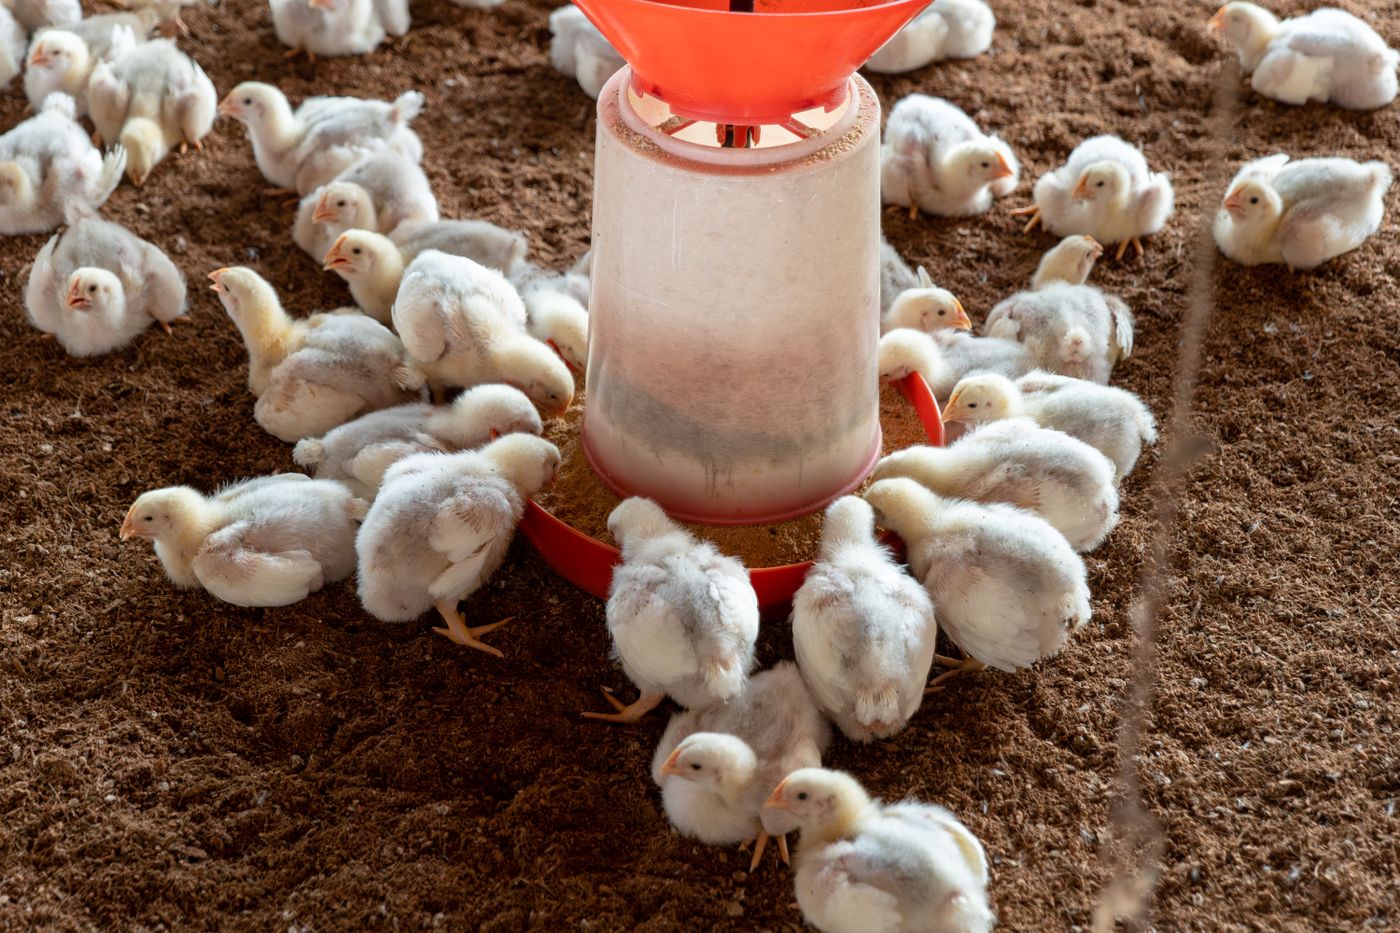
Tube or hanging feeders. A tube feeder is a cylindrical hopper that feeds by gravity into a pan at its base, hung from the roof on a cord or chain so its height can be changed in seconds. As birds eat from the pan, more feed slides down to replace it, so one filling lasts hours and the feed above stays clean and dry inside the tube. This is the workhorse of the grower and broiler stages, and the family most Kenyan keepers rely on. Fuga moulds its own turbo tube feeders in several capacities for exactly this stage.
Pan feeders. A pan feeder is a shallow circular pan with a wide feeding lip, fed either by hand or from an automatic line in larger houses. The broad, low rim gives many birds access around a single unit, and the better designs add a grill so birds cannot climb in. Pans suit bigger flocks and grow-out houses where one filling must serve dozens of birds without a keeper walking every row.
Trough or linear feeders. A trough is a long straight channel that birds feed from along both sides. Because feeding space is measured simply by the length of the channel, troughs are easy to scale: add a metre, add more birds. Many carry a spinner bar or a wire along the top to stop birds perching and soiling the feed. Troughs are common for layers and inside cage systems, where a level, even feed line down the house keeps a flock uniform. See the full moulded chicken feeder range for the trough and pan options.
Feeder Space Per Bird: The Number That Stops Bullying and Uneven Flocks
Feeder space is the length of feeding edge available to each bird, and it is the number most often got wrong. Too little space and the timid birds are shouldered out at every feed, eat less, and fall behind, so the flock arrives at market or point of lay in an uneven spread of sizes that costs you at the scale and the egg tray alike. Too much space wastes money on feeders you did not need.
Standard poultry management guidance gives simple planning allowances of linear feeding edge per bird, rising as the birds grow. As a rule of thumb, budget around two and a half centimetres of feeder edge for each chick in the first days, roughly five centimetres per bird through the growing weeks, and about ten centimetres per hen once they are laying. For an open trough, count both long sides, since birds feed from each. For a round tube or pan, the feeding edge is the circumference of the pan, so a single unit provides more space than its diameter suggests.
Translating that into whole feeders is easier than it sounds. A common starting point is one chick tray for every forty to fifty chicks in the first week, one tube feeder for every twenty-five to forty growing birds, and one tube or pan feeder for every twenty to thirty layers. Treat these as a floor, not a target: when in doubt, add one more feeder rather than crowd the last one.
Uneven birds are usually a feeder problem. When a flock finishes in a wide spread of sizes, the first thing to check is not the feed or the breed but whether the smaller birds could ever reach the trough. Enough feeding edge, spread around the house, is what lets the whole flock eat at once.
Height Adjustment as Birds Grow: The Back-Height Rule
A feeder set at the wrong height wastes feed no matter how good it is. Too low, and birds stand in the pan, scratch feed out and foul it. Too high, and the smaller birds cannot reach, so they eat less and fall behind. The correct height changes every week because the birds themselves are changing every week.
The rule worth memorising is simple: keep the lip of the feeder level with the height of the birds' backs. At that height a bird must reach down slightly to eat, which is the natural feeding posture, and it cannot get a foot into the pan or bill feed up and out. As the flock grows, raise the feeder to track the rising back line, which is why hanging feeders on an adjustable cord or chain matters so much. A feeder bolted at a fixed height is correct for one week only.
For the first days this is not yet an issue, because chicks feed from flat trays on the floor. The height discipline begins the moment you introduce tube or pan feeders, usually in the second or third week, and continues to the last day in the house. A quick walk down the rows each morning, lifting every feeder a notch as the birds gain, is one of the highest-return few minutes in the whole routine.
When to Switch Types: A Timeline From Day-Old to Point of Lay
No single feeder carries a bird from the box to point of lay. The switch points matter because a feeder that is right for a chick is a hazard for a layer and the other way round.
For the first week to ten days, feed from chick trays and feeder lids on the litter, so a day-old chick meets no obstacle between itself and the feed. From around the end of the first week, introduce tube or pan feeders alongside the trays so the birds learn them while the trays are still there. By the end of the second or third week, withdraw the trays entirely and run the flock on tube or pan feeders, raised each week to back height. For birds kept on to lay, many keepers move to a trough or a larger pan around point of lay, both because the mature bird needs more feeding edge and because a level feed line suits the daily discipline of a laying house.
Never switch cold. Whenever you change feeder type, run the old and the new side by side for two or three days. Birds are neophobic, meaning wary of anything new, and a flock that cannot recognise its feeder will simply eat less until hunger overrides caution. A short overlap costs a little space and saves a growth check.
Placement, Filling and Cleaning: The Habits That Protect the Saving
The best feeder in the country still wastes feed if it is placed, filled or cleaned badly. Three habits finish the job the hardware starts.
Spread feeders through the house. A bird will not walk far to eat, so bunching all the feeders in one corner leaves birds at the far end short and the birds nearby crowded. As a working guideline, no bird should have to travel more than about three metres to reach feed, and feeders should sit near water, since birds eat and drink in turn. Alternate feeders and drinkers evenly down the house.
Fill little and often. This is the one-third rule again, and it is worth repeating because it is the habit most often let slip when a farm gets busy. A feeder topped up twice a day at a shallow level wastes far less than one filled to the brim each morning to save a trip.
Keep feed dry and clean. Damp mash cakes, sours and grows mould, and birds refuse it, so a leaking drinker above or beside a feeder quietly ruins feed. Flip chick trays and wash pans between fills when they cake, and never mix fresh feed on top of stale. Clean, dry feed eaten is the whole point; feed thrown out or gone off is money already spent for nothing. When you are ready to size and price a set for your flock, our current price list sets out the feeder range by capacity.
Key Takeaways
- Feed is the largest cost in poultry, and the feeder is the cheapest thing that decides how much of it a bird eats rather than scatters.
- Four feeder families cover the whole life of the bird: chick trays for day-olds, tube and pan feeders for growers, and troughs or larger pans for layers.
- Budget roughly 2.5 cm of feeder edge per chick, 5 cm per grower and 10 cm per layer, counting both sides of a trough, then add one feeder rather than crowd the last.
- Keep the feeder lip level with the birds' backs and raise it every week, which is why adjustable hanging feeders matter.
- Switch types on a timeline, overlap the old and new feeder for a few days each time, never fill past a third, and keep the feed dry.
Frequently Asked Questions
When should I move chicks from trays to tube feeders?
Introduce tube or pan feeders from around the end of the first week, while the chick trays are still in place, so the birds learn the new feeder without pressure. By the end of the second or third week you can withdraw the trays and run the flock on tube or pan feeders alone, raising them each week to keep the lip at back height.
How much feeder space does each bird need?
As a planning guide, allow about two and a half centimetres of feeding edge per chick in the first days, roughly five centimetres per bird through the growing weeks, and about ten centimetres per hen at point of lay. Count both sides of an open trough. In whole feeders, that is commonly one chick tray per forty to fifty chicks, one tube feeder per twenty-five to forty growers, and one tube or pan feeder per twenty to thirty layers.
What height should a poultry feeder hang at?
Keep the lip of the pan level with the height of the birds' backs. At that height the bird reaches down slightly to eat, cannot climb into the pan, and cannot bill feed up and out. Because the birds grow every week, raise the feeder every week to track the rising back line, which is why hanging feeders on an adjustable cord or chain are worth the small extra cost.
Why is my flock finishing in uneven sizes?
Uneven finishing is very often a feeder problem rather than a feed or breed problem. If there is too little feeding space, or feeders are bunched together, the timid birds are pushed out at every feed and fall behind. Add feeding edge, spread the feeders through the house so no bird walks more than about three metres to eat, and set them at the correct height so every bird can feed at once.
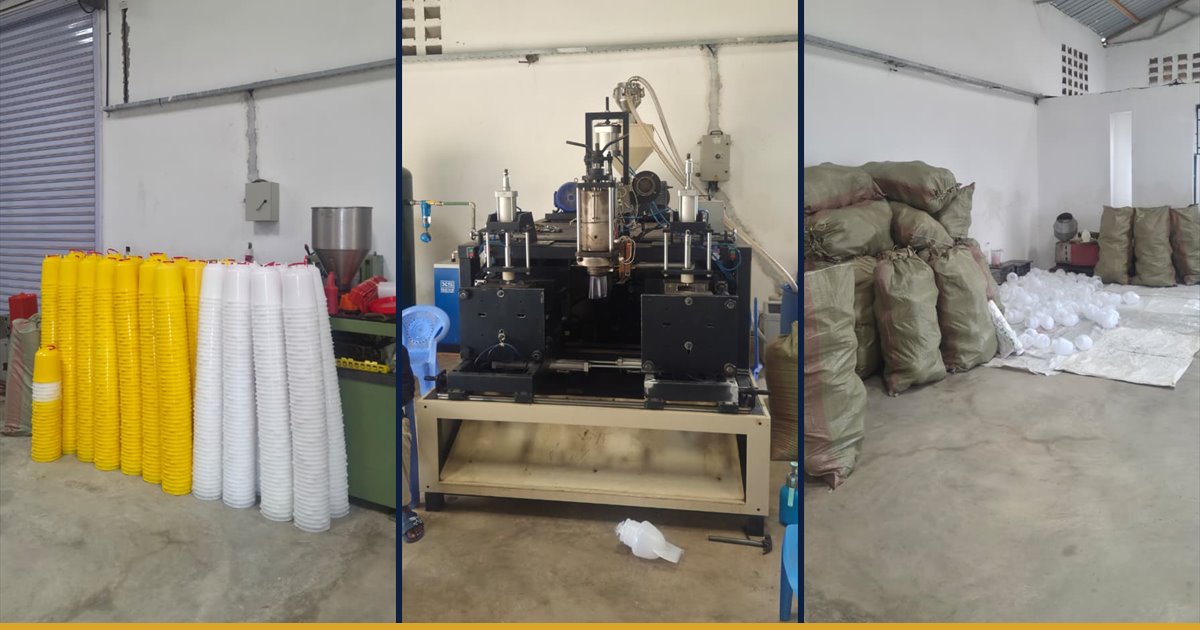
At Fuga we mould our own poultry feeders and drinkers in Kenya, on our own blow moulding and injection moulding lines, which is why we can supply the chick trays, tube feeders, pans and troughs a flock needs across its whole life and keep the spares on the shelf. Tell us your bird numbers and stage and we will size a matched set for you, through our contact page or on WhatsApp.