Walk through any jua kali yard in Kenya and you will see sheet metal turned into almost anything: feed troughs, water troughs, gutters, downpipes, chimneys, feed bins, hen nest boxes, wheelbarrow pans and charcoal stoves. Sheet metal is cheap, easy to get and quick to shape with simple tools. It is also easy to get wrong. Edges that slice hands, seams that leak, galvanised coating burnt off so the trough rusts through in two seasons, and gutters that hold water instead of carrying it are all common.
With the short rains running through October and November, two jobs come up on farms again and again. Gutters, because every roof without them is wasting free water for the tank and pouring it onto the foundations. And troughs, because animals kept in more during wet weather need feed and water off the muddy ground. Both are classic sheet metal jobs.
This guide explains how to choose the sheet, how to mark, cut, fold, join and finish it, how to deal safely with galvanised steel, and what tools a farm workshop or small fabrication shop needs for the work. It is written for the farmer who wants to make or repair these items, and for the fundi who wants them to last.
Choosing the Sheet: Gauge and Coating
Sheet steel in Kenya is sold by gauge. The gauge number runs the opposite way to the thickness: a higher gauge number means a thinner sheet. Roofing mabati is usually thin, in the higher gauges, which is why it dents under a ladder. Troughs, bins and anything that is kicked, knocked or climbed on need a thicker sheet in a lower gauge. When in doubt, compare actual thickness with a vernier caliper or ask the seller for the thickness in millimetres, since gauge labels are not always consistent between suppliers.
The coating matters as much as the thickness. Plain black (uncoated) sheet is easy to weld but rusts quickly unless painted. Galvanised sheet carries a zinc coating that protects the steel even where small scratches expose it, because the zinc corrodes first. Pre-painted roofing sheet adds a paint layer over the metal coating. For anything that holds water, galvanised or a well painted thicker sheet is the starting point, and the work method should protect the coating rather than burn it away.
Mark Once, Cut Once
Sheet metal is unforgiving: a wrong cut wastes a sheet, and a fold in the wrong place cannot be straightened cleanly. Lay the sheet flat and mark it out completely before any cut. Use a steel rule or a steel measuring tape, a steel square for right angles, and a scriber or a fine marker. Mark fold lines differently from cut lines so nobody cuts along a fold.
For a box trough or a gutter, draw the flat pattern: the shape the sheet must be before it is folded. A simple open trough is a rectangle with the base in the middle, the two sides folded up, and an extra strip along each top edge for a safe folded edge. End pieces are separate, with tabs to fold over and fix to the sides. Allow for the bend: each fold uses a little of the sheet, so measure the finished sizes on a test piece before cutting a whole batch.
Cutting: Snips, Grinder or Nibbler
How you cut decides how the edge behaves later. Three methods cover most work.
Tin snips (hand shears) cut thin sheet cleanly and cold, so the zinc coating along the edge is not burnt. They are slow on long straight cuts and hard work on thicker sheet, and they can leave a slightly wavy edge. For gutters and thin trough sheet they give the best edge for corrosion.
An angle grinder with a thin cutting disc is fast and handles thicker sheet easily. The cost is heat: the disc burns the coating for a few millimetres along the cut, throws sparks and leaves a sharp burr. Use a thin metal cutting disc, not a thick grinding disc, and let the disc do the work. Our guide to angle grinder discs explains which disc to fit and why the guard must stay on.
A nibbler or power shear, where a workshop has one, cuts cold and fast and is worth it for shops doing a lot of sheet work.
Whatever the method, deburr every cut edge with a file before handling it further. A fresh sheet edge is as sharp as a knife, and most sheet metal injuries happen while carrying or folding pieces, not while cutting them. Our article on hacksaws and files covers filing technique.
Folding Straight Without a Press Brake
A workshop press brake makes perfect folds, but most farms and small shops do not have one. Good folds are still possible with two lengths of heavy angle iron or flat bar, a pair of clamps and a mallet.
Clamp the sheet between the two angle irons with the fold line exactly on the edge of the bottom bar. Bend the sheet over the edge by hand along its full length a little at a time, working from end to end, then finish the fold with a wooden or rubber mallet against a block of hardwood. Hammering steel directly with a steel hammer stretches and marks the metal and cracks the coating. Fold in a planned order so that earlier folds do not block later ones: usually the small edge hems first, then the main sides.
Hem every exposed top edge. A hem is the sheet edge folded back flat on itself, giving a rounded, doubled edge instead of a raw one. It does two jobs at once: it makes the edge safe for animals and hands, and it stiffens the long side of a trough so it does not bow outwards when full. A wire rolled into the edge does the same job on gutters and bins.
Joining: Rivets, Screws, Seams or Welds
The joint decides whether a trough holds water and whether a gutter survives a storm.
Rivets, usually blind (pop) rivets, are the standard way to join thin sheet. They need only a drill and a riveter, keep the coating intact, and do not distort the sheet with heat. For a watertight joint, overlap the sheets, run a bead of a suitable sealant between them, and rivet through at close, even spacing. Drill holes with a sharp HSS bit; our drill bits guide explains why a blunt bit tears thin sheet instead of cutting it.
Self-drilling screws are quick for fixing sheet to a frame, such as a trough skin to an angle iron stand, but they are not a good choice for seams that must hold water on their own.
Folded seams, where two edges are hooked together and hammered flat, are the traditional tinsmith joint for bins and gutters. They need practice, but they make strong, neat joints without heat or fasteners, and a little sealant makes them watertight.
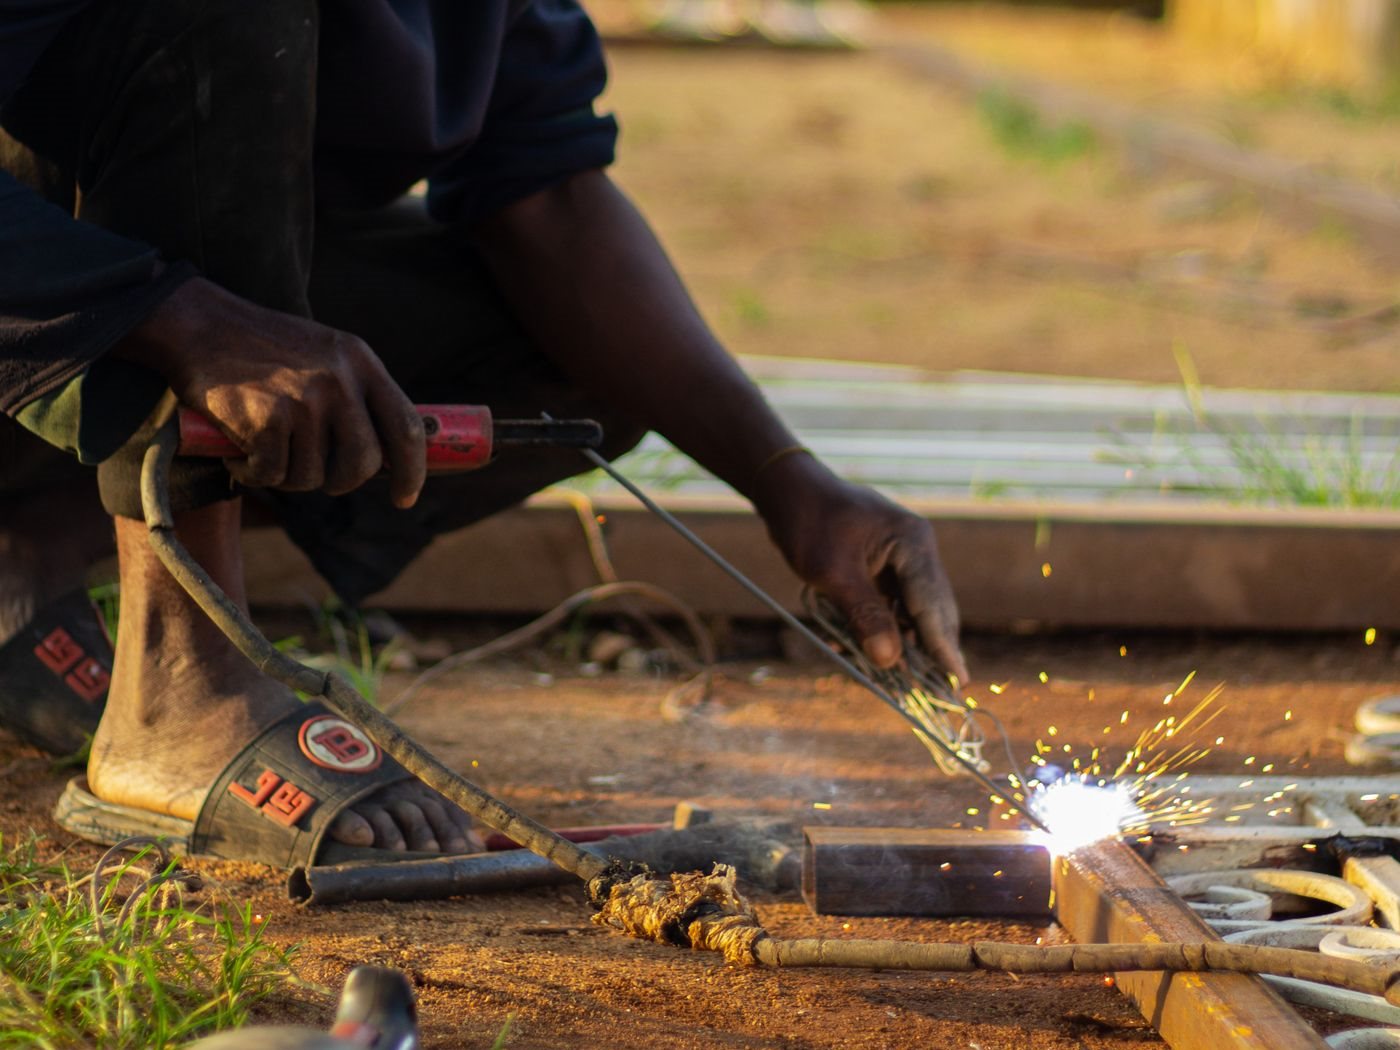
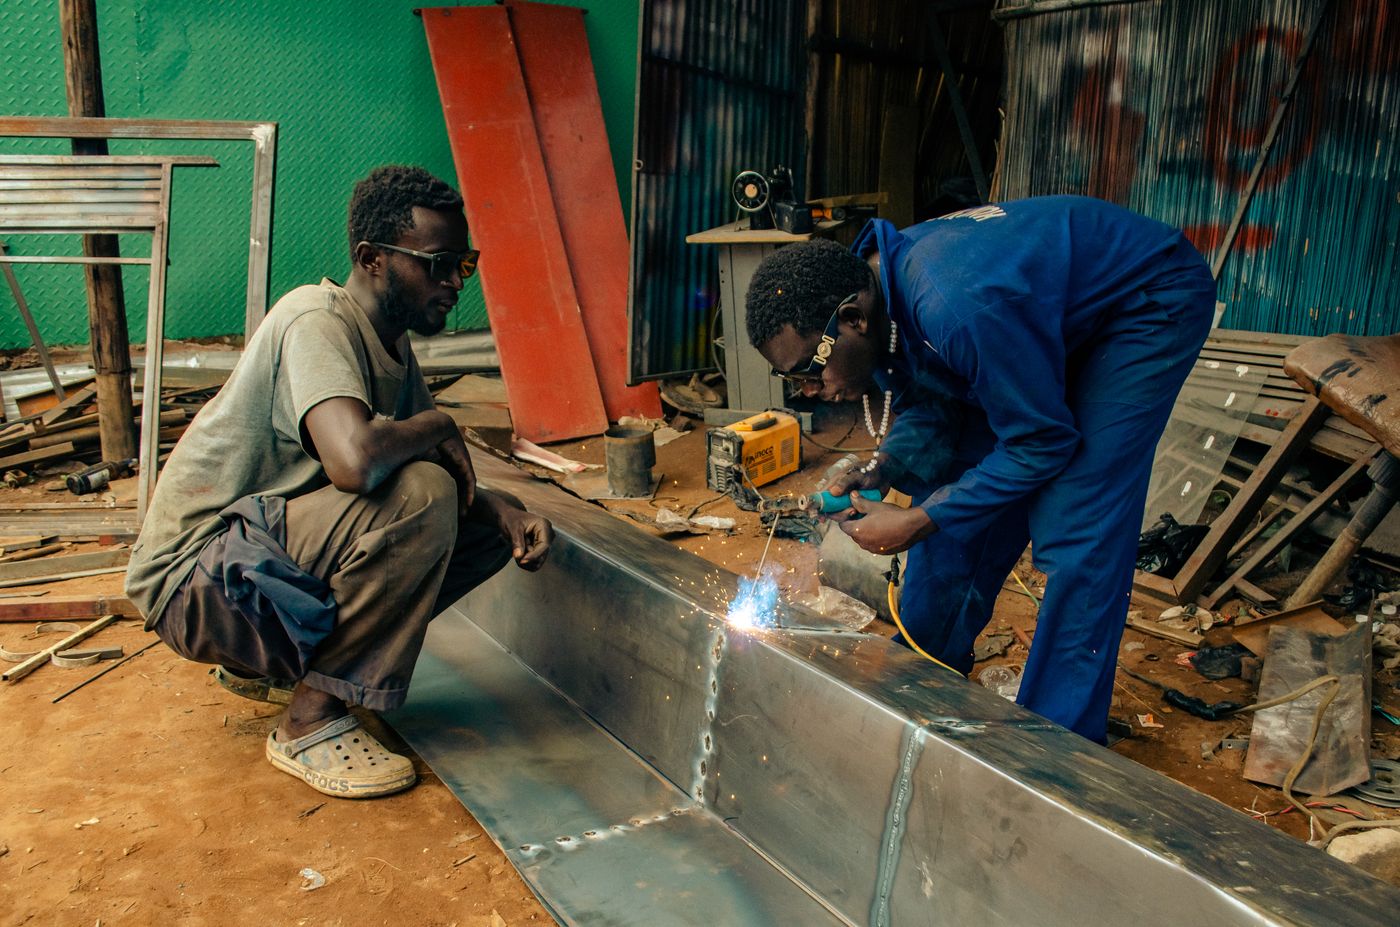
Welding gives the strongest joint on thicker sheet and on frames, but thin sheet is easy to burn through. Use a small electrode at low current, tack the joint at short intervals first, then weld in short stitches that jump around the seam so heat does not build up in one place and buckle the sheet. Our guides to choosing welding rods and to keeping fabrications square go into more detail. For a trough, a welded steel angle frame with a riveted sheet skin often combines the best of both.
Gutters That Actually Carry Water
A gutter is not just a folded channel. It has to catch the water that runs off the roof edge, carry it to a downpipe without overflowing, and stay fixed through wind and heavy rain.
Hang the gutter slightly below the roof edge so water falling off the sheets lands in it rather than shooting over the top in a downpour. Give it a steady fall towards the outlet so water does not stand in it and rust the bottom; guidance varies, but a fall of a few millimetres per metre is commonly used. Fix brackets close enough that the gutter does not sag between them when full of water and leaves, and put the outlet where the downpipe can run straight into the tank inlet with a mesh or first-flush arrangement. Our rainwater harvesting guide explains how much water a roof can collect and how to size the tank for it.
Before the main rains, run a bucket of water along the gutter from the high end and watch where it collects or leaks. It is much easier to adjust a bracket or reseal a joint on a dry afternoon than in the middle of a storm.
Finishing So It Lasts More Than Two Seasons
The work is not finished when the last rivet goes in. Clean off filings, grease and flux, then treat every cut edge, weld and scratch. On galvanised work, a zinc-rich primer restores protection where the coating has gone. On plain sheet, a primer and two coats of paint are the minimum for anything outdoors. For drinking troughs, choose a coating that is suitable for contact with drinking water and leave it to cure fully before animals use it; ask the paint supplier, because not every paint is safe for this.
Stand troughs on a raised base or legs, not directly on wet ground or manure, and tilt them slightly towards a drain plug so they can be emptied and cleaned. Most trough failures start where the metal sits in standing water.
A Sheet Metal Tool List for the Farm Workshop
- Steel measuring tape, steel rule, square and scriber for marking out.
- Tin snips for cold cuts in thin sheet; a hacksaw for small cuts in angle and bar.
- An angle grinder with thin metal cutting discs for thicker sheet and frames.
- Flat and half-round files for deburring.
- A drill, sharp HSS bits and a pop riveter for joining.
- Two heavy angle irons, clamps, a mallet and a hardwood block for folding.
- A welding machine and rods for frames and thicker sheet.
- Gloves, eye protection, hearing protection and a respirator for galvanised work.
At the time of writing, the Fuga price list shows a 4.5-inch metal cutting disc from KSh 60, a 750W angle grinder at KSh 4,500 and a 160A inverter MMA welding machine at KSh 15,500; check the list for current prices and stock. For the full range of grinders, drills, files and hand tools, see workshop and industrial tools, visit any Fuga branch in Eldoret, Nairobi or Nakuru, or WhatsApp 0716 961 018.
Key Takeaways
- A higher gauge number means a thinner sheet; troughs and bins need thicker sheet than roofing mabati, so confirm the thickness in millimetres.
- Mark the full flat pattern before cutting, and test a fold on scrap to allow for the bend.
- Cut thin sheet cold with snips where possible to keep the zinc coating, and deburr every edge with a file before handling.
- Fold over clamped angle irons with a mallet, and hem every exposed top edge for safety and stiffness.
- Rivet and seal thin sheet seams, stitch-weld thicker sheet at low current, and never weld galvanised steel without removing the coating and ventilating well.
- Seal every cut edge, weld and scratch with primer and paint, and keep troughs off wet ground.
Frequently Asked Questions
What gauge sheet is best for a cattle or goat trough?
Use a noticeably thicker sheet than roofing mabati, meaning a lower gauge number, because troughs are knocked and climbed on. Gauge labels vary between suppliers, so ask for the actual thickness in millimetres or measure it with a caliper, and stiffen the top edges with a hem or an angle iron frame.
Can I weld galvanised sheet?
Yes, but the zinc coating gives off zinc oxide fumes that can cause metal fume fever. Grind the coating off around the joint, work outdoors or with strong ventilation, keep your head out of the fumes and wear a suitable respirator. Restore the protection afterwards with a zinc-rich primer.
Is it better to cut sheet metal with a grinder or tin snips?
Tin snips cut thin sheet cold and keep the coating along the edge, which helps against rust. An angle grinder with a thin cutting disc is faster and handles thicker sheet, but burns the coating near the cut and leaves a sharp burr. Either way, file the edge and paint it.
How do I stop a riveted trough from leaking?
Overlap the sheets generously, run a bead of a suitable sealant between them before riveting, drill clean holes with a sharp bit and space the rivets closely and evenly. Fill and test the trough with water before it goes into service.
How much slope does a gutter need?
Guidance varies, but a steady fall of a few millimetres per metre towards the outlet is commonly used. The aim is that water drains away completely between showers. Check the fall by running a bucket of water along the gutter before the heavy rains.