Walk into most hardware shops in Kenya and ask for welding rods, and you get exactly one question back: what size? Nobody asks what you are welding, how thick it is, or whether your machine puts out AC or DC. The rods go into a paper bag and the box with the classification on it stays behind the counter.
That is how most welding here gets specified, and it explains the gate that cracks at the hinge, the trailer drawbar that opens along one side, and the bead that looks tidy with almost nothing joined underneath it. The rod is the cheapest item in the job and it decides the outcome more than the machine does.
The Numbers on the Box Are a Specification, Not a Brand
Mild steel covered electrodes are classified under the American Welding Society system, and every digit after the E carries information. The first two are the minimum tensile strength of the deposited weld metal in thousands of pounds per square inch. The third digit is position: a 1 means all positions, a 2 means flat and horizontal fillets only. The last digit describes the flux coating and the current it wants.
So E6013 is a 60,000 psi, all position, rutile coated rod that runs happily on AC or DC. E7018 is a 70,000 psi, all position, low hydrogen rod that normally wants DC with the electrode positive. E6011 runs on AC, digs deep and tolerates rust and paint, which suits farm repairs on material you cannot fully clean.
One number confuses people constantly. The 2.5, 3.2 or 4.0 printed large on the packet is the core wire diameter in millimetres, not the classification, and you need both before you know what you are holding.
Matching the Rod to the Steel and the Joint
The most reliable rule in stick welding is that the rod diameter should not exceed the thickness of the thinner piece you are joining. Put a 4.0 mm rod on 2 mm sheet and you will blow holes through it whatever your technique. So 2.5 mm handles gates, grilles and box section around 1.5 to 3 mm, 3.2 mm is the workhorse for angle iron and general fabrication of 3 to 6 mm, and 4.0 mm belongs on heavier sections in the flat position.
Position changes the answer, because gravity fights you vertically and overhead: drop a rod size and pull the current back so the pool freezes before it runs. Joint type changes it too. A fillet on a lap or tee is forgiving, while a butt joint much above 5 mm needs a root gap or a bevel and more than one pass.
Most general fabrication here is E6013 work: it strikes easily, restrikes after a pause and its slag peels. E7018 earns its place on thicker, heavily restrained joints, provided you keep it dry and hold a short arc.
Some work is not a rod selection decision at all. Pressure vessels, gas cylinders, structural steel holding up a building, lifting hooks and eyes, and vehicle steering, suspension or braking parts are certified work: welded to a code by qualified welders and inspected. No electrode substitutes for that.
Set the Current, Then Let the Arc Correct You
Start in the middle of the range printed on the packet, then adjust by evidence, because your dial, your cable length and your material all move the real figure.
Too low announces itself. The arc stutters and goes out, the rod sticks, the bead stands high and narrow, and the slag welds itself into the joint and fights the chipping hammer.
Too high is just as obvious. The rod glows red before it is half consumed, spatter throws everywhere, the bead spreads wide and flat, a groove is eaten along the edges, and thin material burns through.
About right sounds like meat frying, a steady even crackle with no gaps, and the slag lifts as the weld cools. Two habits matter as much as the dial: hold the arc short, roughly the diameter of the core wire, and drag the rod at 5 to 15 degrees from vertical so the slag stays behind the pool.
One local variable gets blamed on the rods unfairly. A long thin extension lead, an undersized generator or low mains voltage all cut the current actually reaching the arc, whatever the dial says. If a machine welds well in the morning and badly at seven in the evening, suspect the supply first. Use short heavy cable and clamp the earth onto clean bare metal close to the joint. We stock machines, cable, holders and helmets in the workshop and industrial tools range.
Why Dry Rods Matter More Here Than in the Catalogue
Flux coating is hygroscopic: it pulls moisture out of the air quietly, without changing anything you would notice. Coastal humidity, the long rains, an open sided shop and a box of rods left on a bare concrete floor overnight all end in damp electrodes.
What happens next explains most mysterious weld failures. In the arc, water breaks apart and the hydrogen dissolves into the molten steel, which holds far more of it than solid steel can. As the weld freezes, some escapes as gas and gets trapped, and that is the porosity you see. What cannot escape migrates to the most stressed part of the joint and can crack it hours after you went home. That is delayed cracking, and it is what the low hydrogen electrode class exists to prevent.
Hence the irony worth remembering: E7018 is a low hydrogen rod only while it is dry. Left open on a bench through a wet weekend it can carry more moisture into the weld than an ordinary rutile rod would, and the property you paid extra for is gone.
Damp rods do give warnings: a chalky white bloom on the coating, flux that cracks or flakes when you flex the rod, an arc that spits and pops, and porosity turning up in welds that were clean last month.
The storage discipline is simple. Buy packet sizes you will finish, keep them sealed until the day you need them, and take out only what you will burn that day. Store boxes off the floor and away from outside walls, in a closed container with a drying agent or a warm cabinet, which plenty of workshops build from a lidded steel box and a low wattage bulb. Hold low hydrogen rods warm after opening and re-bake them to the temperature the maker prints on the box, never over an open flame.
Reading a Bad Weld Without Cutting It Open
Most defects announce their cause in their appearance, which makes visual inspection the cheapest quality tool you own. Learn these five.
Porosity shows as pinholes or a bead that looks foamy. It is gas trapped as the weld froze: damp rods, a rusty, painted, oily or galvanised joint, an arc held too long, or wind stripping the shielding away.
Undercut is a groove melted into the parent metal along the edge of the weld and left unfilled, caused by too much current, too long an arc or travelling too fast. That groove is a stress raiser and fatigue cracks start there, which is why gate and trailer failures so often begin at the toe of a weld.
Lack of fusion and lack of penetration give you a bead sitting on the surface like a line of glue, with a sharp boundary where it meets the plate. The causes are too little current, too large a rod, a thick butt with no gap or bevel, or travelling too fast. These welds look acceptable and carry almost nothing.
Slag inclusions appear as dark lines or patches in or beside the bead, usually from failing to chip between passes or from current too low to float the slag out. Crater cracks are the small star shaped cracks left by breaking the arc abruptly at the end of a run. Fill the crater by pausing, or backstep a few millimetres before lifting off.
One caveat matters. A bead can look excellent and still hide a lack of fusion in the root that only a cut section would reveal. Visual inspection suits ordinary fabrication, not work that carries people or pressure.
Eyes, Lungs and Fire
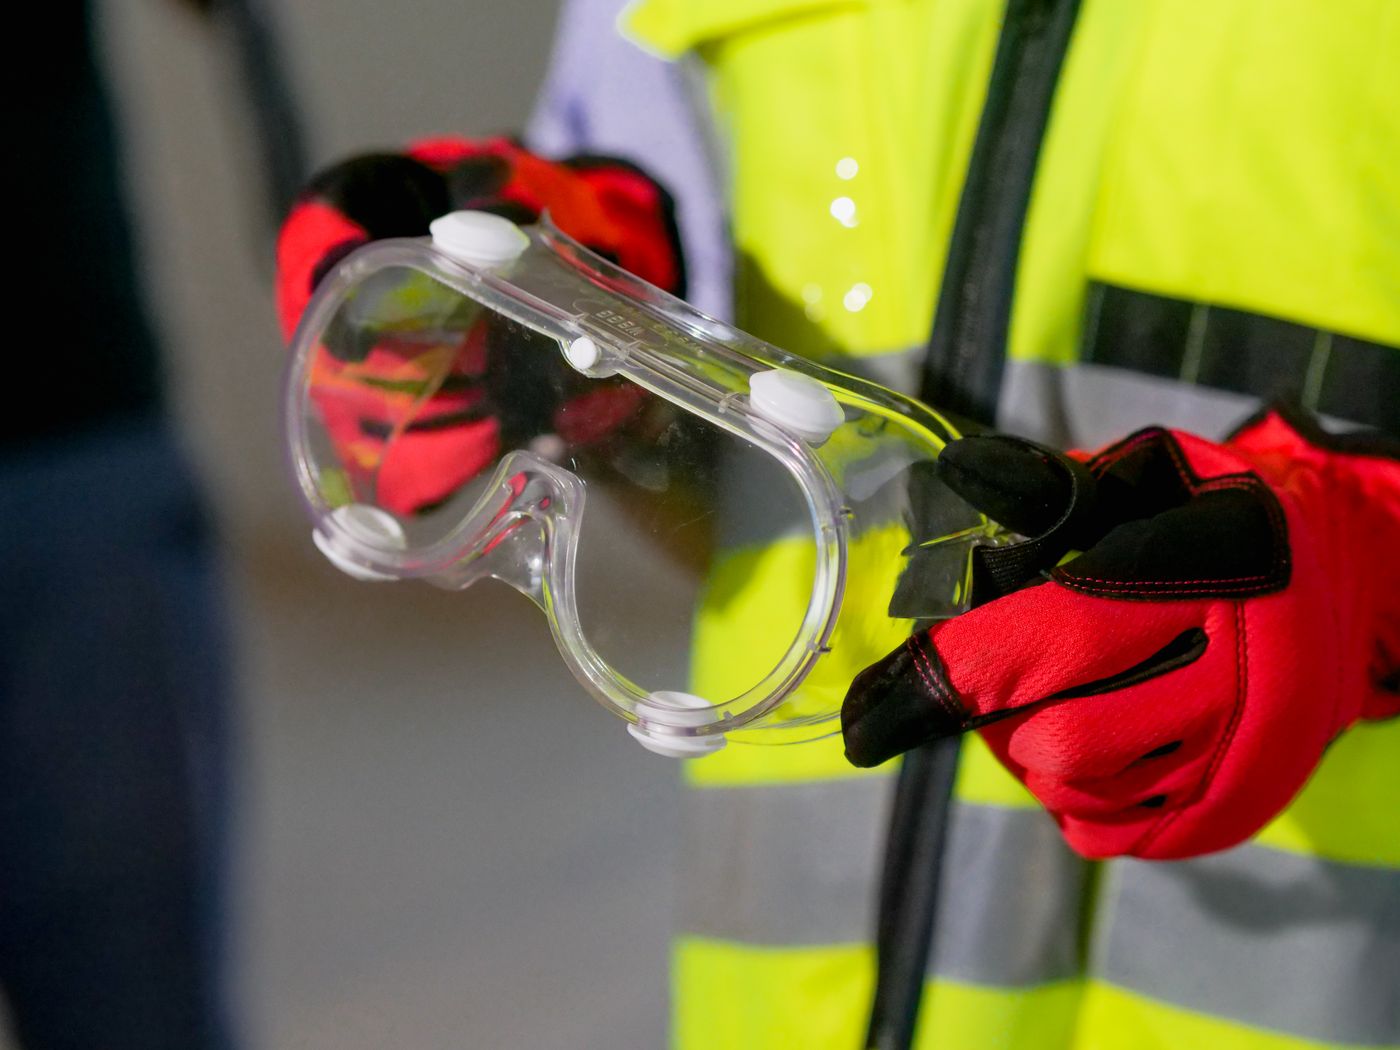
The arc emits ultraviolet strongly enough to burn the surface of your eye, and there is no pain at the time. Arc eye arrives six to twelve hours later, usually in the middle of the night, and feels like sand under the eyelids. The controls are a proper helmet with the correct shade filter and a screen around the bay, because apprentices and passers-by get flashed by an arc they never looked at. Clear goggles go on for chipping slag.
The plume is metal oxide fume and gases from the flux, and none of it belongs in your lungs. Keep your head out of it, ventilate rather than working in a closed container, and grind coatings back first. Burning zinc off galvanised steel causes metal fume fever.
Fire is the risk most underestimated. Sparks and hot slag travel several metres, roll under benches and smoulder quietly before anything flames. Clear combustibles, keep water or an extinguisher within reach, and walk the area again half an hour after you stop. Keep gloves and clothing dry, and check the cable insulation and earth clamp before every session.
Buying Rods Worth Welding With
Buy sealed packets and check the classification and diameter marked on them. The flux should be firm, evenly wrapped and free of chips or white bloom, because a coating broken away on one side burns unevenly and wanders. Fuga stocks welding machines, electrodes, holders, cables, helmets, grinders and cutting discs across all six branches, with current pricing on the price list. If you are unsure what suits your work, tell our team what you weld and how thick it is.
Key Takeaways
- The digits are a specification: strength in thousands of psi, then position, then coating and current type.
- Rod diameter should not exceed the thinner piece, and drop a size again for vertical and overhead runs.
- Start mid range on the packet, then let the arc correct you. A steady frying crackle and slag that lifts mean you are close.
- Flux absorbs moisture, moisture becomes hydrogen, and hydrogen becomes porosity now and cracking later. E7018 is low hydrogen only while dry.
- Undercut, porosity and a bead sitting on the surface are readable by eye. Pressure vessels, structural steel and vehicle safety parts are certified work.
Frequently Asked Questions
What is the difference between E6013 and E7018 welding rods?
E6013 deposits metal of about 60,000 psi minimum tensile strength and carries a rutile coating that strikes easily, runs on AC or DC and leaves slag that peels. E7018 deposits about 70,000 psi with a low hydrogen coating, giving a tougher weld on thicker and more restrained steel, but it wants a clean joint, dry rods, a short arc and usually DC with the electrode positive. For gates and general light fabrication, E6013 is the better choice.
What size welding rod should I use?
The rod diameter should not be larger than the thinner of the two pieces you are joining. Use 2.5 mm on light material of roughly 1.5 to 3 mm such as gates, grilles and box section, 3.2 mm for general work of 3 to 6 mm, and 4.0 mm on heavier sections in the flat position. Drop a size for vertical and overhead work, because a large pool simply runs out of the joint.
What amperage should I set for a 3.2 mm welding rod?
Start near the middle of the range printed on the packet, usually somewhere between 90 and 140 amps for a 3.2 mm general purpose rod, then correct by what you see. Sticking, a stuttering arc, a high narrow bead and slag that will not chip mean the current is too low. Heavy spatter, a rod that glows red and a groove along the edges of the weld mean it is too high.
Why does my weld have small holes in it?
Those holes are porosity, gas trapped as the weld froze. The usual causes are damp rods, a joint that is rusty, painted, oily or galvanised, an arc held too long, or wind blowing the shielding away from the pool. Replace or properly dry the rods, grind back to clean bright metal, hold a short arc and screen the work from draughts.
How should welding rods be stored in a humid climate?
Keep them sealed until you need them and take out only what you will burn that day. Flux absorbs moisture from the air, so store boxes off the floor and away from outside walls, in a closed container with a drying agent or a gently warmed cabinet. E7018 loses the low hydrogen property you paid for once it takes up moisture, so hold it warm after opening and re-bake it exactly as the maker instructs.