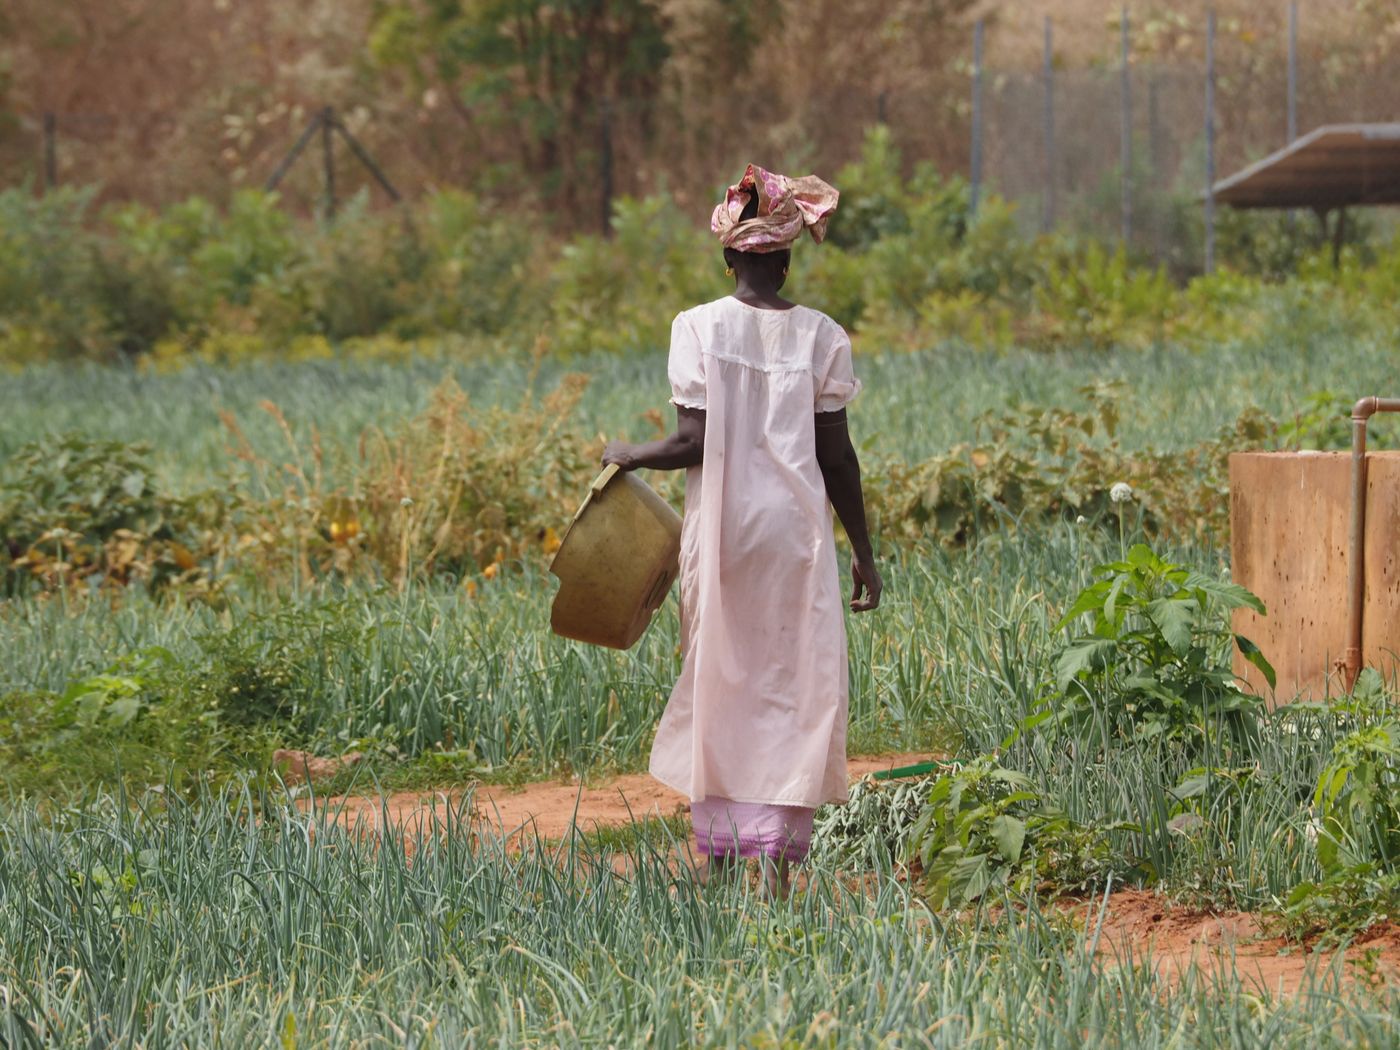
Every evening on thousands of Kenyan vegetable plots, someone walks the same path as the woman in the photograph above: to the tank, back to the beds, a bucket or a can at a time, until the onions, kale and tomatoes have had their share. It works, but it costs hours every day, the water goes where the bucket tips rather than where the roots are, and on the busy days the far beds simply get less. A drip line does that walk for you, slowly and evenly, at the base of every plant.
The trouble is that a drip system bought as a roll and laid out by guesswork often disappoints. The first metres of each line run wet while the last metres stay dry, lines on a slope flood the bottom of the bed, emitters clog within a season and the plot ends up back on the bucket. Almost all of these failures are layout and installation faults, not faults in the drip line itself.
This guide walks through installing drip on a small vegetable plot in the order you would actually do it: the head unit that every system needs, the submain that feeds the beds, the length and direction of each drip line, the connections and line ends, a simple test of how evenly the water comes out, and how to work out a run time. If you are still deciding whether drip suits your crop at all, read our comparison of drip irrigation versus sprinklers first; this article assumes you have chosen drip and want it to work.
What a Drip System Is Made Of
A drip system has three layers. The head unit sits at the water source and conditions the water: a valve to turn it on and off, a filter to keep dirt out, and where the pressure is high or changes, a pressure regulator. The submain is the larger pipe that carries water from the head unit along the end of the beds. The laterals are the drip lines themselves, one or more per bed, each joined to the submain by a small connector and closed at the far end.
The drip line carries emitters, small built-in passages that let water out a little at a time. The figure in a drip line's name usually refers to the spacing between emitters, so a 150 millimetre line has emitters closer together than a 200 millimetre line. Closer spacing makes a more continuous wet strip along the bed, which suits close-planted crops such as onions, carrots and leafy vegetables and lighter soils where water spreads sideways less. Wider spacing suits crops planted further apart. Our guide to drip versus sprinklers explains how soil texture changes the choice.
Build the Head Unit in the Right Order
The head unit is where most drip systems are won or lost, and the order of the parts matters. Water should leave the tank or pump, pass a valve, then the filter, then the regulator, and only then enter the submain. Putting the filter first protects the regulator and every emitter downstream. Putting the regulator after the filter means it controls the pressure of clean water.
Pressure is the next question. Drip lines are designed for low pressure, and the working band printed by the maker is the figure to follow. Remember the rule that one bar is about ten metres of water column: a tank on a stand three metres high gives roughly 0.3 bar at ground level, while a pump can give several bar. Some drip line is made to run from a raised tank; other types need more pressure than a tank gives. Our guide to tank stands and gravity flow works through the arithmetic, and the one on booster pumps covers what to do when gravity is not enough.
Too much pressure is as harmful as too little. It can blow drip line off its connectors, split thin-walled line and push more water through the first emitters than the design intends. If your source is a pump or a mains supply, the regulator is not an optional extra. The filter deserves the same respect: drip emitters have tiny passages, and our guide to drip filters and flushing explains how to match the filter to your water.
Lay the Submain Across the Top, Laterals Along the Contour
On a sloping plot, direction matters more than anything else in the layout. Water pressure rises by about 0.1 bar for every metre the line drops, and falls by the same amount for every metre it climbs. A drip line run straight down a slope therefore gains pressure as it goes, and its lowest emitters give more water than its highest. On a long, steep run the bottom of the bed stays soggy while the top dries.
The answer is to run the drip lines across the slope, along the contour, so each line stays at nearly the same height for its whole length. The submain then runs up and down the slope along the end of the beds, which is where height differences do the least harm, because each line takes its own feed. Where the ground is too steep to run lines level, a slight downhill fall along the lateral is better than an uphill one, because the gain in pressure partly offsets the friction loss along the line. Our article on pipe sizing and friction loss explains why a long thin pipe loses pressure as water moves along it.
Flat lay pipe is a common choice for the submain on small plots because it rolls up for storage and lies flat when empty. It should be larger in diameter than the drip lines it feeds, because it carries the water for all of them at once. Feed the submain from the middle of the plot rather than one corner where you can, so the water reaches the furthest bed by the shortest route.
Keep Each Drip Line Short Enough to Water Evenly
Every drip line has a maximum useful length. As water travels along it, friction steadily reduces the pressure, and if the line is too long, the emitters near the end receive noticeably less than those near the start. The maximum depends on the emitter flow, the emitter spacing, the line diameter and the slope, so the maker's table for your exact line is the figure to trust.
As a rule of thumb, small-farm drip line on level ground is often run somewhere around 50 to 100 metres, but many plots never need lines that long and shorter is always safer. Closer emitter spacing puts more emitters on each metre, so more water flows through the start of the line and the pressure falls faster. A 150 millimetre line generally cannot be run as far as a 200 millimetre line with the same emitters. If your beds are long, feed them from a submain in the middle, so each line only runs half the bed length.
Connections, Laying and Line Ends
Each drip line joins the submain through a small connector, and a drip valve at that point lets you shut off a single bed without stopping the rest. That matters more than it sounds: beds at different stages need different amounts of water, and a bed that has been harvested should not be watered at all. Punch the holes in the submain cleanly with the correct tool, push the connectors home firmly and make sure every joint is tight before the system is pressurised.
Lay the drip line with the emitters facing up. Dirt that gets past the filter settles to the bottom of the line, and an emitter facing down sits in it. Leave a little slack rather than pulling the line taut, because plastic shortens as it cools at night and a line stretched tight in the midday sun can pull out of its connector by morning. Place the line close to the plants, and for a double row on a wide bed, use two lines rather than one in the middle.
Close the end of each line so it can be opened for flushing. A purpose-made end cap does this neatly; folding the last few centimetres back on itself and securing it works on drip tape. Before you close the ends for the first time, open the valve and let water run out of every line until it comes out clean, because cutting and fitting always leaves debris inside. A layer of mulch over the line keeps it out of direct sun, slows evaporation from the soil surface and hides it from the birds and rodents that sometimes peck at wet plastic.
Test How Evenly the Water Comes Out
A drip system that looks fine can still water unevenly, and the only way to know is to measure. The test needs a few small cups, a measuring jug and a watch. Choose three emitters on the same line: one near the submain, one in the middle and one near the far end. Run the system for a few minutes so the pressure settles, then hold a cup under each emitter for exactly the same time, two or three minutes, and measure what you caught.
Compare the three. If the far emitter delivers much the same as the near one, the line is well within its length and pressure. If the far emitter gives clearly less, as a rough guide less than about nine tenths of the first, the line is too long, the pressure is too low, the submain is too small or the line is partly blocked. Repeat the test on the line furthest from the head unit, because that is where problems show first. Write down the figures; they become the baseline you check against when the system seems to be watering less a season later.
Work Out How Long to Run It
Run time comes from simple arithmetic. One litre of water spread over one square metre is one millimetre deep. Work out how many litres a metre of drip line delivers in an hour: the emitter flow multiplied by the number of emitters per metre. Divide by the width of bed each line serves, and you have millimetres per hour on that bed.
Take the example in the chart. A 200 millimetre line with emitters of 2 litres an hour delivers 10 litres per metre per hour. If that line serves a bed one metre wide, it applies 10 millimetres an hour, so a 30 minute run applies about 5 millimetres. How much your crop needs depends on the crop, its stage, the weather and the soil, so treat any figure as a starting point. Dig beside a plant an hour after a run and check how deep and how wide the wet zone has spread; on sandy soil it goes down more than sideways, on clay it spreads sideways more than down.
Drip also changes the habit of watering. Because the system applies water slowly and close to the roots, frequent short runs often suit vegetables better than a heavy soak once a week, especially on light soils that hold little water. In the rains, check the soil before each run and skip it when the beds are already moist. Our guide to greenhouse irrigation covers the same principles under cover.
| Item | Stock code | Price |
|---|---|---|
| DOUBLE EMITTERS DRIP LINE 150MM | 6492 | KSh 7,438 |
| DOUBLE EMITTERS DRIP LINE 200MM | 6493 | KSh 7,438 |
| DRIP VALVE | 6192 | KSh 30 |
| FLAT LAY PIPE 2' | 6224 | KSh 250 |
| WATER FILTER | 6423 | KSh 2,000 |
| PRESSURE REGULATOR | 6350 | KSh 3,500 |
| 0.5HP BOOSTER PUMP (YELLOW) | 6594 | KSh 3,000 |
Prices are from our current price list and can change, so confirm before you buy, and ask us for the roll length and emitter flow of the drip line you choose so you can do the run time sum before you lay it. For a small plot, our irrigation kits start from KSh 1,000 and bring the parts together in one purchase.
An Installation Day, Step by Step
Prepare and shape the beds first, and mark which way the contour runs across the plot. Set up the head unit at the source: valve, filter, then regulator if the source is a pump or mains. Lay the submain along the top or across the middle of the plot, at the ends of the beds. Fit a connector and drip valve for each bed, roll out the drip lines along the beds with emitters up and a little slack, and leave the ends open.
Open the main valve and flush every line until the water runs clean, then close the ends. Walk the plot and look for leaks at connectors, a split line or a dry patch. Do the cup test on the nearest and furthest lines, write down the results and work out your run time. Finally, set the routine: check the filter weekly, flush the line ends every few weeks, and repeat the cup test once a season. Done in that order, a drip system replaces the evening bucket walk for many seasons, and it waters the last bed as well as the first.
Key Takeaways
- Build the head unit in order: valve, then filter, then pressure regulator, so clean water at the right pressure reaches the drip lines.
- One bar is about ten metres of water column, so a tank on an ordinary stand gives only a fraction of what some drip lines need; check the working band for your line.
- Run drip lines across the slope along the contour, because pressure rises about 0.1 bar for every metre a line drops.
- Closer emitter spacing puts more water on each metre but loses pressure faster, so 150 mm lines need shorter runs than 200 mm lines.
- Lay lines emitters up with a little slack, flush every line before closing the ends, and flush again every few weeks.
- Test evenness with cups at the start, middle and end of a line, and work out run time from litres per metre divided by bed width.
Frequently Asked Questions
What order should the parts of a drip head unit go in?
Water should pass from the tank or pump through an on and off valve, then a filter, then a pressure regulator where one is needed, and only then into the submain and drip lines. Filtering first protects the regulator and every emitter, and the regulator then controls the pressure of clean water.
Can drip irrigation run from a raised water tank?
Some drip lines can, others cannot. One bar is about ten metres of water column, so a tank on a three-metre stand gives roughly 0.3 bar at ground level. Check the working pressure the maker gives for your drip line. If the tank cannot supply it, raise the tank or add a small booster pump with a regulator.
Should drip lines run up and down a slope or across it?
Across it, along the contour. Pressure rises by about 0.1 bar for every metre a line drops, so a line run straight downhill over-waters the bottom of the bed and under-waters the top. Run the submain up and down the slope at the ends of the beds and the drip lines across.
How long can a drip line be?
It depends on emitter flow, emitter spacing, line diameter and slope, so follow the maker's table for your line. As a rule of thumb, small-farm drip line on level ground is often run somewhere around 50 to 100 metres, but shorter is safer. Closer emitter spacing needs shorter runs. Feeding long beds from a submain in the middle halves the run.
How do I work out how long to run my drip system?
Multiply the emitter flow by the number of emitters per metre to get litres per metre per hour, then divide by the bed width each line serves to get millimetres per hour, since one litre on one square metre is one millimetre. For example, 2 litre emitters at 200 mm spacing give 10 litres per metre per hour, about 5 mm in 30 minutes on a one-metre bed.