
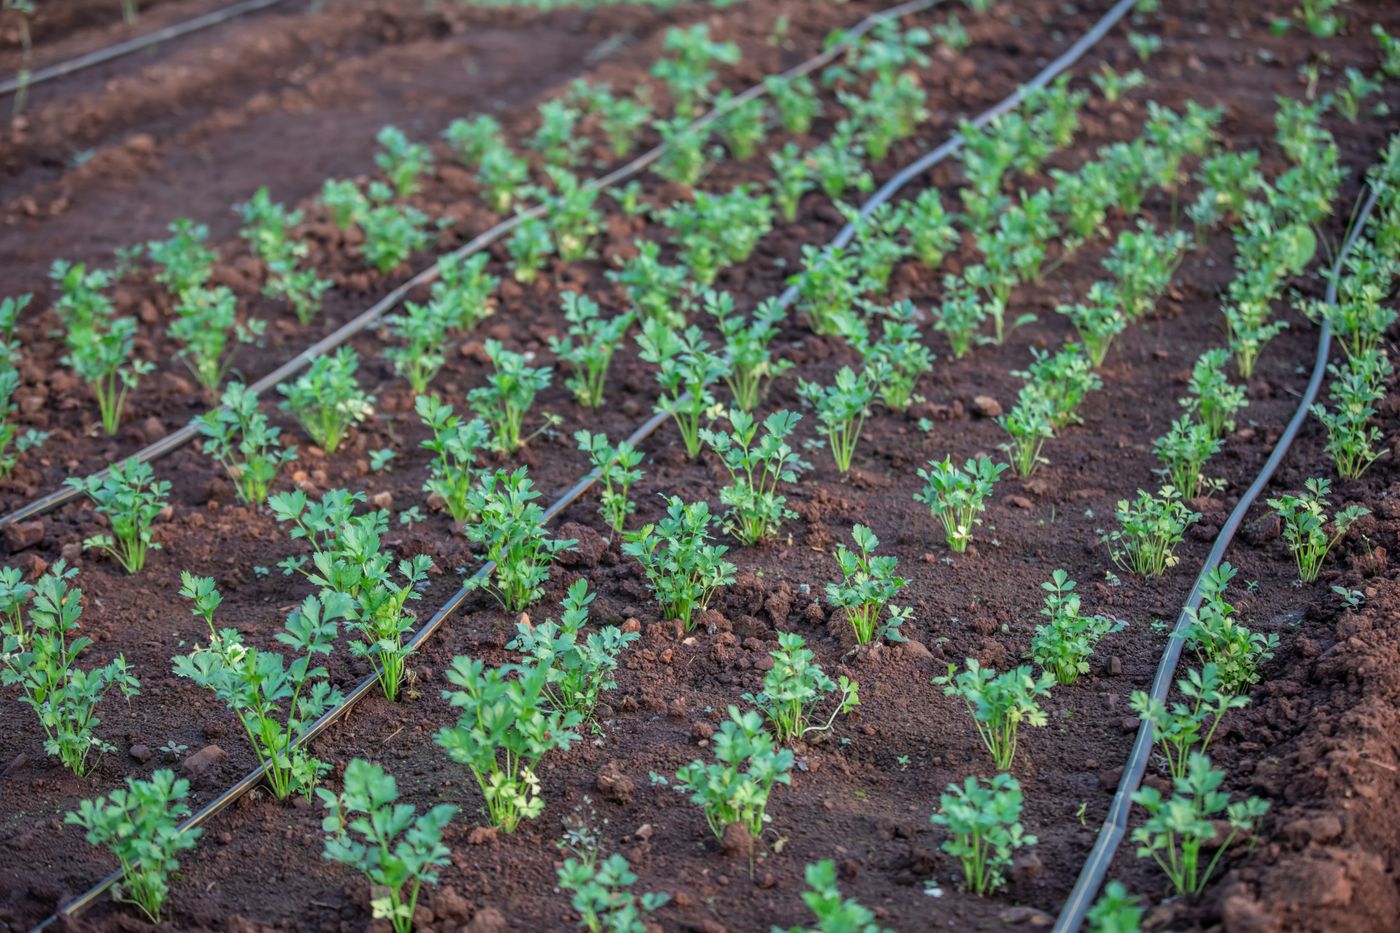
The tomato bed looks fine from the road. Walk down it and the pattern appears. The first twenty metres are lush, the middle is patchy, and the last plants on the line are wilting at three in the afternoon while the pump is running. Nobody turned the water off. The emitters did.
Clogging is how most drip kits in Kenya die. Not a burst pipe, not a failed pump, but a slow loss of emitters one at a time until the farmer decides drip does not work here and goes back to a hosepipe. The kit was fine. The water was not, and nothing between the tank and the emitter was dealing with what was in it.
This article covers that gap: what blocks an emitter, which filter handles which problem, how to flush, how to fertigate through a venturi without making the clogging worse, and the end-of-season routine that gets a kit into a second and third season.
Four Things Block an Emitter, and a Filter Stops Only One
An emitter is a labyrinth: a moulded path a fraction of a millimetre wide that slows the water down so it leaves as drops instead of a jet. Anything that can lodge in that path will. The trouble is that anything arrives by four different routes, and each route needs a different answer.
Physical particles. Silt, fine sand, soil and flakes of pipe scale. They come from rivers, dams and pans, from a new borehole still pumping fines, and from a lateral dragged through soil with the end open. This is what a filter is for, and it is the only one of the four that a filter fully solves.
Biological growth. Algae grow wherever water sits in light: an open tank, a dam, a translucent pipe in the sun. Bacterial slime grows in the dark inside the pipe, especially where fertiliser has been left in the line, and it binds fine silt into a paste that blocks far more than the silt alone would. A filter takes out algae strands. It does nothing about slime that forms downstream of it.
Chemical precipitation. Some borehole water carries dissolved iron or manganese, invisible at the tap. Once that water meets air, in a tank or at the emitter outlet, the metals oxidise into a reddish or black deposit. Hard water leaves carbonate scale at the emitter mouth as each drop evaporates. Both pass straight through any filter, because at the filter they are not particles yet.
Fertiliser precipitate. This one the farmer creates. Mix a calcium fertiliser with a phosphate or sulphate in the same tank, or inject an alkaline product into hard water, and a milky sediment forms in the stock tank and again in the lines. It is the commonest cause of clogging on farms that fitted a good filter and still lose emitters.
Screen, Disc or Sand: Match the Filter to the Water, Not the Price
Every dripline comes with a filtration requirement, usually expressed as a mesh number. Standard driplines commonly call for something in the region of 120 to 150 mesh, and the finer the emitter the finer the mesh. Read the specification of the dripline you actually bought and fit a filter at that mesh or finer. A coarser filter is a filter that lets through exactly the particle the emitter cannot pass.
Screen filters are a stainless or plastic mesh cylinder in a housing. Cheap, simple, opened and rinsed in a minute. On clean water carrying a little inorganic grit they are excellent: a borehole, a roof tank, a treated town supply. Their weakness is organic matter. Algae and slime smear across the mesh and blind it fast, and once blinded a cheap screen either strangles the flow or tears and passes everything.
Disc filters are a stack of grooved plastic rings compressed together. Water passes through the grooves, which trap particles through the depth of the stack rather than on one surface, so a disc unit holds more dirt for its size and copes far better with organic matter. Cleaning means loosening the stack and hosing the discs. For most Kenyan smallholder systems this is the sensible default.
Sand filters, also called media filters, are a tank of graded sand or gravel that the water percolates through. Algae, organic matter and fine silt are trapped through the whole bed, which is why this is the only filter that copes with surface water: a river, a dam, a pan, a stream. A sand filter is always followed by a disc or screen filter as a safety net, because the media bed can shed its own grains.
The water source decides the choice, and it decides it before the price list does.
Two pressure gauges, one either side of the filter, tell you when to clean it. A clean filter shows a small drop between the two. As it loads the drop grows, and a common working rule is to clean when it has risen by about 0.3 to 0.5 bar above the clean reading, not on a calendar. Without gauges, watch the last emitter on the longest lateral: when its flow falls while the pump sounds normal, either the filter is loading or the line needs a flush.
If your water has iron, hardness or a bad smell, filtration is the wrong place to start. Get it tested, and read our guide to farm water treatment on aeration, settling and matching treatment to the use.
Flushing: The Routine That Does More Than the Filter
Even with good filtration, fine particles that passed the mesh settle where water moves slowest, which is the far end of every lateral. Over a few weeks they form a bed, slime binds it, and the last emitters go first. Flushing moves that sediment out before it consolidates into something that will not move.
Work from the top down: main first, then submains, then laterals, so main line dirt is never pushed into laterals you have just cleaned. Open the end of the main and run until clear, then each submain, then the laterals a few at a time. That last point matters. Open every lateral end at once and the pressure collapses, the water trickles and carries nothing; a handful of open ends with the pump holding pressure behind them gives the velocity that scours. Catch the water in a clear cup and run until it stops looking cloudy.
Flush weekly for the first month of a new system or after any pipe work, since new pipe sheds fines, then by observation. Always after a fertigation. Always after a repair. After every heavy rain if the source is surface water.
Make it easy or it will not happen. Fit flush valves on lateral ends, or at least a folded end held by a ring that opens in seconds. A farmer who has to cut and rejoin a line to flush it stops flushing within a month.
Venturi Injectors: Fertigation Without a Pump or Power
Fertigation means feeding through the drip line. The lines already put water precisely at the roots, so fertiliser in that water goes to the same place, in small doses, often, which is how a crop takes it up best. It is the reason drip beats other methods on fertiliser cost, a point we cover in our comparison of drip and sprinklers.
A venturi injector is the simplest way to do it. It is a fitting with a narrowing throat. Water speeding through the throat drops in pressure and draws liquid up a suction hose from a stock tank. There are no moving parts and nothing to power. What it needs instead is a pressure difference across it, so it is usually fitted in a bypass loop around a partly closed valve on the main: the valve forces some of the flow through the venturi at higher pressure than the line downstream, and the difference drives the suction.
That pressure difference is not free. A venturi consumes part of your line pressure, and a gravity kit fed from a tank stand a few metres high may not have it to spare. If the far emitters weaken while the injector is drawing, fit a small booster pump ahead of it, use a differential pressure fertiliser tank, or batch dose the supply tank instead.
Three layout points decide whether fertigation cleans or clogs your lines. Inject upstream of the last filter, so undissolved fertiliser and anything stirred up from the stock tank is caught before the driplines. Put a small foot filter on the suction hose. And if the system shares a supply with a house or a livestock trough, fit a backflow preventer: fertiliser must never siphon back into drinking water.
Fertiliser Compatibility: The Jar Test Before the Tank
Use products labelled water soluble and made for fertigation. Ordinary granular field fertilisers contain fillers, coatings and insoluble material, and what does not dissolve ends up as sediment in the stock tank and then in the lines. A bag that is cheaper per kilo is not cheaper once it has cost you a roll of dripline.
The one rule that prevents most precipitation is simple: keep calcium away from phosphate and sulphate in the stock tank. Calcium reacts with both to form compounds that barely dissolve, and the result is a white sediment that forms in minutes. Standard practice is two stock tanks, often labelled A and B, with the calcium product in one and the phosphates and sulphates in the other, injected at different times with a clean water rinse between them.
Hard water makes everything worse, because the carbonate already in the water reacts with the fertiliser and raises the risk of scale. Acidic fertiliser products help, and a farmer with hard water should know it from a test rather than discover it from a blocked line.
Before any new product or combination, run a jar test. Dissolve the fertiliser in a jar of your own irrigation water at the diluted strength that will actually reach the lines, not the stock tank strength, stir, and leave it an hour or overnight. Clear: go ahead. Cloudy, a film or sediment: that is what will form inside your emitters, so change the combination, the order or the product.
Keep the stock tank honest too. Dissolve everything fully with no crystals on the bottom, keep it covered and out of the sun so algae cannot start, and rinse it between batches.
End-of-Season Maintenance That Saves the Kit
Most driplines are not lost during the season. They are lost between seasons, to sun, rodents, a tractor, a goat, and a fertiliser-laden line left to dry out in the field. A day's work at the end of the crop is the difference between reusing a kit and buying one.
Flush completely. Main, submains and laterals, with clean water, until every end runs clear. If slime or scale was a problem during the season, this is the moment for a maintenance treatment, chlorination for biological growth or an acid treatment for scale, following the product label and the dripline maker's guidance, and then another full flush.
Drain everything. Open all the ends and let the lines empty. Standing water grows algae in the light and slime in the dark, and a wet coiled line traps sediment at the low points.
Strip the filter. Wash the discs and dry them, inspect a screen for tears and stretched mesh, and backwash a sand filter thoroughly. If the top of the media bed is fouled and crusted, replace that layer.
Take the venturi off. Rinse it inside and out and store it indoors. Fertiliser residue attacks brass and crusts on plastic, and a venturi left in the line over the dry season often will not draw.
Roll the laterals loosely, off the ground, in shade, with the ends capped against insects and dust. Mark the sections that were damaged or had dead emitters so they are repaired before the next crop rather than discovered during it. Store the pump, valves and fittings dry.
Before the next season, lay the lines out and pressurise them before you plant, walk every one, replace the bad sections, and flush the mains before the laterals are reconnected. A kit that gets this treatment goes several seasons. A kit that is left in the field goes one.
Everything in this article is standard stock for us: driplines, drip valves, water filters, tanks, and the pumps that drive them, through our water equipment range at all six branches. Current figures are on our price list; a drip valve, for instance, is listed at 30 KSH.
Key Takeaways
- Emitters block by four routes: particles, biological slime, chemical precipitation and fertiliser precipitate. A filter fully solves only the first.
- Fit the mesh the dripline maker specifies. Screen for clean water, disc as the all-round default, sand filter first on any river, dam or pan water.
- Iron and hardness need treatment before the filter, not a finer filter. A clean filter with blocked emitters is a water chemistry problem.
- Flush from main to submains to laterals, a few ends at a time so the pump can scour, and always after fertigation.
- A venturi needs a pressure difference to draw. Inject upstream of the last filter and fit backflow prevention on any shared supply.
- Keep calcium away from phosphate and sulphate, use water soluble grades, and jar test any new mix in your own water first.
- End the season with a full flush, drained lines, a stripped filter and laterals rolled in shade.
Frequently Asked Questions
Why are my drip emitters blocked when the filter is clean?
Because a filter only removes particles, and most of what blocks emitters arrives dissolved and turns solid after the filter. Iron in borehole water oxidises to a rust coloured deposit when it meets air at the emitter, carbonate hardness leaves scale as each drop evaporates, calcium mixed with phosphate or sulphate fertiliser precipitates inside the line, and slime grows in the dark and binds fine silt into a paste. A clean filter with blocked emitters points to water chemistry, fertiliser mixing or lack of flushing.
Which filter do I need for drip irrigation from a dam or river?
Surface water carries algae, organic matter and fine silt, and a screen or disc filter on its own blinds within hours. Fit a sand media filter first, which traps organic material through the depth of the bed, then a disc or screen filter at the mesh the dripline maker specifies as a safety net. If the water runs muddy after rain, settle it in a tank before the sand filter.
Can I use ordinary granular fertiliser through drip lines?
Not safely. Field fertilisers contain fillers, coatings and insoluble material that leave sediment in the stock tank and the lines. Use grades labelled water soluble, dissolve them fully, and keep calcium sources in a separate stock tank from phosphates and sulphates. Before any new product or combination, jar test it in your own irrigation water at the diluted strength that will reach the lines. If the jar goes cloudy, the emitters will too.
How often should I flush drip lines?
Weekly for the first month of a new system, then by observation, and always after fertigation, after any repair, and after heavy rain if the source is a river, dam or pan. Work from the main to the submains to the laterals, opening only a few lateral ends at a time so the pump holds enough pressure to scour, and run each until the water in a clear cup stops looking cloudy.
Does a venturi injector work on a gravity drip kit?
Sometimes, but marginally. A venturi turns pressure into suction at its throat, so it needs a pressure difference across it, and a tank stand a few metres high gives very little to work with. On a gravity kit, fit a small booster pump ahead of the venturi, use a differential pressure fertiliser tank, or dose a measured batch into the supply tank and follow it with a full clean water flush.