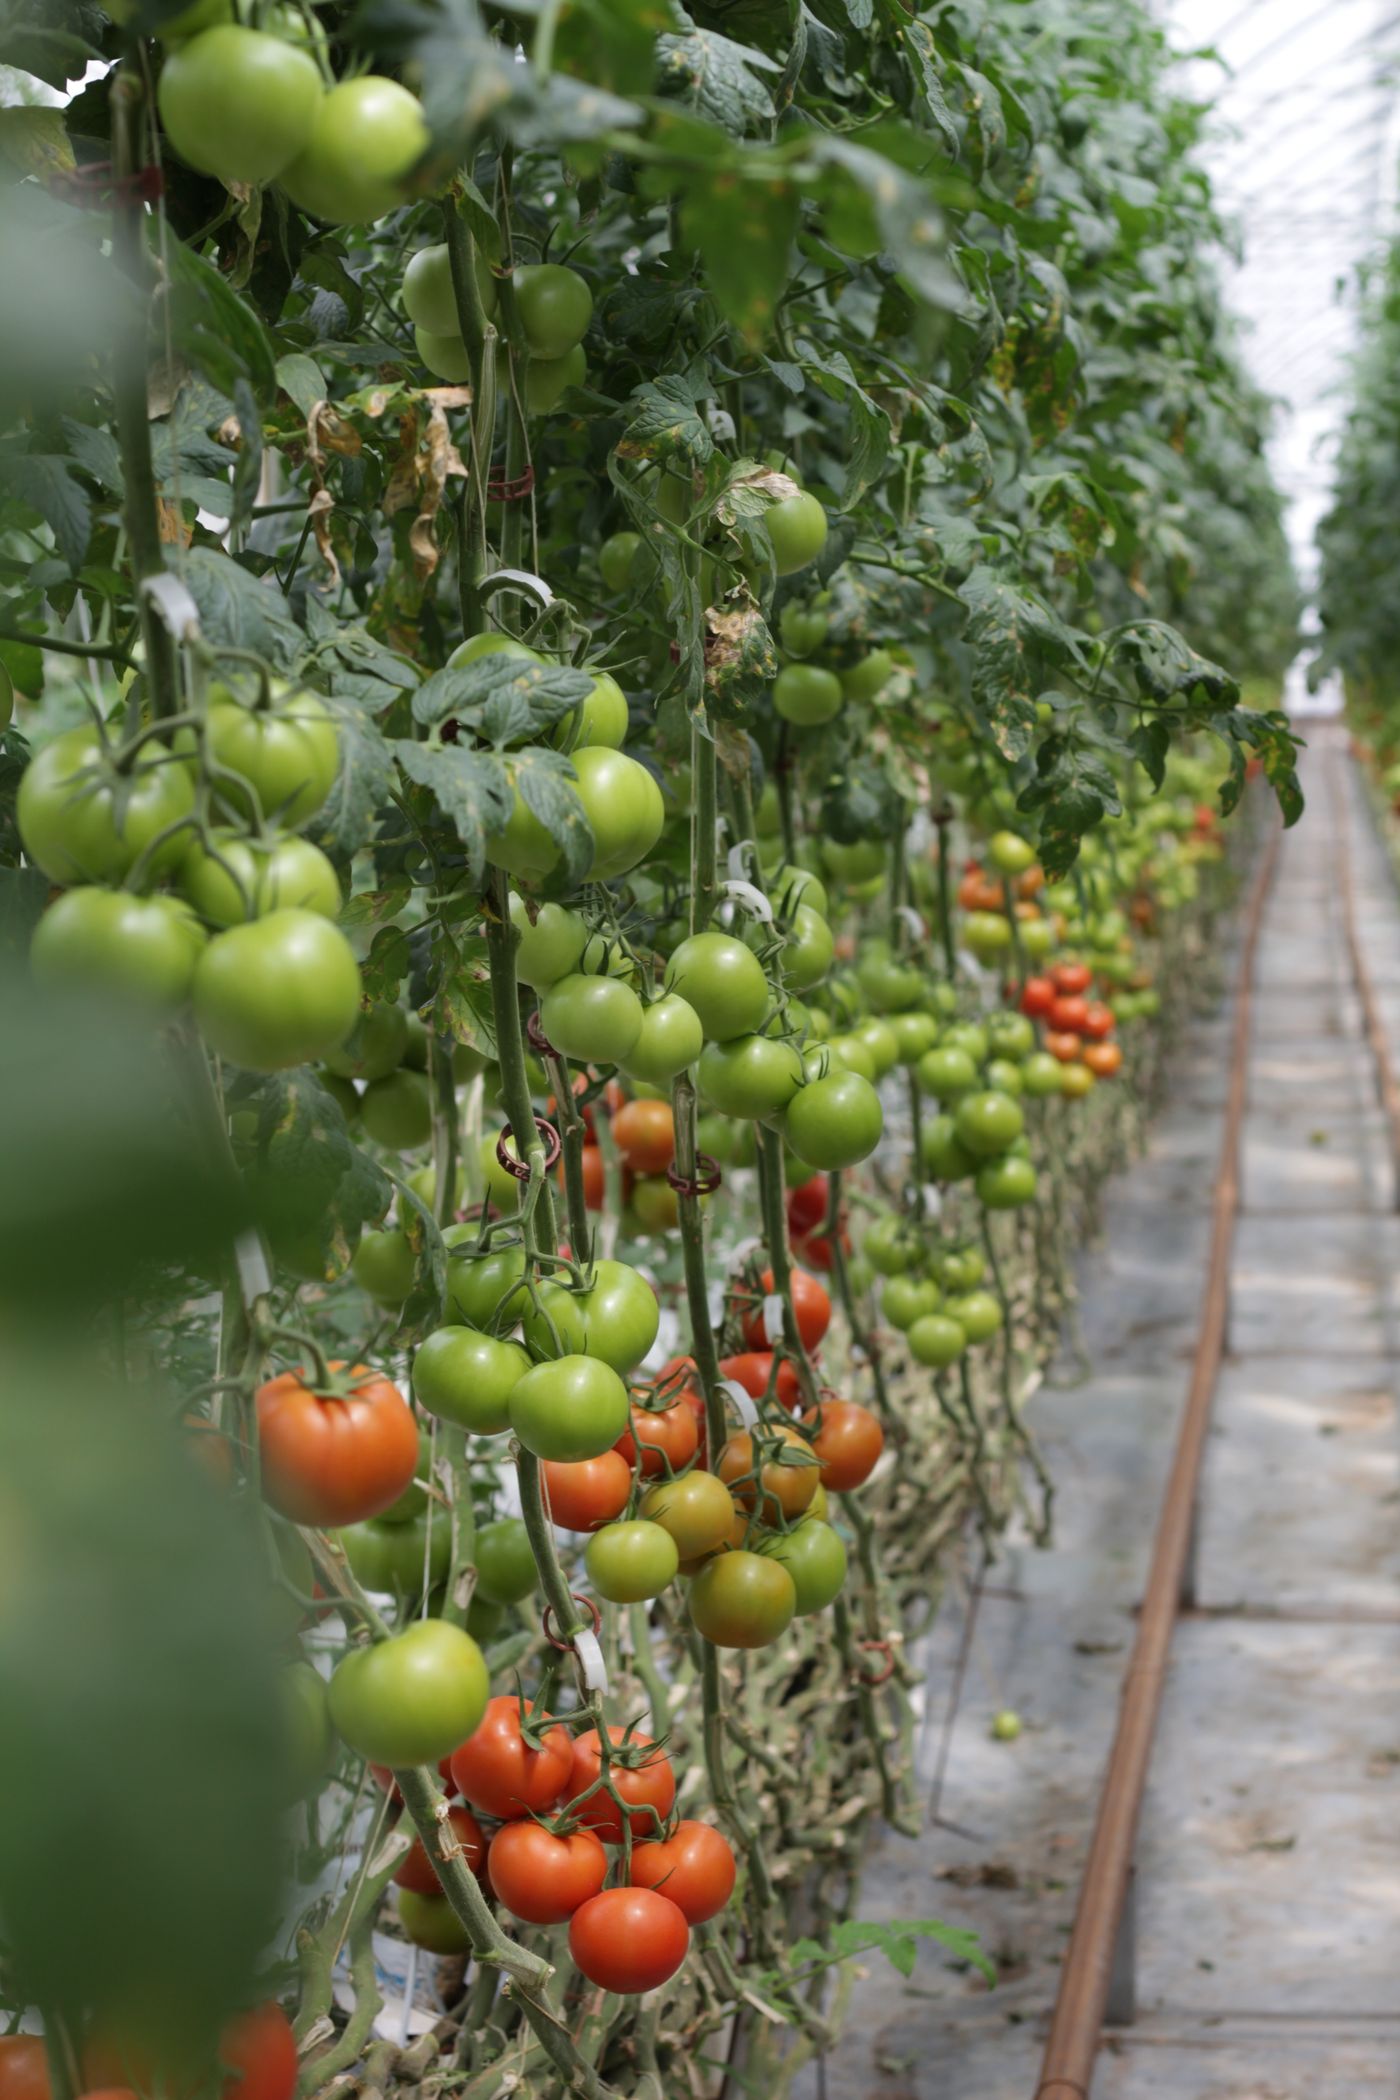
Inside a greenhouse there is nowhere for a mistake to hide. No rain bails you out, no cloud softens a hot afternoon, no wind dries a wet leaf. Every drop the crop drinks and every gram of nutrient it eats comes down one thin black pipe that you laid and you control. Get that pipe right and a tunnel becomes the most productive patch of ground on the farm. Get it wrong and it turns into a hot box of stunted plants and blocked emitters.
Most greenhouse disappointments in Kenya are irrigation problems in disguise. The bed near the tank is lush while the far bed wilts. Plants grow leafy but set little fruit. Emitters that ran beautifully in month one dribble unevenly by month three. The structure was fine and the crop was fine. The water and feed simply did not arrive evenly, in the right amount, at the right time.
This guide treats the greenhouse as a single feeding machine and works through it in order: laying the drip on raised beds so every plant gets the same, filtering the water so the emitters survive, injecting fertiliser through a venturi or a dosing pump, scheduling water by crop stage, what EC and pH actually tell you, and the cleaning routine that keeps the whole thing alive into a second and third season.
Lay the Drip Around the Bed, Not the Bed Around the Drip
A greenhouse crop is grown on raised beds for good reasons: the soil warms and drains, roots get air, and the paths stay walkable when you irrigate. The drip layout has to serve that bed shape, so start from the bed and work outward rather than buying a kit and forcing the beds to fit it.
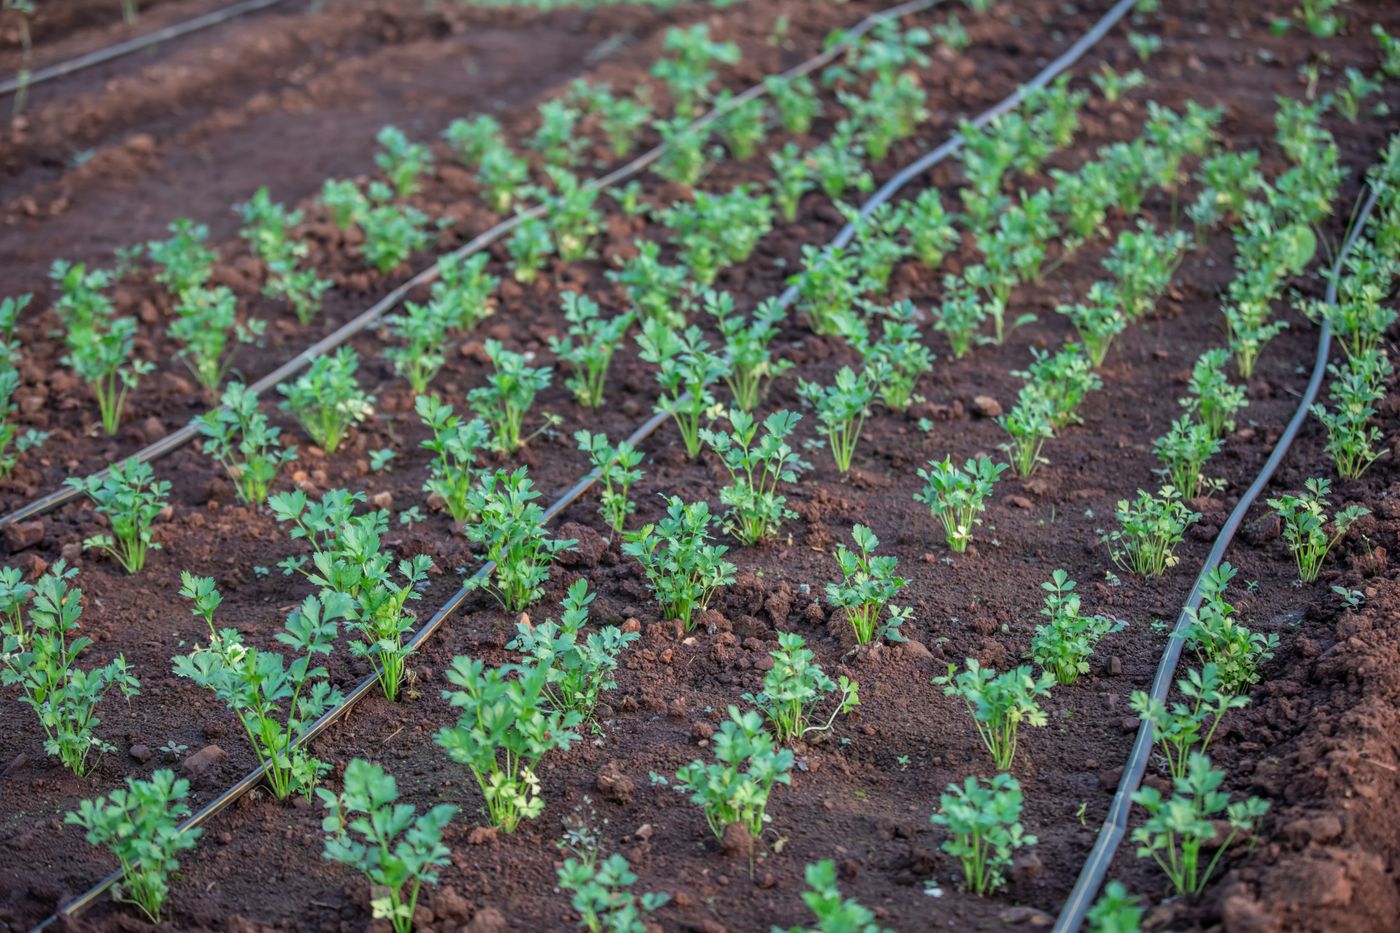
The heart of the system is the dripline, a pipe with emitters moulded in at a fixed spacing. For a single row of a trellised crop such as tomato, capsicum or cucumber, one dripline along the base of the row is usually enough. For a wide bed with a double row, run two lines, one to each row, so no plant is left reaching for water. Emitter spacing, commonly in the 20 to 30 centimetre range, should roughly match your plant spacing so each root zone sits over a wetted patch. Read the spacing printed on the dripline you buy and choose it to suit the crop.
The single most valuable feature to insist on is pressure compensation. A plain dripline gives more water at the start of the run, where pressure is highest, and less at the tail. Over a short bed you may not notice. Over a long greenhouse bed you get exactly the lush front and starved tail that farmers complain about. A pressure compensating emitter holds its output steady across a wide pressure band, so the first plant and the last plant drink the same. On any bed longer than a few metres it is not a luxury, it is what makes the crop even.
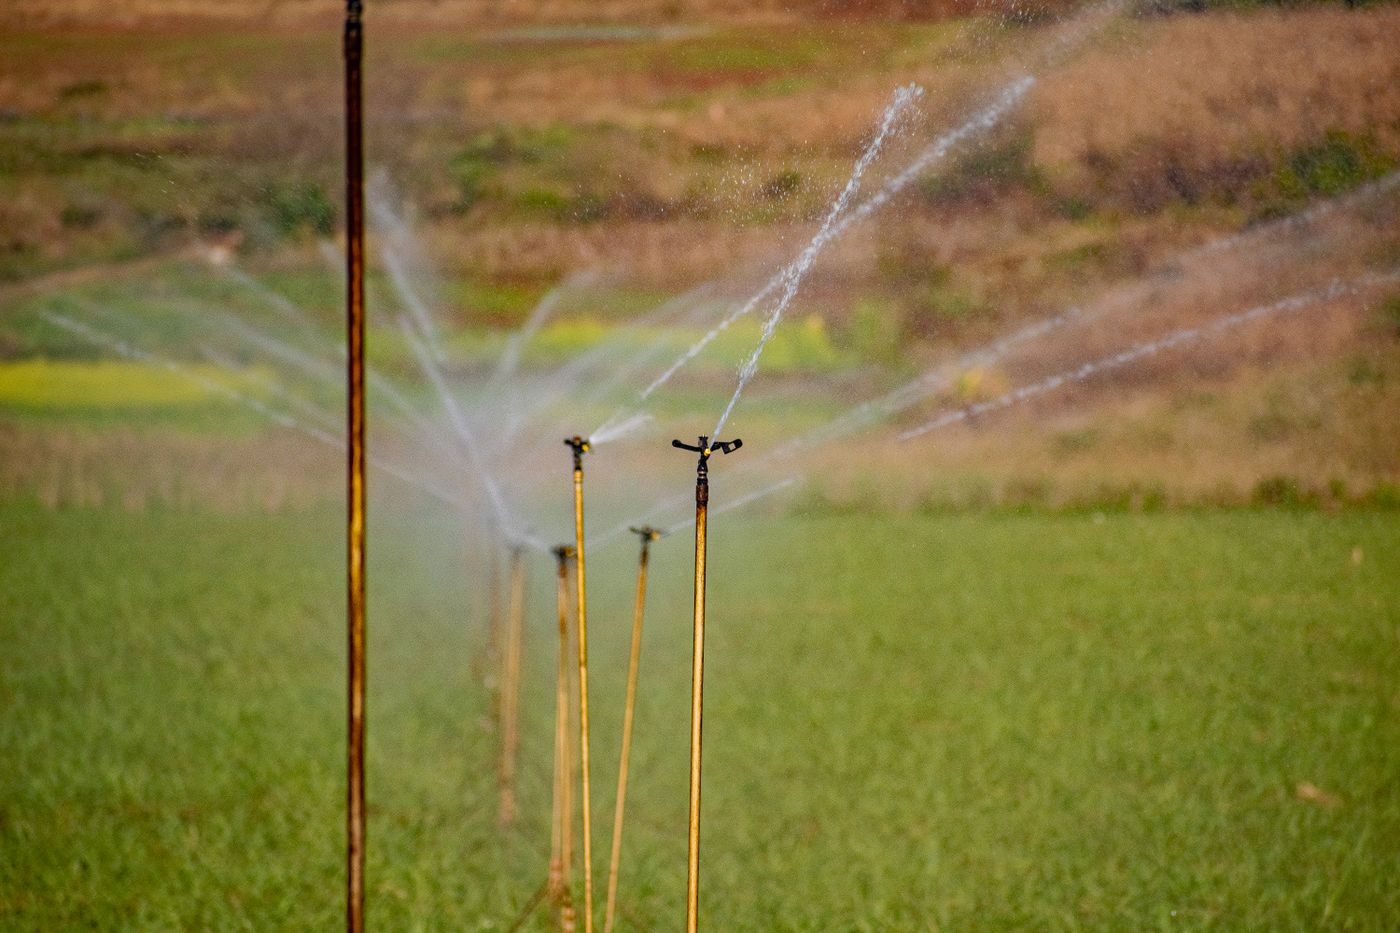
Above the driplines sits the plumbing. Water leaves the tank, passes the filter and the injector, runs along a mainline to the greenhouse, then splits into a submain from which each dripline is teed off through a connector and often a tap. Keep runs sensible in length, close each bed with an end cap you can open, and size the pipe so the whole block can run at once without the pressure sagging. If you are still weighing drip against overhead options under plastic, our comparison of drip irrigation versus sprinklers explains why drip wins where wet leaves invite disease.
Even beats generous. A greenhouse does not reward the bed that gets the most water, it rewards the block where every plant gets the same. Pressure compensating dripline and a sensibly sized submain do more for uniform yield than extra flow, because a crop is only ever as good as its thirstiest plant.
Filtration Is the Insurance Policy on Every Emitter
An emitter is a labyrinth barely wider than a hair, designed to slow water to a drip. Anything that can lodge in that path eventually will, and once an emitter blocks it does not announce itself: the plant above it simply fades while the pump keeps running. Filtration is the cheap insurance against that slow, silent failure, and it matters more under plastic because no rain tops up a plant you failed to spot.
Match the filter to your water source. A borehole or a clean roof tank usually needs only a screen or disc filter to catch grit and scale. Water from a pan, dam or river carries silt and algae and needs a sand or media filter first, backed by a disc filter as a safety net. Whatever the source, fit the filter at the mesh the dripline maker specifies or finer, because a coarse filter passes the exact particle your emitter cannot. Fine driplines want fine filtration, and that number is on the box for a reason.
A filter only removes what is already solid, though, and that is the trap. Silt and algae strands it catches. Dissolved iron, hard water scale and a bad fertiliser mix all sail through while dissolved, then turn solid inside the warm dripline where nothing can reach them. That is why a clean filter and blocked emitters so often appear together. Our companion guide on drip filters and why emitters clog covers the four routes into a blocked emitter and how to close each one. The headline: the filter is necessary but not sufficient, so pair it with clean mixing and regular flushing.
One detail most home built systems get wrong: the fertiliser injector should sit before the filter, not after it, so any precipitate formed the instant concentrated feed meets your water is caught by the filter instead of carried into the beds. The sequence below is the working order.
Injecting Fertiliser: Venturi or Dosing Pump
Fertigation means delivering dissolved fertiliser through the same drip that carries the water, so the crop is fed a little at every irrigation instead of being force fed in occasional heavy doses. Done well it is a major reason greenhouse yields beat open field yields on the same crop. The question is how to get concentrated feed from a stock tank into the pressurised line, and there are two common answers.
A venturi injector is a shaped fitting with no moving parts. Water forced through a narrowing throat speeds up and drops in pressure, and that low pressure sucks concentrated feed up a small tube from the stock tank. It is cheap, simple and needs no power, which makes it the natural starting point for a smallholder greenhouse. Its weakness is that the dose depends on pressure and flow: if either wobbles, so does the strength of the feed, and it also uses some line pressure to work, which you must allow for when sizing the pump.
A dosing pump, electric or the water driven type, meters a set proportion of feed into the line regardless of small changes in flow. It holds a steadier, more accurate concentration, which matters as the operation grows and the crop gets fussier. It costs more, and an electric unit needs reliable power, so it earns its place on a larger or more valuable crop rather than a first tunnel. The honest path for many Kenyan growers is to start on a venturi, learn the crop, then move to a dosing pump when the acreage and margins justify it.
Whichever injector you fit, two habits protect the system. Keep incompatible fertilisers apart: a calcium product mixed in the same tank with a phosphate or sulphate throws a milky sludge that blocks lines faster than any silt, so if a crop needs both, run two stock tanks and let them meet only in the diluted, moving water of the mainline. And finish every feed by running clean water through the lines, so no concentrated fertiliser sits in a warm pipe overnight to precipitate or feed the slime that grows in the dark.
Feed little and often. The advantage of fertigation is not that you can pour on more nutrient, it is that you can give a small, steady ration at almost every watering, keeping the root zone at an even strength and letting you adjust the feed as the crop moves from leaf to fruit.
Water by the Crop Stage, Not by the Clock
The commonest scheduling mistake is watering the same amount every day because that is the routine. A greenhouse crop does not drink the same every day. Its thirst climbs as it grows from a small transplant into a heavy, fruiting canopy, and it rises and falls with the heat inside the tunnel. Watering to a fixed habit means drowning a young crop and starving a mature one, often in the same season.
Think in stages. At establishment, just after transplanting, roots are tiny and shallow, so the crop wants small, frequent, gentle waterings that keep the surface moist without turning the bed into a swamp: too much now and roots stay lazy near the top instead of chasing moisture down. In the vegetative stage the plant builds leaf and frame, demand rises steadily, and the goal is a moist but breathing root zone that draws roots deep. At flowering and fruiting demand peaks, because a canopy heavy with fruit transpires hard, and this is where uneven watering shows up as split fruit, blossom end rot and dropped flowers. Little and often, holding the root zone steady, beats a single heavy soak that swings the plant from wet to dry.
The picture below shows the shape of that demand curve. It is illustrative, not a schedule to copy, because your real numbers depend on the crop, the weather and your soil. The lesson is the shape: gentle at the start, rising through the middle, highest and most sensitive at fruiting.
Let the crop and the soil, not the calendar, tell you when to water. The simplest field test is your hand: dig a few centimetres into the bed and feel it. Soil that crumbles dry wants water, soil that smears wet does not, and soil that balls but breaks is about right. A moisture meter or a simple tensiometer takes the guesswork further, but the hand and the eye, used daily, will save more crops than any gadget.
EC and pH: The Two Numbers Worth Watching
Two cheap meters tell you most of what you need to know about the feed reaching your plants, and neither requires a chemistry background. They turn fertigation from guesswork into something you can read and adjust.
EC, electrical conductivity, measures how much dissolved salt is in the water, which for a grower means the overall strength of the feed. Plain water reads low, a strong nutrient mix reads high. EC does not tell you which nutrients are present, only how concentrated the total is. Too low and the crop is underfed. Too high and the salts pull water back out of the roots, scorching leaf edges and stalling growth even though the soil looks wet, a problem that creeps up in a greenhouse where rain never rinses the salts away. Watching EC keeps your feed inside a sensible band.
pH measures how acid or alkaline the water is, and it decides how available the nutrients are to the root even when they are present. Much Kenyan water runs alkaline, and at a high pH certain nutrients lock up chemically, so you can feed correctly and still see deficiency. A mildly acidic pH keeps most nutrients available. High pH water also drives the scale that blocks emitters, so managing it protects the hardware as well as the crop.
Read, do not guess. A cheap EC meter and a pH meter, checked at the dripper rather than only in the tank, tell you whether the feed the plant actually receives is the strength and acidity you intended. They are the least expensive instruments on the farm that pay you back the fastest, because they catch a feeding problem before the crop shows it.
One firm caution. This article deliberately gives no fertiliser recipe, no target EC figure and no nutrient schedule, because the right numbers depend entirely on your crop, growth stage, water analysis and soil, and a figure copied from the internet can do real harm. Get a water test and a crop specific feeding programme from a qualified agronomist or your input supplier, then use EC and pH as your daily instruments to hold that programme steady. The meters are the dashboard, the agronomist writes the route.
Keeping the System Clean Season After Season
A drip and fertigation system is not fit and forget. It is a machine that needs a short, regular service, and the greenhouse rewards discipline here more than almost anywhere because a blocked line cannot be spotted from the door. Build a few habits and a kit lasts many seasons. Skip them and it dies quietly in one.
Flush the lines regularly. Fine sediment that slips past the filter settles at the far, low pressure ends of the driplines and builds up. Opening the end caps one bed at a time and letting the water run hard for a minute or two carries that sludge out before it blocks the last emitters. Do it often, always after a feed, and run the water until it comes out clear.
Watch the filter and the pressure. Clean the filter on a schedule rather than waiting for the flow to drop, because by the time you see weak drippers the filter has been strangling the block for a while. A pressure gauge before and after the filter is the cheapest early warning you can fit: a growing gap between the readings means it is loading up and asking to be cleaned.
Treat the causes a filter cannot catch. Slime, algae and mineral scale build inside the pipe where no filter reaches, so a periodic cleaning treatment keeps the labyrinths open. Acid treatments tackle scale, chlorine type treatments tackle biological slime, and the two are done separately, never mixed. Because dose and timing depend on your water and driplines, follow the dripline maker or your agronomist rather than a rule of thumb, and flush clean afterwards. The drip filters and fertigation guide covers these treatments in more detail.
Close the season properly. When a crop finishes, do not just switch off. Flush every line, run a cleaning treatment through the system, then drain it so no water sits stagnant in warm pipes between crops. A kit put away clean starts the next crop with open emitters.
All of this hardware, from pressure compensating dripline and connectors to screen, disc and sand filters, venturi injectors and tanks, is part of the wider greenhouse stack we set out in our guide to greenhouse farming equipment in Kenya. Current sizes and pricing sit on the Fuga price list, kept up to date so you can match the components to the tunnel you are building.
Key Takeaways
- Design the drip around the raised bed: one dripline per single row, two for a double row, emitter spacing matched to plant spacing, and pressure compensating dripline so the first and last plant drink the same.
- Filter to the mesh the dripline specifies, matched to your water source, but remember a filter only catches solids. Iron, scale and bad fertiliser mixes pass it and set hard inside the line.
- Put the fertiliser injector before the filter. Start with a venturi on a first tunnel and move to a dosing pump as the crop grows in size and value.
- Water by crop stage, not by the clock: gentle at establishment, rising through vegetative growth, peaking and most sensitive at flowering and fruiting. Feed little and often.
- Use cheap EC and pH meters as your daily dashboard, but get the actual feeding recipe from an agronomist and a water test, never from a copied figure.
- Flush lines regularly, watch filter pressure, treat scale and slime separately, and close every season with a clean and drain so the kit lasts for years.
Frequently Asked Questions
Why is one end of my greenhouse bed lush and the other end wilting?
Almost always it is a pressure problem. A plain dripline delivers more water where pressure is highest, near the inlet, and less at the tail, so the far plants are quietly underfed. Pressure compensating dripline evens the output along the whole bed. Check too that the block is not too long for your pump and that the filter is not partly blocked and starving the far end.
Do I need a dosing pump, or is a venturi enough for my greenhouse?
For a first tunnel on a modest budget a venturi injector is usually enough. It is cheap, needs no power and injects feed perfectly well, though its dose drifts a little as pressure changes and it uses some line pressure to work. A dosing pump holds a steadier, more accurate concentration and earns its higher cost on larger or more valuable crops. Many growers start on a venturi and upgrade later.
My filter is clean but the emitters are still blocking. What is wrong?
A filter only removes what is already solid. Dissolved iron, hard water scale and a bad fertiliser mix all pass a clean filter, then turn solid inside the warm dripline where the filter cannot reach. So blocked emitters with a clean filter point at water chemistry, fertiliser mixing or a missing flush, not at filtration. The fix is separating incompatible fertilisers, flushing after every feed, and periodic acid or chlorine type cleaning of the lines.
What EC and pH should I feed my tomatoes at?
We will not give you a number, because the right EC and pH depend on your crop, its growth stage, your water analysis and your soil, and a figure copied from elsewhere can damage the crop. Get a water test and a crop specific programme from a qualified agronomist or your input supplier, then use a cheap EC meter and pH meter daily, checked at the dripper, to hold that programme steady.
At Fuga we supply the whole greenhouse feeding system, from pressure compensating dripline and filters to venturi injectors and tanks, and we size it to your beds and your water rather than sell you a box that does not fit. Tell us your crop, your bed layout and where your water comes from. Check current sizes and pricing on the price list, then reach us through our contact page or on WhatsApp for honest advice first and a quote second.