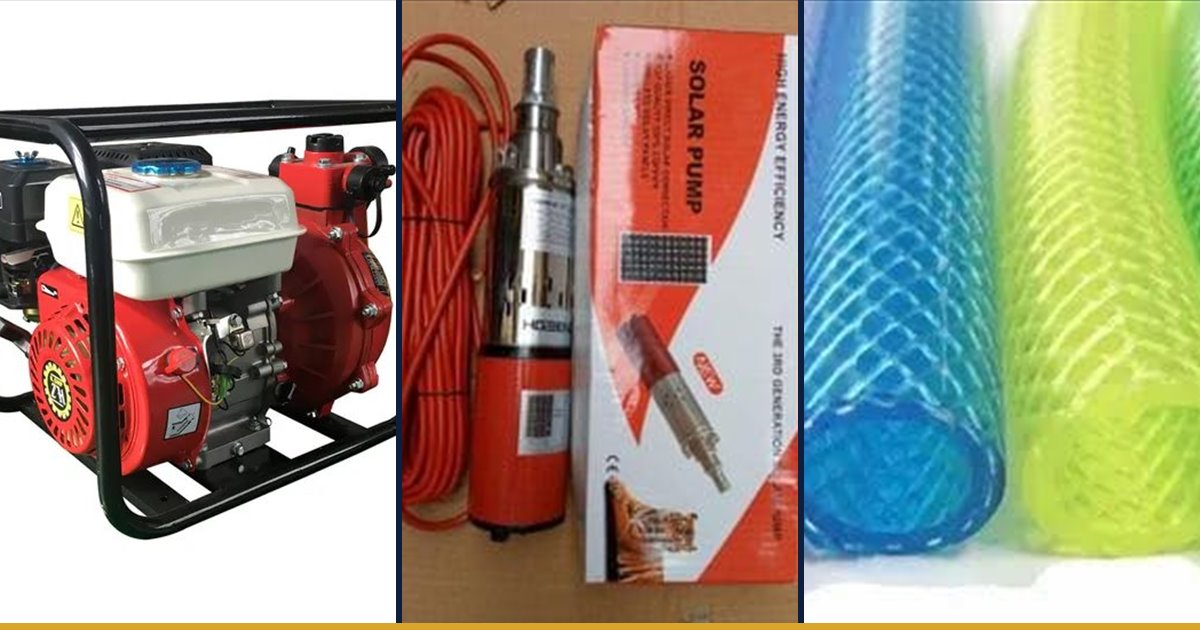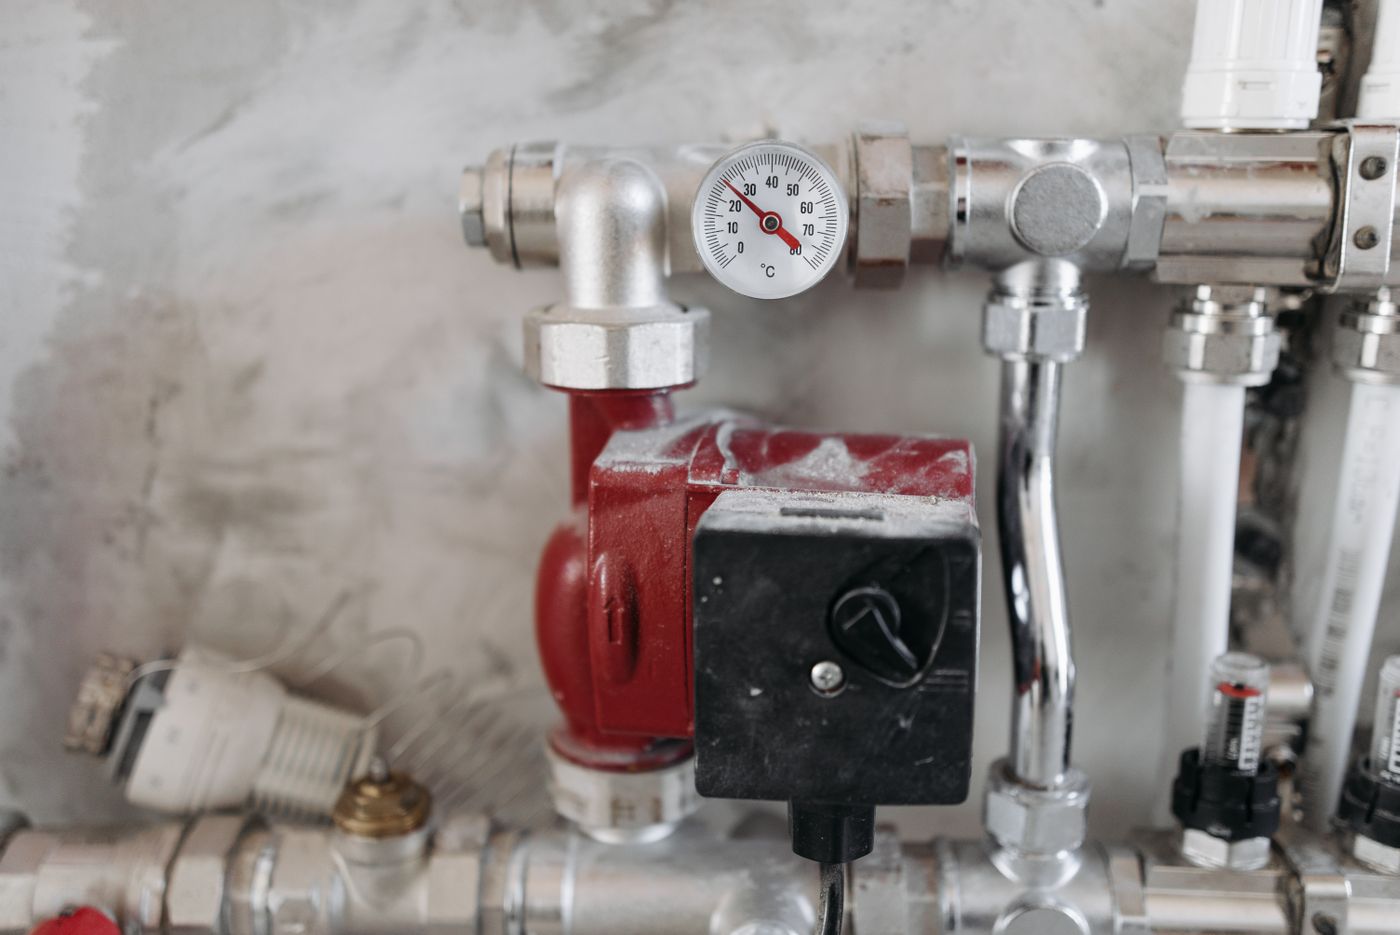
Lifting water out of the ground has always been hard work, whether by bucket, by hand pump or by engine. A surface pump on a farm is meant to make it easy: fill the casing, pull the cord or flick the switch, and water arrives. Then one morning it does not. The engine roars, the motor hums, the delivery hose lies flat, and after a minute or two of trying the only result is a hot pump body and a seal that has started to weep.
A pump that will not prime, or primes and then loses it, is one of the most common water problems on a Kenyan farm, and also one of the most commonly misdiagnosed. People blame the pump, buy a new one, connect it to the same suction line, and get the same result. In most cases the pump is fine. The fault is on the suction side: a foot valve that no longer seals, a joint that draws air, a lift that is too high for the altitude, or a pipe route that traps an air pocket.
This guide gives you a troubleshooting order that starts with the quickest, cheapest checks and works towards the expensive ones, so you find the real fault before you spend money. It explains what each check is testing and why. For the background on how suction works and how surface and submersible pumps differ, see our guide to submersible versus surface pumps; this article is the hands-on diagnosis that follows from it.
What Priming Actually Does
A centrifugal pump moves water by spinning it. The impeller flings water outwards into the casing, and that leaves a region of low pressure at the centre, the eye of the impeller. Atmospheric pressure pressing on the surface of the well then pushes water up the suction pipe to fill that low-pressure space. The pump does not pull water up; the air pressure outside pushes it.
That only works if the impeller is spinning water, not air. Air is about 800 times less dense than water, so an impeller full of air produces almost no pressure difference and cannot raise the water column at all. Priming means filling the casing and the suction line with water so that the impeller has something heavy to work on. A so-called self-priming pump is designed to recirculate water inside its casing until it has cleared the air from the suction line, but even a self-priming pump must have its casing filled before the first start. Self-priming means it can evacuate the line, not that it can start dry.
Every priming fault comes back to one of three things: the pump cannot get or keep enough water in the casing, air is getting in faster than the pump can push it out, or the lift is beyond what air pressure can support at your site. The troubleshooting order below tests them in that sequence.
The Suction Budget: How High Can Your Pump Really Lift?
Start with the physics, because no amount of fixing will beat it. At sea level, atmospheric pressure can support a column of water about 10.3 metres high. That is the absolute ceiling, the height that a perfect pump with no losses could lift. Air pressure falls as you climb, and much of Kenya's farming land is high. At about 1,800 metres, roughly Nairobi's altitude, the ceiling drops to around 8.3 metres.
No real pump gets close to the ceiling, because several things spend part of it before any water is lifted. Friction in the suction pipe, its fittings and the foot valve uses some. The pump itself needs a margin of pressure at its inlet to avoid cavitation, a figure manufacturers call the net positive suction head required. And water has a vapour pressure: at ordinary temperatures it is small, but it is subtracted too. What remains is the static lift you can actually use.
The example shows why the commonly quoted practical limit of about seven metres of suction at sea level shrinks to five or a little more in the highlands, and why a pump that worked perfectly in May fails in September. Nothing broke. The water level dropped and the budget ran out. So the very first measurement in any priming investigation is the vertical distance from today's water surface to the pump inlet. If it is beyond the practical limit for your altitude, move the pump closer to the water, lower it on a platform, or change to a submersible. For sizing the pump to the job overall, see our guide to pump sizing, head and flow.
Foot Valve and Strainer: The Usual Suspect
A foot valve is a non-return valve with a strainer, fitted at the bottom of the suction pipe. It lets water in when the pump runs and closes when the pump stops, so the column of water stays in the pipe and the pump is still primed at the next start. The strainer keeps out leaves, frogs and stones that would block the valve or damage the impeller.
Foot valves fail in two ways, and each gives a different symptom. If the valve leaks back, held open by a grain of sand, a twig or a worn seat, the pump primes but loses its prime between runs; the suction line drains back into the well overnight and you have to fill the casing every morning. If the strainer is clogged with silt, leaves or algae, the pump struggles to draw water at all, makes a rattling cavitation noise, and delivers a weak, surging flow.
To test, pull the suction line out of the water. Look at the strainer and clean it. Then fill the line from the top and watch the foot valve: water should stay in the pipe, not dribble out. If it leaks, open the valve and clean the seat and flap; if the seat is worn or the rubber is hard and cracked, replace the valve. When you refit it, keep the strainer well below the lowest water surface so it cannot draw air through a vortex, and well clear of the bottom so it does not suck in silt. A rule of thumb used by many installers is to keep it at least half a metre below the surface and off the bottom by a similar margin, more for larger pumps.
Suction Leaks: Finding Air You Cannot See
A leak on the delivery side squirts water out, so you see it and fix it. The same leak on the suction side does the opposite: the pipe is below atmospheric pressure, so air is drawn in, and there is nothing to see. A small suction leak lets in enough air to break the prime or reduce the pump to a sputtering, surging flow.
Check every joint from the foot valve to the pump inlet: threaded unions, hose tails, clamps, and the pump's own inlet fitting. Use two good hose clamps on every hose joint on the suction side, with the screws turned to opposite sides. Look for cracks in rigid pipe and soft or collapsed sections in hose. Use reinforced suction hose only. Ordinary garden hose and lay-flat hose collapse under suction, and a hose that collapses partly shuts off the flow while looking perfectly connected.
A simple field test finds most leaks. With the pump running and struggling, pour water slowly over one joint at a time, or wrap it in a wet cloth. Water briefly seals the leak, so when you reach the leaking joint the pump note changes and the flow picks up. Mark that joint, stop, and remake it with fresh thread tape or sealant. The same test works on the pump's shaft seal: a worn mechanical seal or a dry gland packing on the suction side of some pumps can draw air too.
Airlocks: When the Pipe Route Traps Air
Even with every joint sealed, the shape of the suction line can defeat the pump. Air collects at any high point. If the suction hose rises from the water, droops over the edge of the well, and then rises again to the pump, the hump at the top of the edge becomes an air pocket the pump cannot clear. The water column breaks there, and priming either fails or is lost after a few minutes.
Lay the suction line so it rises steadily from the water to the pump with no humps and no sags. Keep it short and straight, at least as large as the pump inlet and ideally one size larger, and use gentle 45 degree bends rather than sharp elbows where you must change direction. If you reduce pipe size at the pump, use an eccentric reducer with its flat side on top, because a concentric reducer leaves a ridge at the top of the pipe where air gathers. Our guide to pipe sizing and friction loss shows how much each fitting costs you in head.
On the delivery side, air must have somewhere to go. When priming, leave the delivery outlet open and unrestricted. A closed valve, a long delivery hose already full of standing water, or a non-return valve with a high column above it can stop the pump from pushing the air out of the casing, so it never completes the prime. Open the line, let the pump clear its air and establish flow, and only then close down or connect the rest of the system.
A Step-by-Step Troubleshooting Order
Work through the checks in this order. Each step is quicker and cheaper than the one after it, and each rules out a cause before you move on.
Step 1, fill properly. Remove the priming plug and fill the casing slowly until water overflows and no more bubbles rise. Pour slowly; pouring fast traps air in the casing. Refit the plug tightly, since a loose plug can let air in while the pump is trying to prime.
Step 2, measure the lift. Measure from today's water surface to the pump inlet. Compare it with about seven metres at the Coast and about five in the highlands. If you are over, move the pump down, not the problem around.
Step 3, foot valve and strainer. Pull the line, clean the strainer, test the valve for leak-back, and refit it well submerged and clear of the bottom.
Step 4, suction leaks. Double-clamp every hose joint, retape every union, and use the wet-cloth test with the pump running.
Step 5, airlocks and the delivery. Reroute the suction to rise steadily, and open the delivery fully while priming.
Step 6, the pump itself. Only now open the pump. A worn impeller or a wide gap between impeller and casing cannot build enough suction; a blocked impeller passes little water; a worn seal draws air. On an engine pump, check that it reaches full speed, because a self-priming pump running slowly may never clear its line. Our guide to pump servicing and storage covers inspecting the impeller and seal.
| Item | Stock code | Price |
|---|---|---|
| WATER PUMP 1HP SURFACE | TWP17506 | KSh 11,000 |
| PEDROLLO 0.5 HP | 6466 | KSh 7,000 |
| WATER PUMP WP 20 | 6427 | KSh 15,000 |
| WATER PUMP HIGH PRES 2" | 6426 | KSh 23,000 |
| HOSE CLIPS | 6259 | KSh 200 |
| BEND 2" * 45 | 6127 | KSh 35 |
| REDUCING BUSH 2 > 1.5 | 6374 | KSh 20 |
Prices are from our current price list and can change, so confirm before buying. If your pump turns out to be past repair, or the lift at your site is simply beyond a surface pump, our guide to choosing a water pump walks through the alternatives, and the high pressure water pump and electric submersible pump pages show two common routes. Bring us the lift, the hose size and what the pump does when it fails, and we can usually point to the fault before you spend anything.
Key Takeaways
- A centrifugal pump cannot move air, so priming fills the casing and suction line with water; even a self-priming pump must have its casing filled first.
- Air pressure, not the pump, lifts water on the suction side, and the ceiling falls with altitude: about 10.3 m at sea level, around 8.3 m near 1,800 m, before any losses.
- A pump that worked in the rains and fails in the dry season has often simply run out of suction budget as the water level dropped.
- A foot valve that leaks back loses the prime between runs; a clogged strainer starves the pump and makes it rattle.
- Suction leaks draw air invisibly; pouring water over each joint while the pump runs finds them.
- Check in order: fill, lift, foot valve, leaks, airlocks and the open delivery, and only then open the pump.
Frequently Asked Questions
Why does my water pump lose its prime overnight?
Almost always because the water in the suction line drains back into the source while the pump is stopped. The foot valve is not sealing, usually because grit, a twig or a worn rubber flap holds it slightly open, or there is a small air leak at a suction joint letting the column fall. Pull the line, clean and test the foot valve by filling the pipe from the top, and replace the valve if the seat or flap is worn.
How high can a surface pump lift water by suction in Kenya?
It depends on altitude. Atmospheric pressure supports about 10.3 metres of water at sea level, falling to roughly 8.3 metres near 1,800 metres. Friction, the pump's own inlet requirement and vapour pressure use part of that, so a practical working limit is commonly around 7 metres at the Coast and about 5 metres or a little more in the highlands. Measure from the lowest water level to the pump inlet.
Can I use lay-flat hose or garden hose on the suction side?
No. The suction side is below atmospheric pressure, so any hose that is not reinforced against collapse will flatten partly or fully and choke the flow, even though it looks connected. Use reinforced suction hose at least as large as the pump inlet, double-clamp every joint, and keep lay-flat hose for the delivery side, where the water pressure holds it open.
How do I find an air leak in a pump suction line?
With the pump running and struggling, pour water slowly over one joint at a time or wrap it in a wet cloth. The water briefly seals any leak, so when you reach the leaking joint the pump note changes and the flow improves. Mark it, stop the pump, and remake the joint with fresh thread tape or sealant, or fit a second hose clamp. Check the shaft seal the same way.
Is it bad to run a pump while trying to prime it?
Running it briefly with a filled casing is how priming works, but running it dry is harmful. A mechanical seal is cooled and lubricated by water and overheats within moments without it. If no water arrives after a minute or so, stop, find the fault, refill the casing to overflowing and try again rather than letting the pump keep spinning.