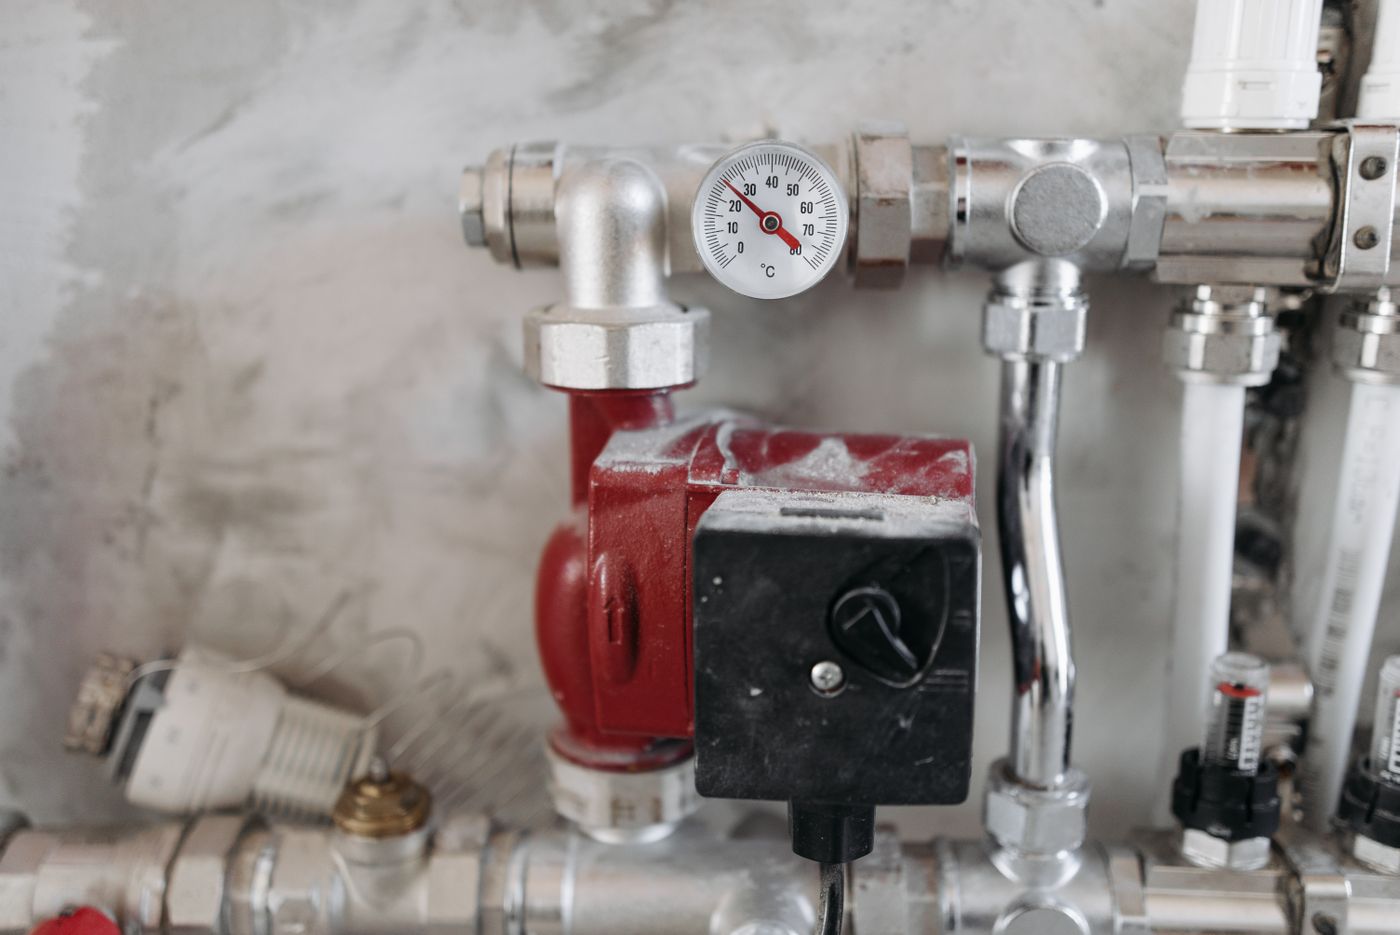
The pump in the photograph above has done a season's work. It lifted water for the vegetables, filled the trough and topped up the tank, and in a few weeks the rains will make it redundant. What happens next decides whether it starts on the first pull in January or spends the first dry week of the new year in a workshop. Most farmers push it under a shed roof with fuel in the tank and water in the body and think no more about it until they need it.
That is the expensive option. An idle pump does not rest. Fuel breaks down, water sitting in a cast iron body corrodes it, the mechanical seal faces stick to each other, and rodents find the exhaust and the wiring. By the time the pump is needed again, several small problems have combined into one machine that will not prime, will not start, or leaks the moment it does.
This guide is the lay-up routine we recommend for petrol and diesel engine pumps and for electric surface pumps that will sit idle through the wet season. It covers the flush and drain, the oil and filter change, what to do with the fuel, the carburettor and spark plug, the impeller, seal and gasket inspection, protection against corrosion and rodents, where to store the pump, and the restart routine that brings it back into service without damage.
What Actually Happens Inside an Idle Pump
Every step in the routine exists because of a specific mechanism, so it helps to name them. Start with fuel. Petrol left in a tank reacts with air and slowly forms gum and varnish. In a carburettor, where the fuel sits in a tiny float bowl and passes through jets narrower than a needle, that gum is enough to block the idle circuit completely. Diesel is more stable, but a half-empty tank breathes moist air as the temperature changes, condensation collects in the fuel, and water in diesel feeds microbial growth that clogs the filter.
Next, water. The wet end of a pump, the volute and impeller, is usually cast iron or aluminium. Left full, or even damp, it corrodes, and the corrosion is worst at the narrow gap between the impeller and the casing where efficiency depends on a close fit. Silt left in the body sets hard around the impeller and the seal.
Then the seal. A mechanical seal is two flat faces, one spinning with the shaft and one fixed, pressed together and lubricated by a film of the water being pumped. Left idle, the faces can stick together or corrode, and the rubber bellows or O-ring behind them takes a set. On restart the stuck faces tear at each other and the pump weeps at the shaft. Finally, the engine oil. Used oil holds acids and combustion by-products that attack bearings and cylinder walls while the engine sits, which is why the oil change belongs before storage, not after.
Step One: Flush the Wet End, Then Drain It Completely
Do this on the last day of the irrigation season while the pump is still connected. Move the suction to clean water, or put the strainer in a drum of clean water, and run the pump for several minutes so the silt and organic matter that settled during the season are carried out. Muddy water leaves a deposit that cements the impeller in place; clean water leaves nothing.
Stop the engine or motor, disconnect the hoses, and open the drain plug at the bottom of the pump body. Tilt the pump until it stops dripping, then leave the drain plug out or loose while the body dries. Remove the strainer and foot valve from the suction hose, clean them and store them with the pump. Drain the suction and delivery hoses, coil them loosely and keep them out of the sun, because ultraviolet light is what turns a supple hose into a brittle one.
Turn the impeller by hand through the inlet if the design allows it, or by turning the engine over slowly with the spark plug removed. It should move freely with no grinding. Any resistance now, while the pump is warm and wet, is far easier to clear than the same resistance six months later.
Step Two: Oil, Filters and the Spark Plug
Change the engine oil while the engine is warm from the flush, because warm oil drains quickly and carries the suspended dirt out with it. Refill with the grade in the manual. This single step protects the crankshaft, bearings and cylinder wall for the whole storage period, so do not be tempted to leave the old oil in and change it on restart.
Clean or replace the air filter. Foam elements are washed, dried and lightly oiled; paper elements are tapped clean or replaced. A filter that is stored dirty is a filter that admits dust on the first start. On a diesel, change or at least drain the fuel filter and water separator, since that is where any water in the fuel has collected.
On a petrol engine, remove the spark plug, inspect it and clean or replace it. Then put a few drops of clean engine oil into the cylinder through the plug hole and pull the starter cord slowly two or three times to spread that oil over the cylinder wall and rings. Refit the plug finger tight. This keeps the bore from rusting and the rings from sticking. The same discipline applies to a small generator engine, and our guide to generator maintenance covers the engine side in more depth.
Step Three: Fuel, Drained or Stabilised
You have two workable options for petrol and one for diesel. For a petrol pump stored for more than a month, the simplest is to drain the tank into a clean container, then run the engine until it stops on its own so the carburettor float bowl empties. Most carburettors also have a small drain screw on the float bowl; open it to release the last of the fuel. An empty carburettor cannot gum.
The second option is to keep the tank full and add a fuel stabiliser, then run the engine for a few minutes so treated fuel reaches the carburettor. This suits a pump that might be called on unexpectedly during the wet season. It only works if the stabiliser is added to fresh fuel, not to fuel that has already been sitting.
Diesel pumps are stored with the tank full, because a full tank has no air space for condensation to form in. If the storage will run into months, a diesel biocide or conditioner guards against the microbial growth mentioned earlier. Whichever fuel you use, label the container and the tank with the date so nobody puts old fuel into a freshly serviced engine in January.
Step Four: Impeller, Mechanical Seal and Gaskets
With the body drained, look at the impeller through the inlet or, if the design makes it easy, remove the pump cover. Vanes that are thinned, pitted or chipped by sand cannot be rescued, and their condition tells you how much abrasive the pump has swallowed. Check the wear ring or the clearance between impeller and casing; a wide gap is the reason a pump that used to reach the top of the tank now stops halfway.
Then the mechanical seal. Look at the weep hole or the joint between the pump body and the engine for a water track, mineral deposit or rust stain. That is the sign of a seal that has been leaking a little all season, and a leaking seal lets water into the engine bearing next to it. Replace it before storage rather than trusting it to survive six months of sitting. Cover gaskets and O-rings that are flattened or cracked go in the bin too, and the cover goes back on lightly greased.
Never run the pump dry to test it. The seal faces are lubricated and cooled by water, and even a few seconds without it overheats them; the damage shows as a weep at the shaft that gets worse rather than better. If you must run the engine without pumping, isolate the pump end or make sure the body is full and the suction is in water.
Electric Surface Pumps: The Motor Side
An electric centrifugal pump has no fuel or oil to worry about, but its motor and its electrical parts are more vulnerable to damp than an engine. Flush and drain the wet end exactly as above. Then dry the motor housing, check the cable for cuts and the plug for corrosion, and look at the terminal box for any sign of water having got in during the season. If the pump has a start capacitor, note whether it has been slow to start or humming before it turns, because that capacitor is often what fails after a damp storage.
Store an electric pump off the floor and away from any fertiliser, which gives off corrosive vapour, and never wrap it tightly in plastic. A sealed bag traps moisture and the motor windings sit in it for months. A loose cover that keeps dust off but lets air move is what you want. For a comparison of the surface and submersible types and how each copes with the wet season, see our guide to submersible versus surface pumps.
Corrosion, Rodents and Where to Store the Pump
Wipe the outside of the pump and engine down, then coat bare metal with a light film of oil or a spray lubricant. Pay attention to the shaft where it enters the pump body, the drain plug threads and any unpainted casting. Loosen the drive belt on a belt-driven pump so it does not take a set over the pulleys.
Rodents move indoors when the rain starts, and a warm, quiet engine makes a good nest. Stuff a clean rag into the exhaust and another into the air intake, and tie a bright label to the starter cord reminding whoever restarts it to remove both. Do not store bagged feed or seed next to the pump, and raise the pump on a pallet or a bench so it is off the damp floor, easy to inspect and out of any water that comes under the door.
The place matters as much as the preparation. A dry, ventilated store with a sound roof beats an open lean-to, and a corner that is walked past every week beats a locked room that nobody enters until January. Note on the label what was done and when, and what still needs attention.
The Dry-Season Restart Routine
Bringing the pump back is the lay-up in reverse, with two extra checks. Remove the rags and the label, check the oil level, and fit a fresh spark plug or the cleaned one. Fill with fresh fuel, or on a stabilised tank simply open the fuel tap. Reconnect the suction with the strainer and foot valve, checking every clamp, and then fill the pump body with water through the priming port until it overflows. A centrifugal pump cannot lift air, so a body that is only half full will spin without moving water and the seal will suffer for it.
Start the engine and watch the delivery. Water should arrive within a minute or so on a short suction; if it does not, stop, check for an air leak on the suction side and prime again rather than letting it run. Once flow is established, look at the shaft for weeping and at the joints for spray. Then compare what the pump delivers against what you expect. If the flow or the lift has dropped since last season, work through our guide to pump sizing, head and flow to separate a worn pump from a suction problem.
A pump that gets this routine twice a year, once going into storage and once coming out, lasts longer than one that is simply parked, and it starts when it is needed. If yours is past saving, our guide to choosing a water pump for a Kenyan farm walks through the decision, and the high pressure water pump in our range is the usual starting point for a farm that needs lift as well as flow.
Key Takeaways
- An idle pump does not rest: fuel gums the carburettor, water corrodes the impeller and casing, seal faces stick and used oil attacks the bearings.
- Flush the wet end with clean water on the last day of the season, then drain it completely and leave the drain plug loose while it dries.
- Change the oil while the engine is warm, clean or replace the air and fuel filters, and oil the cylinder through the plug hole on a petrol engine.
- Drain petrol and run the carburettor dry, or stabilise fresh fuel; store a diesel with a full tank so condensation has nowhere to form.
- Inspect the impeller, mechanical seal and gaskets before storage, and never run the pump dry, because the seal is lubricated by water.
- Store the pump raised, dry and ventilated with the exhaust and intake plugged against rodents, and prime it fully before the first restart.
Frequently Asked Questions
Should I drain the fuel from my petrol water pump before storing it?
For storage longer than a month, yes. Petrol reacts with air and forms gum that blocks the tiny jets in a carburettor, and an empty carburettor cannot gum. Drain the tank into a clean, labelled container, run the engine until it stops on its own, then open the float bowl drain screw to release the last of the fuel. The alternative is to fill the tank with fresh fuel, add a stabiliser and run the engine briefly so treated fuel reaches the carburettor, which suits a pump you may need during the wet season.
How long can a water pump sit idle before it is damaged?
There is no safe fixed period, because the damage depends on how the pump was parked rather than how long. A pump left with fuel in the tank and water in the body can gum and corrode within weeks in humid weather, while a pump that was flushed, drained, oiled and stored dry can wait out a whole wet season and start normally. The lay-up routine is what buys the time, so do it whenever the pump will sit for more than a few weeks.
Why does my pump leak at the shaft after storage?
The mechanical seal has failed. A mechanical seal is two flat faces, one turning with the shaft and one fixed, kept apart by a film of the water being pumped. Left idle and damp, the faces stick or corrode and the rubber behind them takes a set, so on restart they tear at each other and water weeps past. Running the pump dry, even briefly, does the same damage faster. Inspect the seal before storage, replace one that shows a water track or rust stain, and always prime fully before starting.
Can I store an electric water pump the same way as an engine pump?
The wet end is treated the same: flush with clean water, drain completely and let it dry. The motor side is different because there is no oil or fuel, but the electrical parts are more vulnerable to damp. Dry the housing, check the cable, plug and terminal box for corrosion or water, and note whether the start capacitor has been struggling. Store it off the floor, away from fertiliser, under a loose cover that lets air move, and never sealed in plastic where moisture collects around the windings.
What is the right way to restart a pump after the rains?
Remove the rags from the exhaust and intake, check the oil level, fit the spark plug and fill with fresh fuel. Reconnect the suction with the strainer and foot valve, checking every clamp, then fill the pump body with water through the priming port until it overflows, because a centrifugal pump cannot lift air. Start and watch for water within about a minute on a short suction. If none comes, stop and look for an air leak rather than letting it run, then check the shaft and joints for leaks once flow is steady.