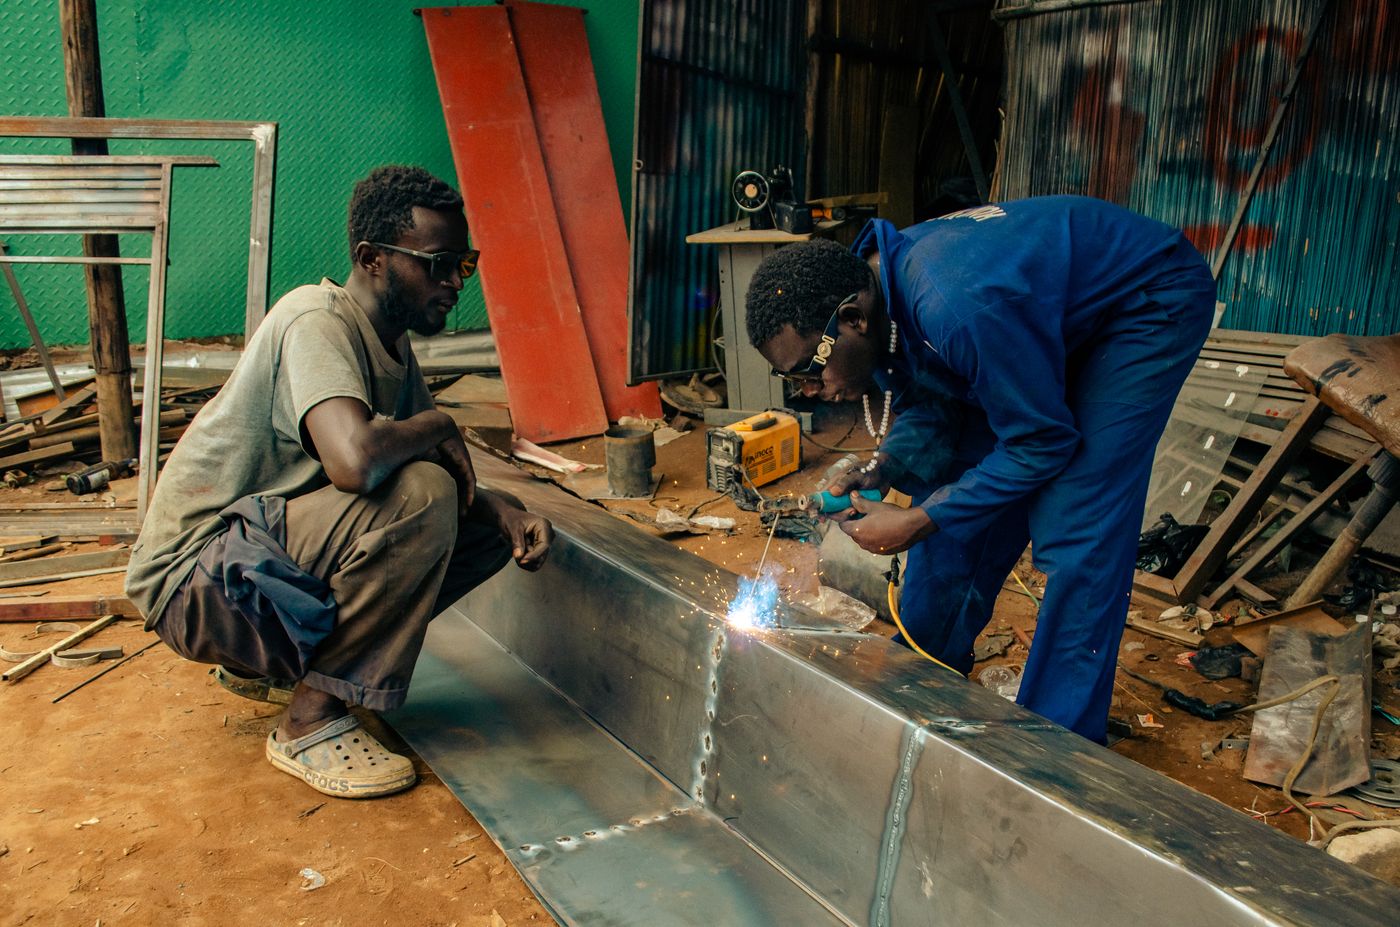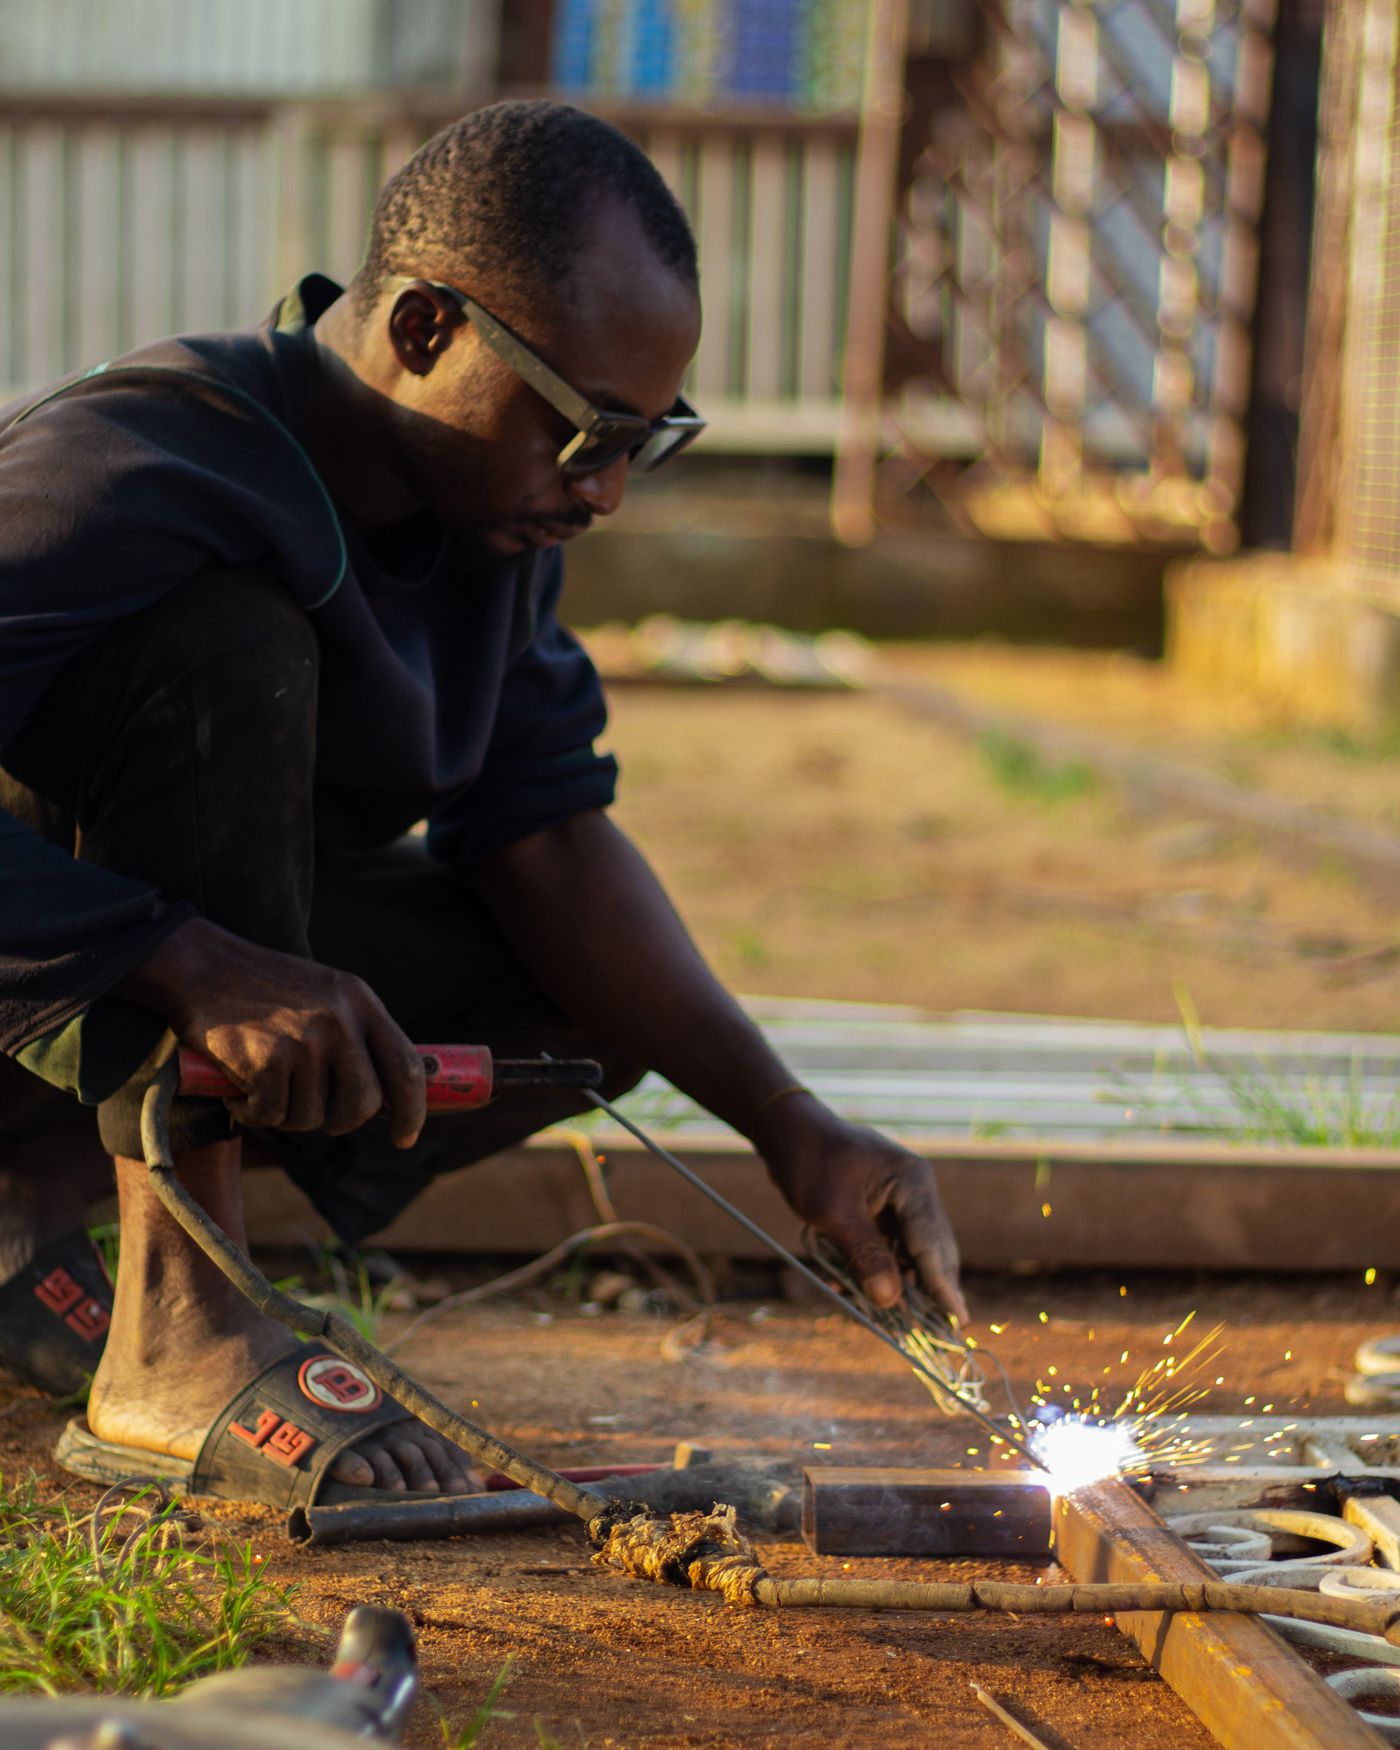
A new gate goes up in September, freshly painted and looking sharp. By the end of the short rains, brown streaks are running down from every weld, the bottom rail is blistering and the paint around the hinges lifts off in flakes. The steel was fine and the welds were strong. The gate failed at the step most fundis rush: what happened between the last weld and the last coat of paint.
Rust on welded steelwork is rarely bad luck. It starts in the same places on almost every job: the welds, the cut ends, the sharp edges, and any pocket where water sits. It is driven by the same few mistakes: slag and spatter left on, paint brushed over mill scale and dust, a single thin coat, and painting late in the afternoon when dew is about to fall. Each mistake is cheap to avoid.
This guide is for fabricators and farmers building gates, window grills, tank stands, cattle crushes and frames. It covers why welds rust first, how to prepare the steel, how to build a coating system that lasts, when the weather is right to paint, how to handle galvanised steel, and the design details that keep water out. Paint products vary, so always read the data sheet or tin for the primer and paint you use.
Why Welds Rust First
A weld changes the steel around it. Arc welding with flux coated rods leaves a layer of slag over the bead, and small balls of spatter around it. Slag is glassy and brittle; paint over it and the paint fails when the slag cracks away underneath. Spatter balls make sharp points where paint film is thin. Flux residues can also attract moisture, which is one reason coating suppliers ask for welds to be thoroughly cleaned before painting.
Heat also leaves a dark oxide tint on either side of the weld, and the steel itself arrives from the mill covered in mill scale, the blue grey oxide skin formed during hot rolling. Mill scale looks protective, but it cracks and flakes over time, and once moisture gets under it, rust spreads beneath the paint. A coat applied over loose scale is only as good as the grip of the scale itself.
Finally, welded joints create crevices: the gap where a flat bar sits on a tube, the inside of an overlapping joint, a corner where two members meet. Water and dirt collect in these places and stay damp long after the rest of the gate has dried. Good welding practice, covered in our guide to choosing welding rods, reduces spatter and gaps, but some cleaning is always needed.
How Harsh Is Your Site?
The same gate rusts at very different speeds in different parts of Kenya. The international standard for classifying corrosive environments, ISO 9223, which the protective paint standard ISO 12944 also uses, groups sites into categories from C1, very low, to CX, extreme, based on how much bare carbon steel corrodes in the first year of exposure.
In practice, steel near the coast, where salt is carried in the air, sits at the harsh end, and the standard places sea spray zones in the higher categories. Rural inland areas with clean air sit at the milder end. Highland farms around Eldoret and Nakuru fall somewhere between, but what matters most is the micro climate: a gate under a dripping roof edge, a tank stand in a constantly wet patch, a crush caked in dung and urine, or steel near a fertiliser store all behave like a much harsher site than the town as a whole. Build the coating to the worst spot on the job, not the average.
Preparation: Where the Job Is Won
Paint manufacturers describe surface cleanliness using another standard, ISO 8501-1. It defines St 2 (thorough hand and power tool cleaning) and St 3 (very thorough hand and power tool cleaning, leaving a metallic sheen), and Sa grades for abrasive blast cleaning. Most small workshops cannot blast clean, so St 3 around welds and edges is the realistic target, and it is far better than painting over whatever is there.
- Knock off slag. Use a chipping hammer on every weld while you still remember where they all are, including the back of the gate.
- Remove spatter and sharp points. A grinder with a flap disc or grinding disc takes off spatter balls and blends lumpy bead edges. Do not grind welds thin on structural joints.
- Clean the steel. A wire cup brush on a grinder, or a flap disc, removes rust, heat tint and loose mill scale. Aim for a dull metallic surface around welds, cut ends and edges.
- Round off sharp edges. Paint pulls thin on a knife edge. A light pass with a flap disc gives the coating something to hold on to.
- Remove dust and grease. Brush or blow off grinding dust, then wipe away oil and fingerprints with a suitable solvent cleaner as the paint supplier recommends.
- Prime the same day. Freshly cleaned steel starts to flash rust quickly in damp air. Prime within hours, not days.
All of this is grinder work, so wear eye protection, gloves and hearing protection, keep the guard on, and use the right disc for the job, as our workshop safety and PPE guide explains.
Building a Coating System That Lasts
Durable protection is a system of coats, each with a job. On ordinary carbon steel for farm and domestic work, that usually means an anti-corrosive primer followed by one or two finish coats. Red oxide and zinc phosphate primers are widely used for this; zinc rich primers give extra protection in harsher sites. Check that primer and topcoat are compatible, ideally from the same maker, because some finish paints lift certain primers.
The step most often skipped is the stripe coat: an extra brushed coat on welds, edges, corners, bolt heads and cut ends, before the full coat goes on. Paint naturally pulls away from edges and sits thin over weld ripples, which is exactly why rust shows there first. A brush works paint into weld ripples better than a spray gun, so even if you spray the main coats, stripe by brush.
Thickness matters more than gloss. Two or three proper coats, each applied at the thickness the data sheet gives, protect far longer than one heavy, runny coat or one thin coat thinned too far to make the tin go further. If you spray, an HVLP gun on a suitable compressor gives an even film with less overspray; our guide to compressors and spray guns covers setting one up. Do not forget the back of the gate, the underside of rails and the inside of open sections, which are the faces that stay wet.
Paint Weather: Dew, Damp and the Short Rains
October to December brings humid mornings, afternoon showers and cool evenings, all of which affect paint. A widely used rule in protective coatings is that the steel surface should be at least 3 degrees Celsius above the dew point when you paint, so moisture does not condense on it unseen. If you have no instrument, use common sense: do not paint while steel is damp or cold to the touch, during rain or mist, or when rain is likely before the coat is touch dry.
- Paint in the late morning and early afternoon, once dew has dried and the steel has warmed, and stop early enough for the coat to dry before evening dew.
- Paint under a roof where you can, and bring parts in before showers.
- Do not paint in strong direct midday sun on very hot steel if the data sheet warns against it; the solvent flashes off and the film can blister.
- Respect the recoat window on the tin. Too soon traps solvent; too late on some paints means sanding for grip.
Galvanised Steel: Weld It With Care, Then Repair the Zinc
Galvanised tube and sheet carries a zinc layer that protects the steel by sacrificing itself. Welding burns that zinc away around the joint, leaving a band of bare steel, and the fumes from burning zinc are hazardous. Breathing zinc oxide fume can cause metal fume fever, a flu like illness. Weld galvanised steel only outdoors or with good extraction, keep your head out of the plume, and wear a suitable respirator; many fabricators grind the zinc off the joint area first.
After welding, clean the joint back to bright metal and repair it with a zinc rich paint, often sold as cold galvanising compound, applied to the thickness the product states. If you then want to paint the whole galvanised item, ask the paint supplier for a primer suited to galvanised surfaces, because many ordinary paints do not grip zinc well.
Design Details That Keep Water Out
Some of the best rust protection happens at the drawing stage, and it costs almost nothing.
- Cap or seal the ends of hollow sections, or weld them fully closed, so water cannot run inside and rust them from within. If a section must stay open, give it a drain hole at the lowest point.
- Avoid shapes that hold water, such as channels facing up and flat ledges. Turn angles and channels so they shed water.
- Weld joints fully rather than with gaps where water can wick in. Seal unavoidable crevices before painting.
- Keep the bottom of gates and stands clear of soil. Where posts go into concrete, paint well beyond the embedded length and slope the concrete away from the steel so water does not pond at the joint.
- Fit gates so the bottom rail does not drag through mud and scrape off its paint.
For tank stands, where a rusted leg is a safety problem, see our guide to tank stands and gravity flow for the loads involved; check legs and base plates every year.
Maintenance and a Finishing Kit, With Prices
Inspect steelwork once a year, ideally before the rains. Spot rust is cheap to fix: wire brush or disc it back to sound metal, feather the paint edges, prime, and touch up. Left for a season, the same spot spreads under the paint and the whole member needs stripping.
At the time of writing, these finishing and preparation items were on the Fuga price list; check the list or ask a branch for current prices and stock.
| Item | Stock code | Price |
|---|---|---|
| ANGLE GRINDER 750W | TG10711556 | KSh 4,500 |
| ANGLE GRINDER 900W | TG109125565 | KSh 5,000 |
| GRINDING DISC 7" | 6759 | KSh 150 |
| AIRSPRAY GUN | TAT10401 | KSh 2,000 |
| AIRSPRAY GUN HVLP | TAT10601 | KSh 2,700 |
| WELDING RODS 3.2MM | 6640 | KSh 1,050 |
| INVERTER MMA WELDING MACHINE 160A | TW21602 | KSh 15,500 |
Clean every weld, edge and cut end to sound metal, prime the same day, stripe coat the welds and edges, build two or more proper coats, paint only on dry, warm steel, and design out the places water collects. For grinders, discs, spray guns and welders, browse our workshop and industrial tools, visit any Fuga branch in Eldoret, Nairobi or Nakuru, or WhatsApp 0716 961 018.
Key Takeaways
- Welds, cut ends, sharp edges and water traps rust first, because slag, spatter, mill scale and thin paint films leave them exposed.
- ISO 9223 groups sites by how fast bare steel corrodes; coastal and wet, dirty micro climates need a tougher coating than clean inland air.
- Knock off slag, remove spatter, clean welds and edges to sound metal, round sharp edges and remove dust and grease before painting.
- Prime cleaned steel the same day, then brush an extra stripe coat on welds, edges and corners before the full coats.
- Build two or more coats at the thickness on the data sheet, and paint only on dry steel well above the dew point, never in rain or mist.
- Welding galvanised steel gives off hazardous zinc fume; ventilate, protect your lungs, then repair the joint with zinc rich paint.
- Cap hollow sections, avoid shapes that hold water, and touch up spot rust every year before it spreads.
Frequently Asked Questions
Why do welds rust before the rest of a gate?
Slag and spatter left on the weld break the paint film, heat tint and mill scale beside the weld give paint a poor base, and paint pulls thin over weld ripples and edges. Clean welds to sound metal and brush an extra stripe coat on them before the full coats.
Can I paint straight over mill scale?
It is better not to. Mill scale cracks and flakes over time, and rust then spreads underneath the paint. Remove loose scale with a wire brush or flap disc, especially around welds and edges, and aim for a clean, dull metallic surface before priming.
How many coats of paint does a steel gate need?
Usually an anti corrosive primer followed by one or two finish coats, each applied at the thickness the paint's data sheet gives, plus a stripe coat on welds and edges. Harsh sites such as the coast need a tougher system; ask the paint supplier.
Is it safe to weld galvanised pipe?
Welding burns off zinc and gives off zinc oxide fume, which can cause metal fume fever. Weld outdoors or with good extraction, keep out of the plume and wear a suitable respirator. Many fabricators grind the zinc off the joint first, then repair the area with zinc rich paint.
When is the best time of day to paint steel in the rainy season?
Late morning to early afternoon, once dew has dried and the steel has warmed, stopping early enough for the coat to dry before evening dew. A common coatings rule is to keep the steel at least 3 degrees Celsius above the dew point. Never paint damp or cold steel or in rain or mist.