In much of Eastern Kenya, the short rains are green gram season. From the lower parts of Embu and Tharaka Nithi down through Kitui, Machakos and Makueni, ndengu goes into the ground with the first reliable October showers and comes out a couple of months later as one of the few crops that pays cash in a dry year. It is fast, it tolerates heat, and buyers are rarely far away.
It is also easy to lose at both ends. Plant late or too thickly and the crop runs out of moisture before the pods fill. Wait too long at harvest and the dry pods twist open in the afternoon sun and throw the seed onto the ground. Bag it a little damp, or mixed with a few infested seeds, and within weeks the store is full of small beetles and dust. The difference between a good ndengu season and a disappointing one is mostly timing and handling, not luck.
This guide follows the crop from planting to the store: when and how to plant for the short rains, how to space it with simple tools, how to read the pods and pick in rounds, and how to dry, thresh, clean and store green grams so they keep their colour and weight. Variety maturity periods and spacing figures vary, so check your seed pack and ask your county extension officer for the figures that suit your area.
Why Green Grams Suit the Short Rains
Green grams (Vigna radiata, also called mung beans) are a short-season legume. Many of the varieties grown in Kenya mature in roughly two to three months, which fits a short rains season that can be brief and patchy in the drier lowlands. The crop handles heat well and, once established, copes with short dry spells better than common beans.
Like other legumes, green grams host nitrogen-fixing bacteria in their root nodules, so they leave some benefit for the next crop and fit well in rotation with maize or sorghum. They are also a market crop. Ndengu is a staple dish across Kenya, and traders and aggregators buy from farm gates and local markets, so even a small plot can produce a sellable surplus.
Older varieties such as N26 and KS20 are still widely grown, and KALRO's Katumani centre has released newer ones bred for yield and more even maturity. Buy certified seed from a registered agro-dealer where you can. Farm-saved seed often carries storage pests and diseases and mixes varieties, and mixed seed colour and size lowers the price at sale.
Planting: Timing, Spacing and Simple Tools
The biggest planting decision is timing. Green grams need moisture in the first weeks to establish and again at flowering and pod fill. In the drier short rains areas, planting as soon as the rains are clearly established, rather than waiting a few weeks, gives the crop the best chance of finishing before the soil dries out. Prepare the land before the rains so you are not ploughing while others are planting; plan the jobs in order: clear, plough or dig, then harrow while the soil is still workable.
Plant in rows. Spacings commonly given in Kenyan extension guidance are around 45 centimetres between rows and 10 to 15 centimetres between plants, with one or two seeds per hole, at a depth of a few centimetres in moist soil. Treat these as a starting point and follow your seed pack. Wider spacing suits very dry areas and branching varieties; closer spacing suits better soils and upright varieties.
Rows matter for more than plant numbers. They let you weed with a jembe without trampling plants, scout for pests along a line, and harvest in rounds without missing plants. A taut string with knots at the plant spacing, and a stick cut to the row width, are enough to lay out straight rows by hand. Our guide to seed spacing and planting tools shows how to mark a field quickly.
For larger plots, a hand-held jab planter speeds up the work and keeps depth even. Green gram seed is small, so before you rely on any planter, test it on a sack or a strip of soft ground and count what it drops; a metering mechanism set for maize or beans may drop too many or too few. Our article on hand seed planters and fertilizer applicators explains how to check a planter's rate before you go to the field.
In the Field: Scout, Do Not Guess
Walk the field at least once a week from emergence. Aphids, thrips and pod-sucking bugs are common pests of green grams in Kenya, and pod borers can damage developing pods. Diseases such as powdery mildew and yellow mosaic virus also appear in some seasons. Catching a problem early, on a few plants, gives you options; finding it when the whole field is affected leaves few.
If you need to spray, get the product and rate from an agronomist or agro-dealer, use only products registered for the crop, and respect the pre-harvest interval on the label so residues are gone before you sell. A calibrated knapsack sprayer puts the label rate on the crop instead of guessing, and our sprayer calibration guide walks through the bucket-and-stopwatch method.
Harvesting: Pick in Rounds Before the Pods Shatter
Green gram pods change from green to black or dark brown as they mature, and the seeds inside harden. The challenge is that many varieties, especially older ones, do not mature all at once. The lower pods can be dry while the upper ones are still green. Once dry, pods twist open easily in hot sun, a habit called shattering, and the seed is lost on the ground.
The answer most smallholders use is to pick by hand in rounds. Pick the mature, dark pods every few days, leave the green ones to finish, and go back for them. Two or three pickings are common. With newer, more even maturing varieties, many farmers instead pull or cut whole plants once most pods are dark. Either way, harvest in the cooler morning, when pods are less brittle, and carry them in clean sacks or baskets, not loose on the ground.
Drying and Threshing Without Losing Seed
Picked pods still hold moisture. Spread them thinly on a tarpaulin, mats or a raised rack in the sun, never on bare soil, and turn them a couple of times a day. Bring them under cover or cover them well before evening dew and any rain. Pods that dry on a tarpaulin release their seed onto the tarpaulin as they split, not into the dirt, which is half of the threshing done for you. In a wet spell, a raised rack under a roof or a simple solar dryer keeps the crop moving.
When the pods are brittle and most have split, thresh by beating them gently with a flexible stick on the tarpaulin, or by putting them in a sack and beating the sack. Green gram seed is small and hard, and threshing is usually easy once the pods are dry; there is no need for heavy blows. Tough, leathery pods mean they are not yet dry enough, and beating them harder only damages seed.
Cleaning and Sorting: Uniform Seed Sells
Winnow the threshed seed in a steady breeze, pouring slowly from a basin held at shoulder height onto a clean tarpaulin so the pod pieces and dust blow away. Then sort by hand on a tray in good light. Remove stones and soil, broken seed, shrivelled and immature seed, discoloured or mouldy seed, and any seed with small round holes, which are the exit holes of bruchid beetles.
Sorting matters for price. Buyers look at colour, size and cleanliness, and a bag of clean, uniform green grams of one variety sells better than a mixed, dusty lot. It also matters for storage: a single handful of infested seed in a clean bag can start an outbreak that spreads through the whole store.
Storage: Beating the Bruchid
The main storage pest of green grams is the bruchid beetle (Callosobruchus species), often just called weevils. The female lays eggs on the seed, the larva grows inside it, and the adult emerges through a neat round hole. Because the cycle is short in warm weather, a few insects at bagging can become a serious infestation within a couple of months.
Store only seed that is fully dry. On the farm, dry green grams are hard, resist a fingernail, and make a sharp rattle when shaken in a closed tin. A moisture meter gives a precise reading for large lots; buyers and warehouses commonly look for pulses at around 13 percent moisture or below, so confirm the figure with your buyer. Our guide to grain drying and moisture explains the methods.
Hermetic (airtight) storage bags are widely promoted in Kenya for pulses because sealing cuts off the oxygen insects need, so any that are present die rather than multiply. Fill the bag fully, squeeze out the air, and tie each liner tightly. Ordinary woven bags do not do this, so ask the Fuga team which type a bag is before relying on it for long storage. Keep bags on pallets, off the floor and away from walls, in a cool, shaded store, and check them regularly. If you consider a storage protectant, use only one registered for stored pulses and follow its label; the grain storage guide covers store hygiene in detail.
Weigh, Record and Choose When to Sell
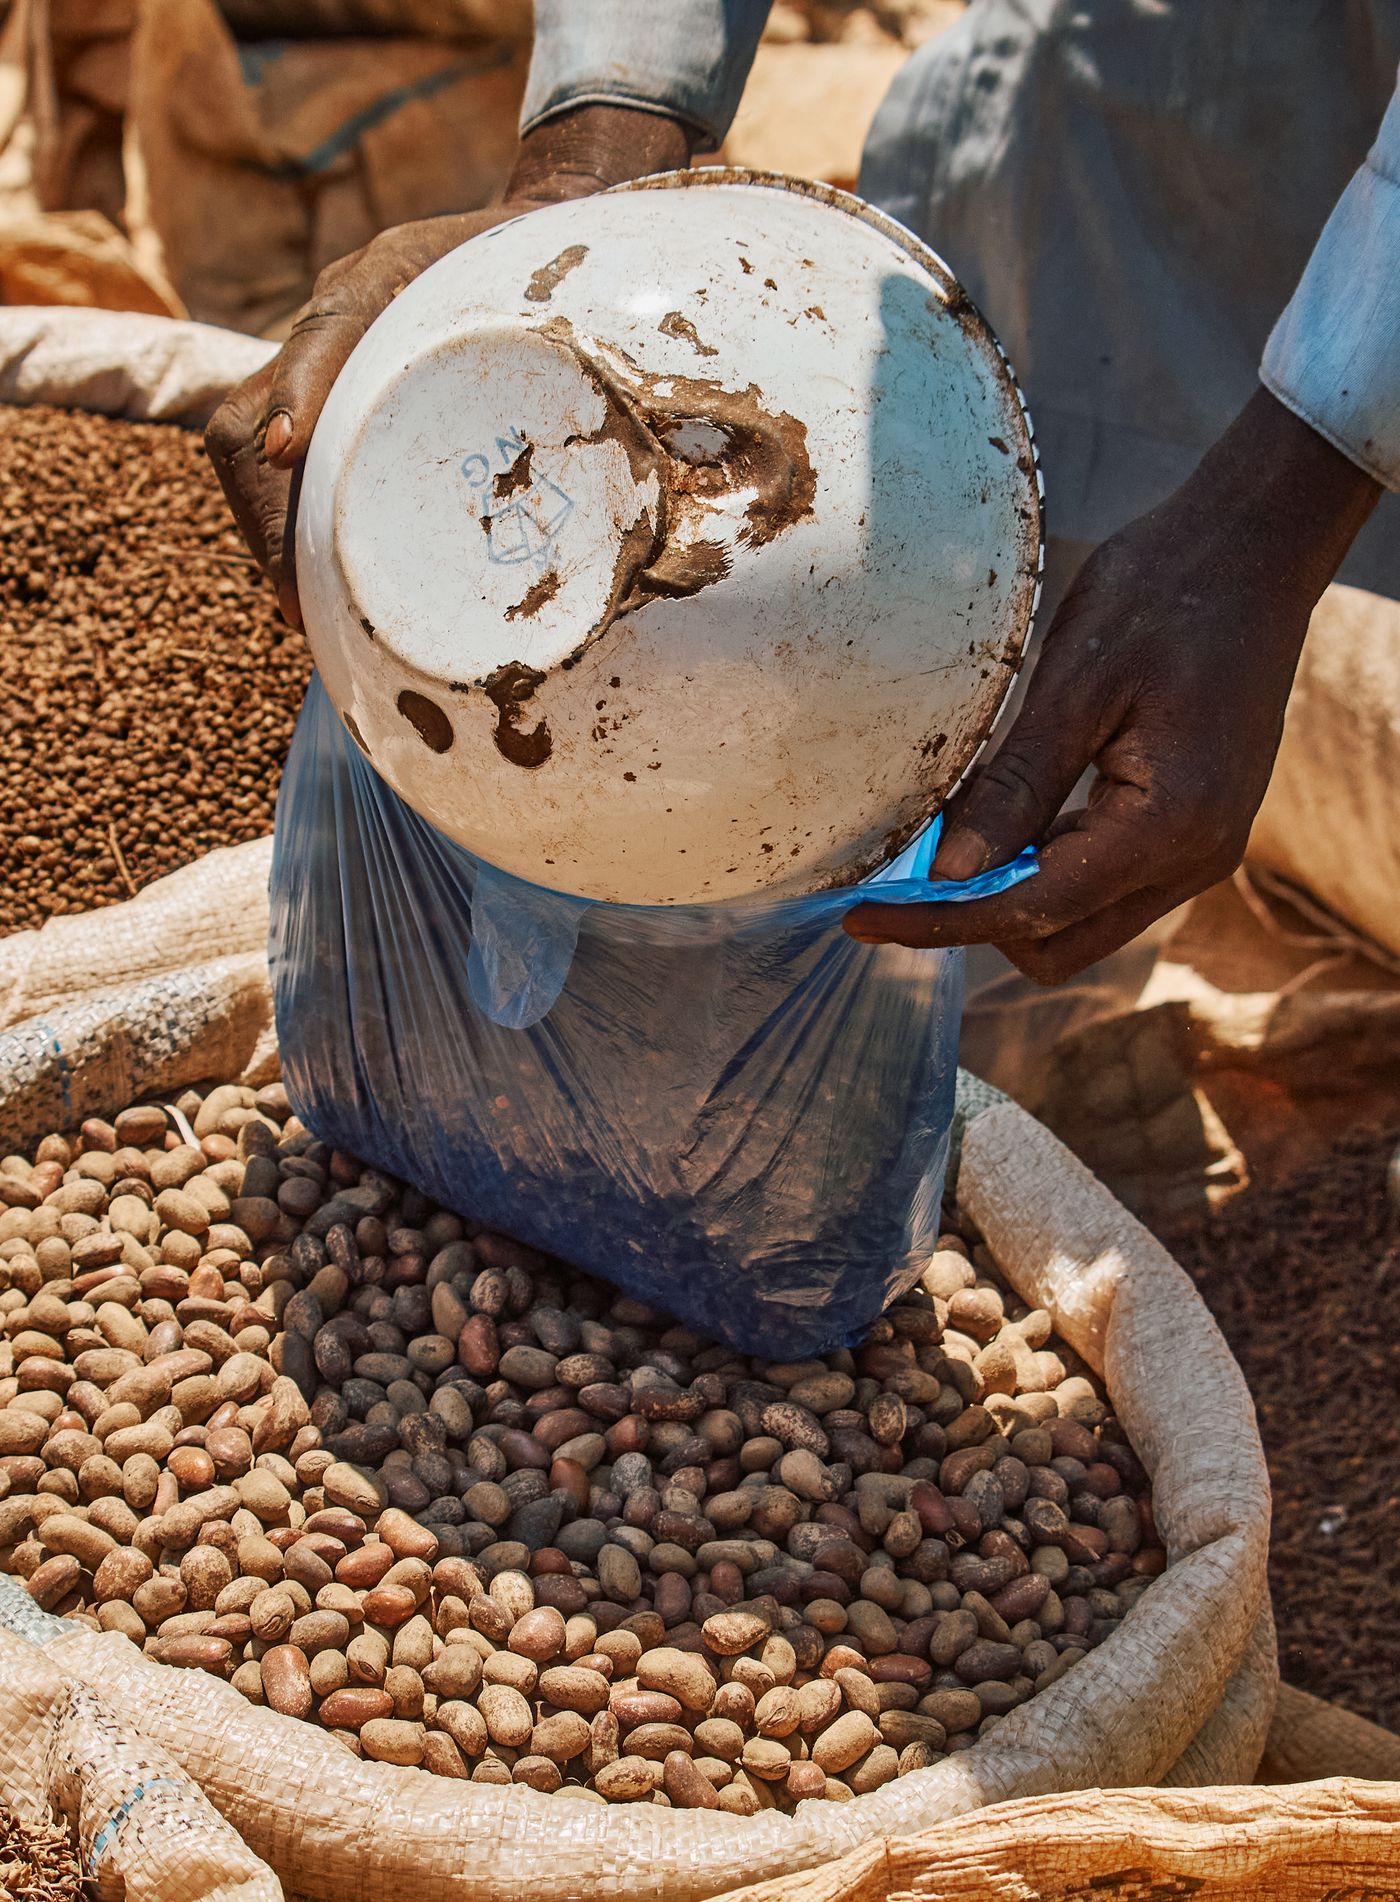
Green grams change hands by the gorogoro, the tin, the bag and the kilogramme, and prices often move during the months after harvest. Weigh every bag as you fill it and write the weight on a tag. A simple record tells you what you have, lets you compare a per-bag offer with a per-kilogramme price, and shows whether you can afford to hold some stock for a better market. Check your scale against a known weight before the season, as our weighing scales guide explains.
Your Short Rains Ndengu Checklist
| Stage | What to do | Tools |
|---|---|---|
| Before the rains | Prepare land, buy certified seed, test the planter's drop | Jembe, planter, string line |
| Planting | Plant into moist soil in rows at the spacing for your variety | Planter or string and stick |
| Early growth | One clean weeding before the canopy closes; scout weekly | Jembe, calibrated sprayer if advised |
| Harvest | Pick dark pods in rounds in the morning, before shattering | Sacks or baskets |
| Drying and threshing | Dry on tarpaulins or racks, thresh gently when pods split | Tarpaulin, flexible stick, sack |
| Cleaning | Winnow, then hand sort out damaged and holed seed | Basin, sorting tray |
| Storage and sale | Store only hard, dry seed in sealed bags; weigh and tag | Storage bags, weighing scale |
Planting and Post-Harvest Tools, With Prices
These prices are from the Fuga price list at the time of writing; check the site or call a branch for current prices and stock.
| Item | Stock code | Price |
|---|---|---|
| Double Barrel Seed Planter | n/a | KSh 4,500 |
| JEMBE 2LB COCK BRAND | 6249 | KSh 280 |
| 50kgs storage bag | 6702 | KSh 250 |
| 100Kgs Storage bag | 6701 | KSh 300 |
| 100 KGS WEIGHING SCALE RAM G | 6526 | KSh 6,500 |
| PLASTIC BUCKETS | 6537 | KSh 438 |
Plant early in rows, weed once while the crop is young, pick dark pods before they shatter, dry off the ground, sort hard, and store only dry seed in sealed bags. For a seed planter, storage bags or a scale, visit any Fuga branch in Eldoret, Nairobi or Nakuru, or browse our farm equipment. If maize shares your store, dry and store it to the same standard so one infested lot does not spread to the other.
Key Takeaways
- Plant green grams as soon as the short rains are clearly established, so the crop has moisture at flowering and pod fill.
- Plant in rows at the spacing for your variety; around 45 centimetres between rows and 10 to 15 centimetres between plants is commonly given in Kenyan extension guidance.
- Weed once, early, before the canopy closes, and scout weekly; get any spray product and rate from an agronomist and respect the pre-harvest interval.
- Pick dark, dry pods in rounds in the cool morning, before they twist open and shatter seed onto the ground.
- Dry pods on tarpaulins or racks, thresh gently, winnow and hand sort out holed, broken and discoloured seed.
- Store only hard, dry seed in sealed bags on pallets, and weigh and tag every bag before you sell.
Frequently Asked Questions
When should I plant green grams in the short rains?
As soon as the rains are clearly established and the soil is moist to planting depth. In the drier short rains areas of Eastern Kenya, early planting gives the crop the best chance of finishing before the soil dries out. Prepare the land before the rains so planting is not delayed.
What spacing should I use for green grams?
Spacings commonly given in Kenyan extension guidance are around 45 centimetres between rows and 10 to 15 centimetres between plants, with one or two seeds per hole. Follow your seed pack, use wider spacing in very dry areas and for branching varieties, and ask your extension officer for local advice.
How do I stop green gram pods from shattering?
Harvest on time. Pick dark, dry pods every few days in rounds rather than waiting for the whole field, and pick in the cooler morning when pods are less brittle. Dry the pods on a tarpaulin so any that split release their seed onto the sheet, not the soil.
How do I protect stored green grams from weevils?
Store only fully dry, sorted seed, removing any with small round holes. Clean the store before the new harvest, keep bags on pallets away from walls, and check them regularly. Hermetic bags cut off the oxygen insects need. If you use a protectant, choose one registered for stored pulses and follow its label.
Can I use a seed planter for green grams?
Often yes, but green gram seed is small, so test the planter first. Run it over a sack or a soft strip of ground and count how many seeds it drops per station before going to the field; a planter set for maize or beans may drop too many or too few.