Walk a maize field six weeks after planting and you can read exactly how it was sown. Plants at wildly different heights mean uneven depth. Gaps of a metre next to clusters of three plants fighting each other mean seed dropped by eye. Rows that wander mean nobody used a line, and the man with the sprayer will pay for that in a month.
None of this is about seed quality or fertiliser brand. It is about placement: how many seeds, how far apart, how deep, and where the fertiliser sits relative to the seed. Plant population is the most controllable single lever on maize yield, and it is decided in the two days you spend planting.
The good news is that precision does not require a tractor or a mechanised planter. A hand jab planter places seed and fertiliser at a set depth and a set spacing, one station at a time, faster than a team with hoes and far more consistently. This guide covers the arithmetic that tells you what spacing to use, how to calibrate and run the tool, and where fertiliser must sit so it feeds the seedling instead of burning it.
Population Is Arithmetic, Not Opinion
Plant population per hectare follows directly from your row spacing and your in-row spacing. One plant per station, spacing in metres, and the sum is simply ten thousand square metres divided by the area each plant occupies.
At 75 centimetres between rows and 30 centimetres between plants, each plant occupies 0.225 square metres, which gives about 44,400 plants per hectare, or roughly 18,000 per acre. Tighten the in-row spacing to 25 centimetres and you get about 53,300 per hectare. Widen the rows to 90 centimetres at 30 in the row and you drop to about 37,000.
Higher population is not automatically better. Every extra plant competes for the same water and nutrients, so a population that performs in a high rainfall area on fertile soil will produce thin, barren stalks in a drier or poorer one. Take the recommended population for your variety and your agro-ecological zone from your seed supplier or extension officer, then use the arithmetic above to choose the spacing that actually delivers it.
What is never right is variability. A field averaging the correct population but made up of gaps and clusters yields worse than a field at a slightly wrong population planted evenly, because the clusters compete with themselves and the gaps grow weeds.
Depth: The Error You Cannot See Until Emergence
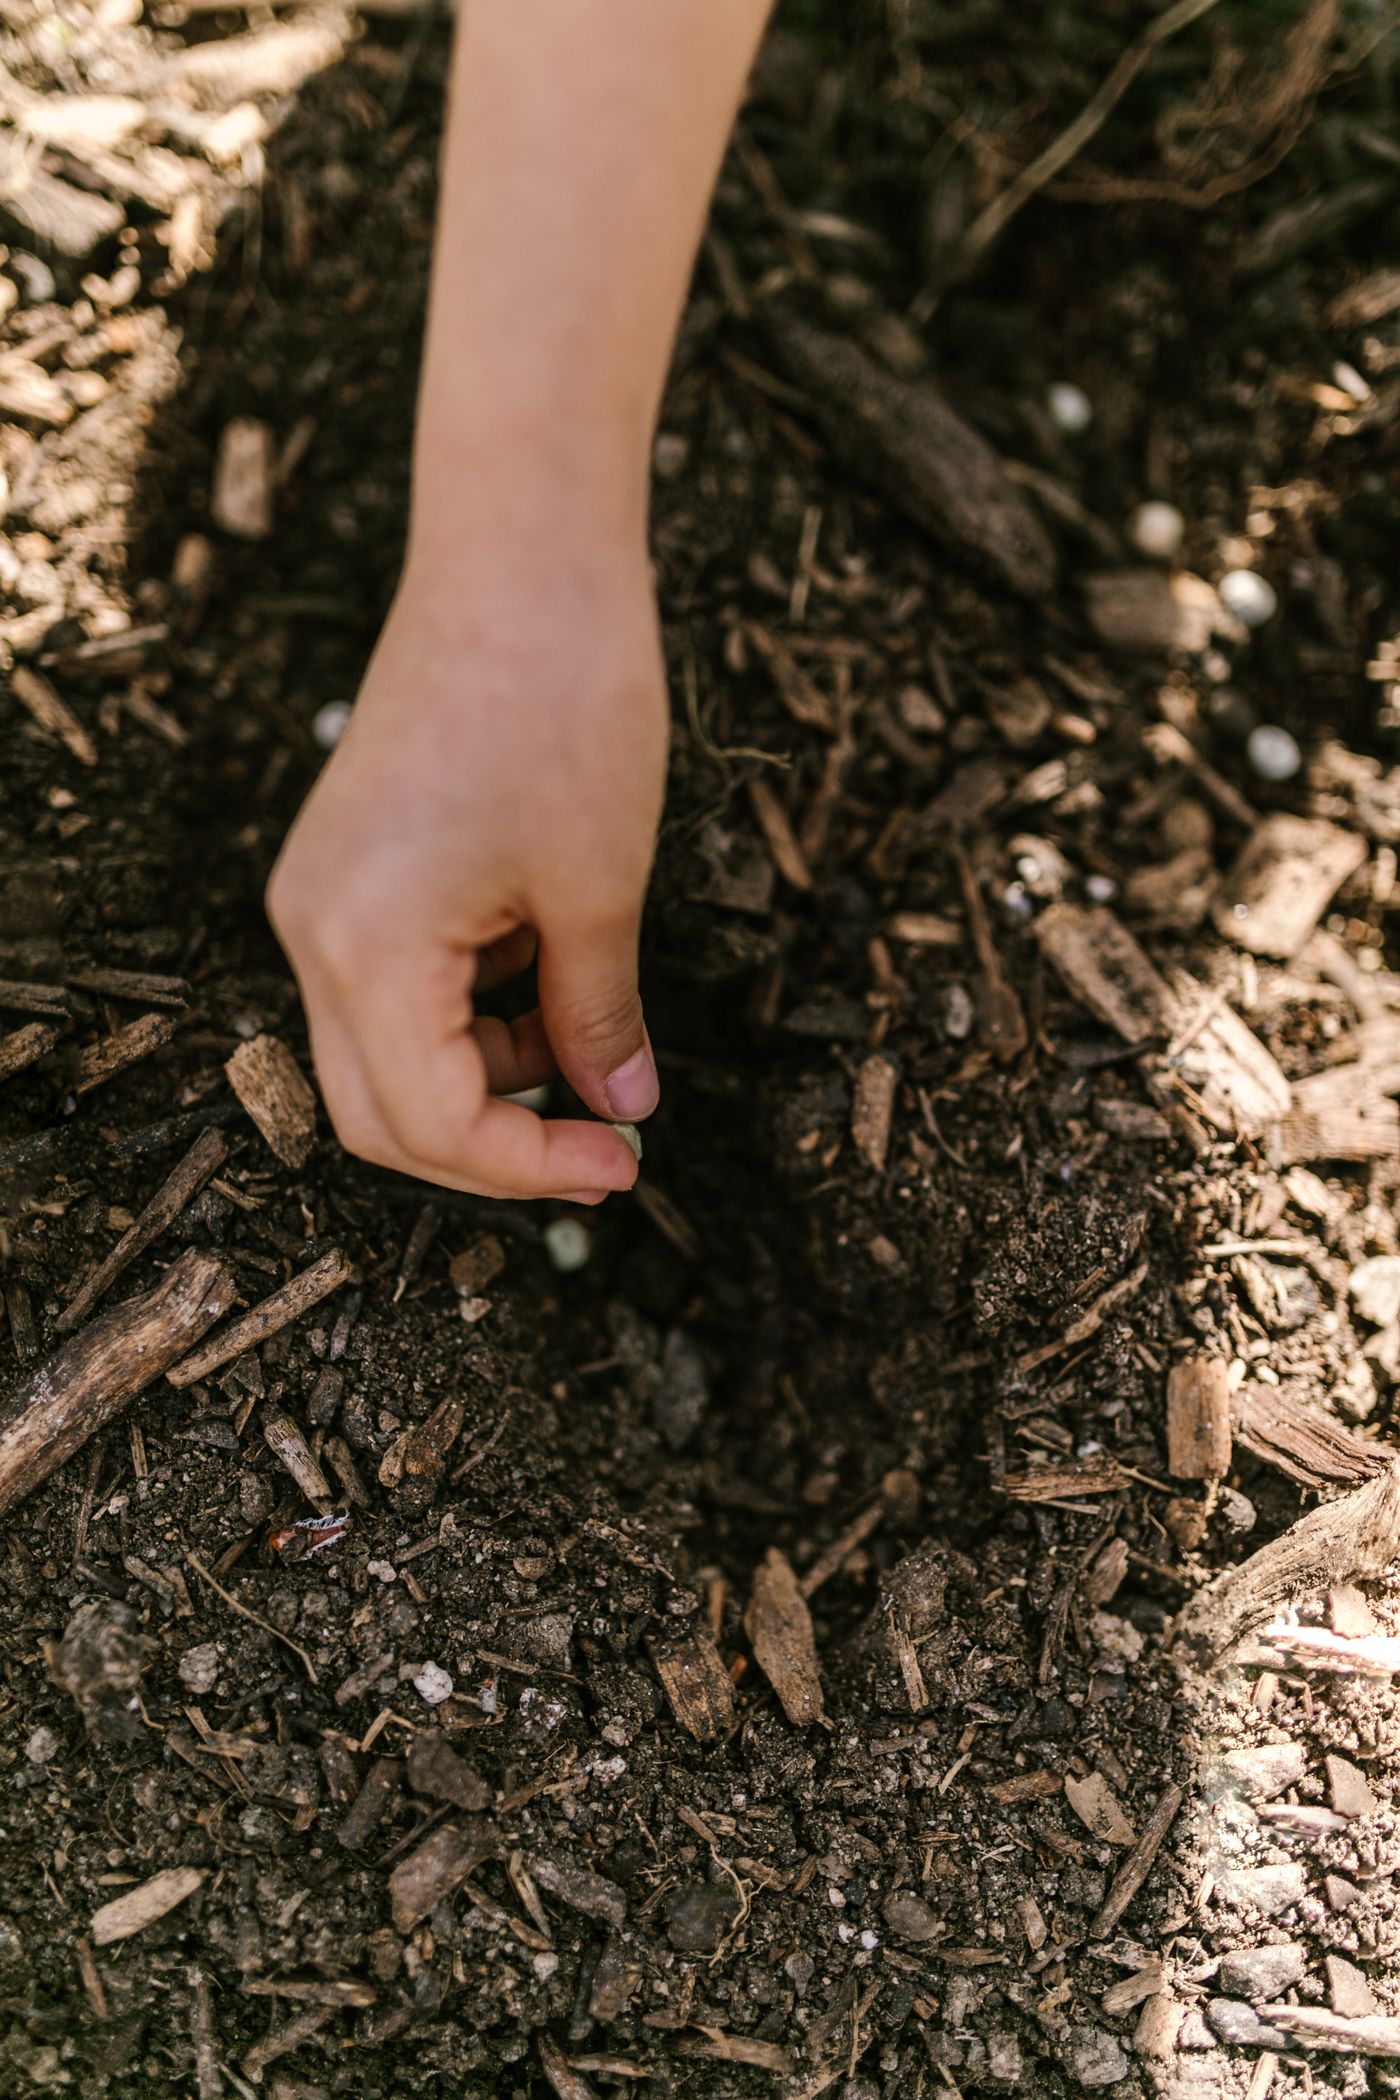
Maize is typically planted around five centimetres deep, adjusted for conditions. Into a moist seedbed you can plant shallower; into drying soil you go deeper to reach moisture. Small-seeded crops go much shallower, following the general rule of planting to roughly two to three times the seed's own diameter.
Both errors are costly in different ways. Too shallow and the seed sits in the layer that dries first, gets eaten by birds and rodents, or germinates and then dies when the surface bakes. Too deep and the seedling exhausts its reserves pushing to the surface, emerging late, thin and behind its neighbours, if it emerges at all.
Depth is exactly where hand dropping into a hoe furrow fails, because furrow depth varies with every swing and with how tired the person swinging is. A jab planter sets the depth mechanically at every station, which is most of its value.
How a Double Barrel Jab Planter Works
A double barrel seed planter is a hand tool with two hoppers, one for seed and one for fertiliser, feeding a pointed beak at the bottom. You jab the beak into the soil, squeeze or spread the handles, and a metering mechanism releases a set quantity of seed and a set quantity of fertiliser into the hole at depth. Lift, step forward one spacing, and jab again.
The advantages are consistent depth, consistent seed number per station, fertiliser placed at depth rather than scattered on the surface, and a working posture that is upright rather than bent double. One person walking a row with a planter covers ground substantially faster than the same person with a hoe, and the difference compounds when the rains have arrived and the whole district wants to plant in the same four days.
Two limitations are worth knowing before you buy. Jab planters work best in well-prepared, reasonably loose soil; in hard, unploughed ground the beak will not penetrate cleanly and depth becomes inconsistent again. And they are single-station tools, so they suit smallholder and medium plots rather than very large acreages where a tractor-drawn planter is the right answer.
Calibrate Before You Plant, Not After
The single most valuable habit with any planter is calibration, and almost nobody does it. The metering mechanism is adjustable, seed size differs between varieties and even between batches, and fertiliser flows differently depending on how damp and lumpy it is.
The test takes five minutes. Load the hoppers, then jab twenty times onto a tarpaulin, a sack or a bare patch of ground rather than into soil. Count the seeds from each station. You want the same number every time, and you want that number to be the one you intended, usually one or two. Then weigh or eyeball the fertiliser from those twenty stations and check it against the rate you are aiming for per acre.
Adjust the metering, repeat, and only start planting when the count is repeatable. Doing this after planting, when you find clusters and gaps at emergence, is a season lost. Recalibrate whenever you change variety, open a new fertiliser bag of a different granule size, or come back after rain has dampened the hopper contents.
Where the Fertiliser Goes, and Why It Matters
Starter fertilisers such as DAP supply phosphorus, which the seedling needs early and which barely moves in the soil. Because phosphorus is immobile, it has to be placed where young roots will find it, which means near the seed rather than broadcast across the field.
The complication is that concentrated fertiliser in direct contact with a germinating seed draws moisture out of it and can scorch it outright, damaging germination in exactly the places you fertilised best. The resolution is placement: fertiliser goes below and slightly to the side of the seed, close enough for the roots to reach within days, separated enough that the seed never sits in it.
Top dressing is a separate operation with its own rules. Nitrogen sources such as CAN or urea are applied once the crop is established, commonly around knee height, and they need two things to work: moisture to carry the nutrient into the root zone, and placement in a band beside the row rather than dumped against the stem or scattered over wet leaves, both of which scorch foliage. A fertiliser applicator makes this faster and far more even than doing it by hand, and even application is what stops the striped fields you see from the road.
Straight Rows Are a Working Decision
Rows that wander look untidy, but the real cost comes later. Weeding along an irregular row is slower and cuts more crop. Spraying is harder to keep off the plants you want to protect. Any subsequent mechanised operation becomes awkward. And measuring your own population afterwards, to learn from the season, becomes guesswork.
The fix is cheap. Run a planting line, a rope or wire marked at your in-row spacing, along each row, or use a marker to scribe the next row line as you plant the current one. On a slope, set rows across the contour rather than up and down it, because rows running downhill become channels that carry your topsoil off the farm in the first heavy storm.
Planting Into Moisture, and the Dry Planting Question
Seed needs moisture to germinate, and a seed that imbibes water and then dries out before the root establishes is a dead seed. That single fact drives most planting timing decisions.
Planting into a properly wet seedbed after the rains have established is the low-risk approach. Dry planting, putting seed into dry soil before the rains so that germination begins with the first serious downpour, buys you an earlier start and avoids the scramble when everyone plants at once, but it carries real risk: a light shower that wets the seed without sustaining it can trigger germination and then kill the crop.
Judge it on your own rainfall reliability and on how much of your seed you can afford to gamble. Where farmers do dry plant, they generally plant slightly deeper so the seed sits nearer reliable moisture. Preparing the land properly beforehand matters either way, which we cover in our guide to land preparation before the rains.
Maintenance: Fertiliser Destroys Tools That Are Not Cleaned
This is the section that saves your planter, and it is the one most often ignored. Fertiliser is corrosive and hygroscopic, meaning it absorbs moisture from the air. Left in a hopper overnight it cakes; left over a season it sets like concrete and corrodes the metering parts underneath it.
Empty both hoppers completely at the end of every planting day, not at the end of the season. Wash the fertiliser side, dry it thoroughly, and work the mechanism to check it moves freely. Wipe the beak clean of soil, check it is still sharp and undamaged, and store the tool dry and off the ground.
Before the next season, check the metering plates for wear, replace any worn springs, and run the twenty-jab calibration again before the first row rather than after it. A jab planter given this treatment lasts many seasons; the same tool left loaded and damp in a store is scrap within two. The same discipline applies to your fertiliser applicator and to sprayers, and it is the cheapest maintenance in farming.
Key Takeaways
- Plant population follows directly from spacing arithmetic. Take your target population from your variety and zone, then work backwards to the spacing.
- Evenness matters more than hitting an exact population. Gaps and clusters both cost yield.
- Plant maize around five centimetres deep, adjusting for moisture, and follow the two to three times seed diameter rule for smaller seed.
- A jab planter fixes depth and seed count mechanically at every station, which is where hand dropping into a hoe furrow fails.
- Calibrate with twenty jabs onto a sack before planting, and recalibrate on every change of variety or fertiliser batch.
- Place starter fertiliser below and to the side of the seed. Direct contact can scorch the germinating seed.
- Top dress at around knee height, banded beside the row, into moisture, never against the stem or over wet leaves.
- Use a marked planting line, and run rows across the contour on slopes to avoid creating erosion channels.
- Empty and wash the fertiliser hopper every single day. Caked fertiliser corrodes and seizes the metering mechanism.
Frequently Asked Questions
What spacing should I use for maize in Kenya?
Work from your target plant population rather than from a habit. At 75 by 30 centimetres with one plant per station you get roughly 44,400 plants per hectare, about 18,000 per acre. Tightening to 75 by 25 gives about 53,300 per hectare. Confirm the recommended population for your variety and rainfall zone with your seed supplier or extension officer, then pick the spacing that delivers it.
How deep should maize seed be planted?
Around five centimetres in normal conditions, shallower into a well-moistened seedbed and deeper when chasing moisture in drying soil. Too shallow and the seed dries out or is taken by birds; too deep and the seedling exhausts its reserves reaching the surface and emerges late and weak.
Can fertiliser touch the seed when planting?
Avoid it. Concentrated starter fertiliser in direct contact draws moisture from the germinating seed and can scorch it, damaging establishment. Place it below and slightly to the side, with soil in between, so roots reach it within days without the seed ever sitting in it.
How do I calibrate a jab planter?
Load both hoppers, then jab twenty times onto a tarpaulin or sack instead of into soil, and count the seeds released at each station. You want the same count every time and the count you intended. Adjust the metering and repeat until it is repeatable, and recalibrate after any change of seed variety or fertiliser batch.
What does a planter cost at Fuga?
Prices depend on the model and current stock, so we quote rather than list. Tell us your acreage and crop on WhatsApp at wa.me/254716961018 or call 0734263958 and we will recommend a planter and applicator combination, or visit any branch. If you are raising transplanted crops rather than direct sowing, see our guide to raising seedlings in trays.