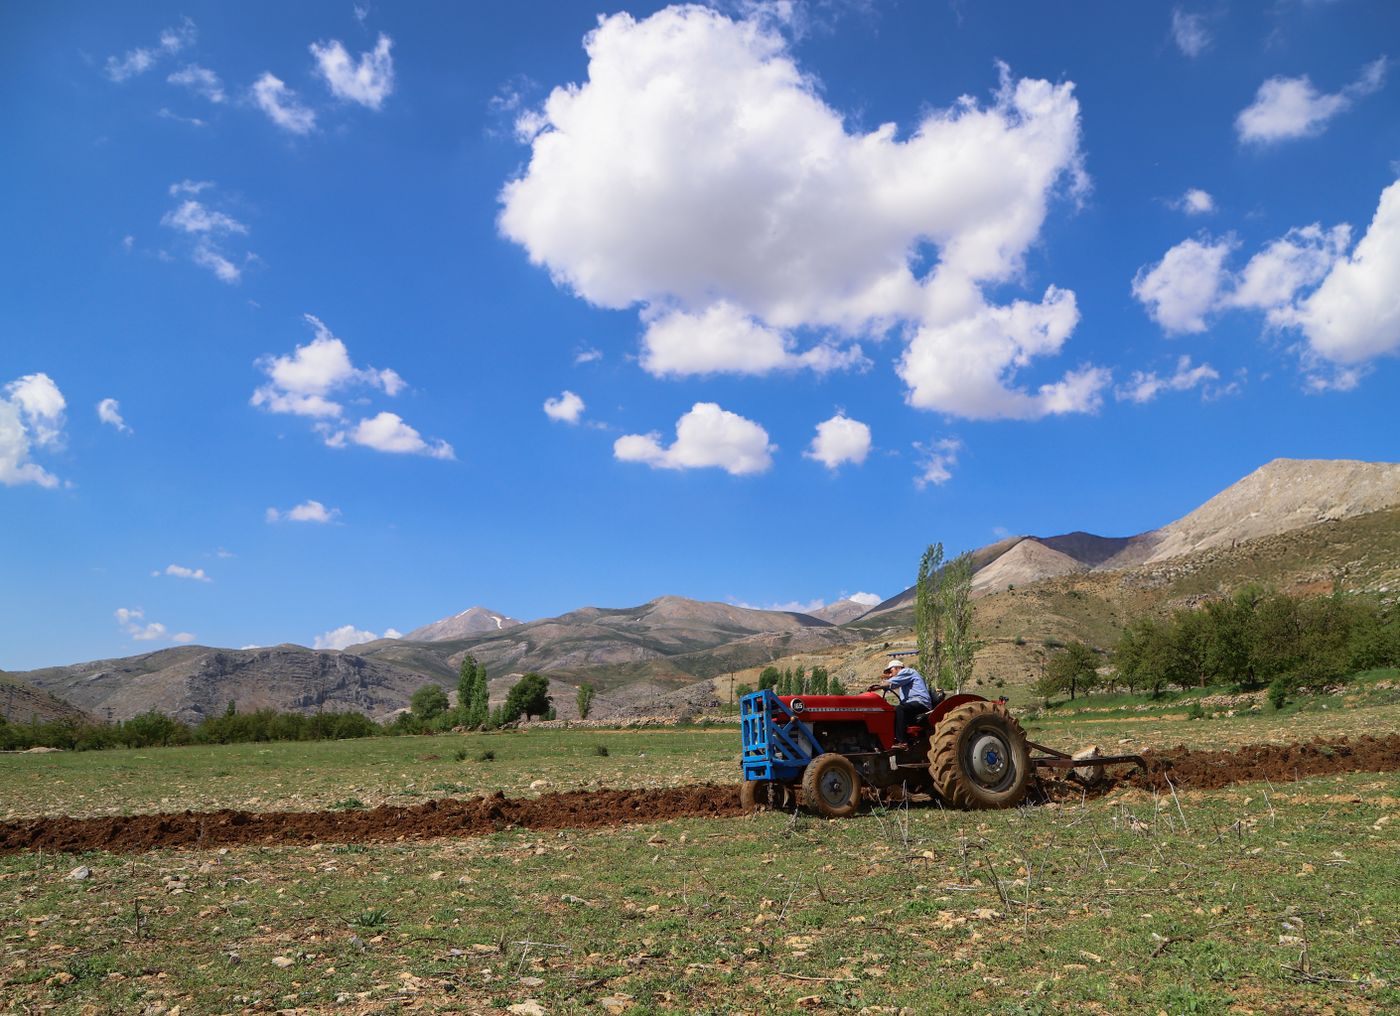
The tractor arrives in the morning and the trouble starts by lunchtime. The farmer has just moved up from a walk-behind machine and bought a four-disc plough with it, reasoning that four discs beat three. In hard ground the tractor lugs, the front end goes light, the rear wheels spin, and by evening the fuel gauge has moved further than the acreage has.
Nothing was faulty. The implement was simply bigger than the power unit behind it, and that mismatch is the most expensive error in Kenyan tractor ownership because it never announces itself as a fault. It shows up as burnt diesel, shallow work, a slipping clutch, and finally a transmission bill.
A tractor earns nothing until an implement turns its power into work in soil. This guide is for the buyer who has outgrown a two-wheel machine; if you are still weighing that step, start with our guide to choosing a power tiller. Here: horsepower matching, plough choice, harrows, ridgers, trailers, linkage and PTO, buying used, and maintenance.
Horsepower Matching: The Error That Costs the Most Money
An implement's power demand comes from working width, working depth and soil resistance. Widen it, deepen the cut, or move from moist loam into dry clay, and the pull rises. The tractor supplies that pull continuously through engine power, weight and traction, or it does not supply it at all.
Undersize the tractor and the losses compound. The engine falls off its working speed and burns more diesel for less work. Wheel slip climbs, so tyres grind soil instead of moving the machine. The operator lifts the implement to cope, so depth drifts shallow. Clutch, rear axle and hydraulic pump then work under strain they were never sized for.
Wheel slip is the field diagnostic. Mark a rear tyre, count its turns over a fixed distance out of work, then repeat under load: about one turn in ten of difference means the tractor is correctly loaded. Beyond that, the implement is too big, the ballast is wrong, or the tyres are pumped too hard for field work.
Disc Plough or Mouldboard: Match the Body to the Soil
Primary tillage breaks and turns the topsoil, and there are two ways to do it. A mouldboard uses a share to cut a slice of soil and a curved steel body to lift and invert it. A disc plough uses concave discs set at an angle, each rolling through the ground, cutting and partly turning the soil.
The mouldboard gives the cleaner result: full inversion buries residue and weed seed and leaves a clean furrow wall for the next pass. It suits friable, stone-free soil with moisture in it, such as the red volcanic loams of the central highlands after early rain. The disc plough wins almost everywhere else in Kenya. It penetrates by weight rather than suction, so it needs no soft ground to bite; it rolls over roots and stones instead of catching on them; and with scrapers it handles the sticky black cotton clay that packs solid on a mouldboard.
Two cautions apply to both. Plough on soil moisture rather than the calendar, because clay worked too wet smears into a dense layer and clay worked bone dry costs fuel and leaves clods; our guide to land preparation before the rains covers that timing. And vary your depth between seasons, or you polish a plough pan that stops roots and water.
Harrows: Turning a Ploughed Field into a Seedbed
A ploughed field is not a seedbed. It is clods and cavities, and seed dropped into it germinates unevenly because half the seeds sit in air pockets rather than against moist soil. A harrow cuts the clods, levels the surface and firms the soil so moisture can move up to the seed. The offset disc harrow is the workhorse: two gangs at opposing angles, the front throwing soil one way and the rear throwing it back, with the gang angle adjustable for harder cutting and deeper penetration.
Resist the urge to harrow until the field looks like a garden bed. Every pass costs diesel and breaks down soil structure, and over-worked soil turns to dust, caps hard at the first shower and washes off any slope. Aim for aggregates between a maize grain and a thumbnail, level enough for the planter, which is usually one or two passes.
Ridgers and Furrowers: Shaping the Field for the Crop
A ridger splits soil to both sides at once with two wings, throwing up a ridge and leaving a furrow beside it. Potatoes, sweet potatoes, cassava and sugarcane grow on ridges because loose, raised soil gives tubers and setts room to expand and drains water that would rot them. Irrigated vegetables use the same shape differently: the furrow carries the water and the ridge keeps the crown dry.
Row spacing is set by sliding the bodies along the toolbar, and it must suit the crop, the planter, the weeding pass and the tractor's wheel track, because the wheels have to straddle the rows. Set it once and hold every implement to that figure. In drier counties, tied ridges hold rainfall where it falls, and ridging on the contour keeps topsoil.
Trailers: Load Ratings Are Not Suggestions
A trailer's rating in tonnes is not a marketing number. It is set by the axle, chassis, springs and tyres, and it is where the manufacturer stops being responsible. Overloading bends axles, splits tyre sidewalls, cracks welds at the drawbar, and turns a routine descent into an emergency. Most farm trailers have no brakes, so the tractor stops the whole load.
Size the trailer to what you haul most weeks, not to the once-a-year peak, and remember that a heavy trailer behind a light tractor is dangerous on murram roads where gradient and surface change without warning. Tip only on firm, level ground, because a raised, loaded body has a very high centre of gravity.
Three Point Linkage and PTO: The Two Interfaces That Must Match
Mounted implements attach through the three point linkage: two lower links carrying the load and the draft, and a top link setting the fore-and-aft angle. That triangle lets the hydraulics lift the implement at the headland and hold it at depth in the field. Categories are standardised, and your implement's pins must match your tractor's.
Cross-category fitting is safe when done properly, with reducing bushes on the lower link balls and top link pin, which dealers stock as standard items. Forcing an oversized pin or drilling out a hole is not: that hole becomes the weakest point in the assembly.
The power take-off is the splined stub shaft that drives implements needing rotary power: rotavators, mowers, balers, choppers and pumps. Two speeds dominate, 540 and 1000 rpm, each with a different spline count so the wrong driveline will not fit. Run a 540 implement at 1000 rpm and you destroy its gearbox, so confirm the rating before you engage.
Drivelines demand respect. The telescoping shaft must keep generous tube overlap at full extension and never bottom out at its shortest position, or it will punch into the gearbox on the first bump. Guards and their restraining chains are not optional trim: PTO entanglement injuries are among the most severe in agriculture.
Buying Used Implements: What to Inspect Before You Pay
A steel frame outlives several tractors when treated well, so used implements can be excellent value. They can equally be a trap. Inspect in this order.
Frame first. Sight down the main beam for bends and check the welds at the hitch and gang bolsters. A frame bent on a buried stump will never work straight, and no adjustment fixes it. Cracked castings and ovalled hitch holes are reasons to walk away.
Then discs, shares and bearings. Discs lose diameter as they wear, and a small disc cannot reach working depth, so compare against a new one. Reject chipped edges and blue heat marks, which mean softened steel. Then rock every gang: play or rumble means the bearing and its seals have gone, and four dead bearings plus worn discs cost more than the discount you were offered.
On trailers check axle straightness, tyre sidewalls, ram seals and the tailgate hinges. On rotavators check gearbox oil, drive noise and blade thickness. Finally, confirm that spares for that make exist in the country, and use the guide ranges on our price list to judge whether a used offer is genuinely cheap.
Maintenance: Discs, Bearings and Bolts
Sharpen discs, but gently. A blunt disc pushes soil instead of cutting it, raising draft and fuel use and leaving clods. Grind the bevel on the outer face at the factory angle, keeping the edge cool with short passes and a dip in water. If it turns blue you have drawn the temper out and that section will wear away fast. A razor edge chips on the first stone.
Look after the bearings. Where grease nipples are fitted, grease after working wet ground, not only at the season's start, because water forces past the seals and washes the grease out. Where bearings are sealed for life, keep scrapers set close, which also stops sticky soil turning a harrow into a sledge.
Retighten the bolts. Gang bolts, U-bolts and share bolts loosen in the first hours of work, so check them after the first day and every season after. A loose gang bolt lets discs shift and strip their spacers in a single pass.
Between seasons, wash off the soil, wipe bright metal with old engine oil, retract hydraulic rams, and rest mounted implements on blocks rather than on the linkage. Steel left standing in the rain for one season loses more value than a year of maintenance costs.
Key Takeaways
- Match the implement to the tractor you own. Demand rises per disc, per bottom and per foot of width, and heavy or dry soil pushes you to the top of every range.
- Check wheel slip: about one turn in ten between loaded and unloaded means the tractor is properly loaded.
- Disc ploughs suit stony, rooty and sticky ground. Mouldboards invert more cleanly in stone-free, moist loam.
- Vary ploughing depth between seasons, or you build a plough pan that stops roots and water.
- Harrow to aggregates between a maize grain and a thumbnail, usually one or two passes.
- Set ridger row spacing to match your planter, weeding pass and wheel track, and keep it constant.
- Trailer ratings are structural limits, most farm trailers have no brakes, and loads hitch at the drawbar.
- Confirm linkage category and PTO speed before buying, and keep every PTO guard and chain in place.
- On a used implement, check frame straightness, disc diameter and bearing play, then price the repairs before you negotiate.
Frequently Asked Questions
What size tractor do I need for a three-disc plough in Kenya?
Indicatively, a three-disc plough is matched to a tractor of roughly 55 to 75 hp, the higher figure for dry or heavy soils. Traction matters as much as engine power, so correct ballast, correct field tyre pressures and four wheel drive all let a smaller tractor pull honestly.
Is a disc plough or a mouldboard better for black cotton soil?
A disc plough, with scrapers fitted. Black cotton clay sticks to a mouldboard body and sets like concrete when dry, while discs penetrate by weight and shed soil more readily. Timing still matters more than the implement: too wet smears the clay, too dry costs fuel and leaves clods.
Can I fit a Category I implement on a Category II tractor?
Yes, using proper reducing bushes on the lower link balls and the top link pin, which dealers stock. Never enlarge a hole by drilling or improvise a bush from scrap pipe. Check too that the smaller implement is rated for the power you are putting through it, because a light frame behind a big tractor breaks at the hitch.
How many harrowing passes do I need before planting?
Usually one or two with an offset disc harrow, judged by result rather than by count. Stop when clods are between a maize grain and a thumbnail and the surface is level enough for your planter. Extra passes cost diesel and leave a fine dust that caps hard after the first heavy rain.
How much do tractor implements cost at Fuga?
Implement prices move with stock, specification and the exchange rate, so we publish indicative guidance on the price list and confirm the current figure directly. Send us your tractor's horsepower, linkage category and soil type on WhatsApp at wa.me/254716961018 or call 0734263958, or visit any branch.