Every pruning cut is a wound you have chosen to make. The tree cannot undo it. A tree does not heal a wound the way skin heals; it walls the damage off behind chemical and physical barriers and then grows new tissue over the top, from the rim inwards.
That single fact decides almost everything about pruning tools. The size of the wound, the state of its edges and how fast the tree can close it are all fixed the moment the blade goes through. A good cut is sealed within a season or two. A bad one leaves a door open on a tree you expect to keep for twenty years.
This guide covers why a clean cut behaves so differently from a crushed one, when bypass beats anvil, how to match the tool to the branch, where to cut relative to the branch collar, and the two habits, sterilising and sharpening, that separate a good pruning crew from an expensive one.
Why a Clean Cut Heals and a Crushed One Rots
Just under the bark of every branch sits the cambium, a thin sleeve of living, dividing cells. It is the cambium at the rim of a pruning wound that produces the roll of woundwood covering the cut face. Closure always comes in from the edge, never from the middle.
A sharp blade shearing through green wood severs those cells cleanly. The band of damaged tissue is a fraction of a millimetre wide, the bark stays firmly attached at the rim, and the face is smooth enough to shed water rather than hold it.
A crushed cut is a different injury. A blunt blade, or an anvil pressing wood against a flat plate, compresses the tissue several millimetres back on both sides before the fibres part. Those cells die, leaving a rim of dead, moist, sugar-rich tissue against an open wound, close to an ideal culture medium for orchard fungi and bacteria. Crushing also separates bark from wood at the rim, and that rim is the tissue meant to close the wound.
Bypass or Anvil: One Slices, One Squeezes
A bypass secateur works like a pair of scissors. A curved sharpened blade passes a curved unsharpened hook, and the wood is sheared between them. That is the clean, narrow-damage cut described above, and on live wood it is the only sensible answer.
An anvil secateur has one blade closing onto a flat metal plate. There is no shearing action: the blade drives into the wood and keeps going until the fibres give way, so the wood is split and squashed rather than sliced. The anvil side is left flattened and frayed.
None of that makes anvil tools useless. They are stronger for a given amount of hand force and good at what they are for: cutting dead wood out, chopping prunings down for mulching or burning, and getting through tough dry stems. Ratchet anvil loppers help smaller hands and high daily volumes. Just keep them off green wood.
Two details separate owning bypass secateurs from benefiting from them. First, orientation: the hook presses and bruises slightly, so put the blade on the side of the cut you are keeping and the hook on the waste side. Reverse it and you bruise the very stub you wanted intact. Second, seat the branch deep in the jaw, near the pivot, not out at the tip, where leverage is worst and the blades spring apart under load.
Match the Tool to the Diameter, Never Force It
Most ragged wounds come from one decision: carrying on with the tool in your hand.
Secateurs take green wood up to roughly two centimetres. Loppers add long handles and two hands, which roughly doubles to trebles that. A pruning saw handles everything above. The curved, coarse-toothed pull saw is the most useful orchard tool most smallholders do not own: it cuts on the pull stroke so the blade cannot buckle, and its wide-set teeth clear damp sawdust instead of clogging.
Pole pruners and pole saws buy reach in mature orchard trees without a ladder. The trade off is control: at four metres you cannot fine tune the angle, so line the cut up before you commit. A chainsaw belongs to major limb removal and stumping, from the ground, in full protective kit, never overhead off a ladder. We stock chainsaws, files and protective gear on the workshop and industrial tools page, and pangas, brush cutters and orchard hand tools under farm equipment.
What forcing does is worth spelling out. When a tool stalls halfway through, the natural reaction is to twist. That twist springs the pivot, bends the blade away from the hook and leaves a permanent gap between them. From then on the tool folds and tears wood rather than cutting it. The branch gets the worst wound of the day.
Where to Cut: Find the Branch Collar First
Where a branch joins a trunk or a larger limb there is usually a slight swelling: the branch collar, with a raised bark ridge on the upper side of the crotch.
The collar is not part of the branch. It is trunk tissue grown around the branch base, and it holds the tree's defences against what travels in from that branch. Leave it and the tree seals the wound off and grows a doughnut of woundwood over it. Remove it and you have cut through the barrier.
So the cut goes just outside the collar: sight a line from just outside the bark ridge down to just outside the swelling underneath, angled slightly away from the trunk.
The two failure modes are opposites. A flush cut, taken hard against the trunk because it looks tidier, takes the collar with it and lets decay run straight into the stem. A long stub leaves branch wood beyond the collar with nothing living to close it: the stub dies back, rot moves down it, and the rot reaches the trunk having bypassed the defences.
Water sprouts and unwanted suckers come off at the base with no peg left behind. When shortening a shoot, cut about five millimetres above an outward-facing bud, sloping gently away from it: too close kills the bud, too far leaves a stub that dies back anyway.
Heavy limbs: cut them three times
Anything heavy enough to tear needs three cuts. First an undercut roughly twenty to thirty centimetres out from the collar, a third of the way up. Second a cut from above, a little further out, until the limb drops; the undercut stops the falling weight ripping a strip of bark down the trunk. Third, remove the stub cleanly at the collar with the weight supported in one hand.
What Coffee and the Orchard Crops Each Ask For
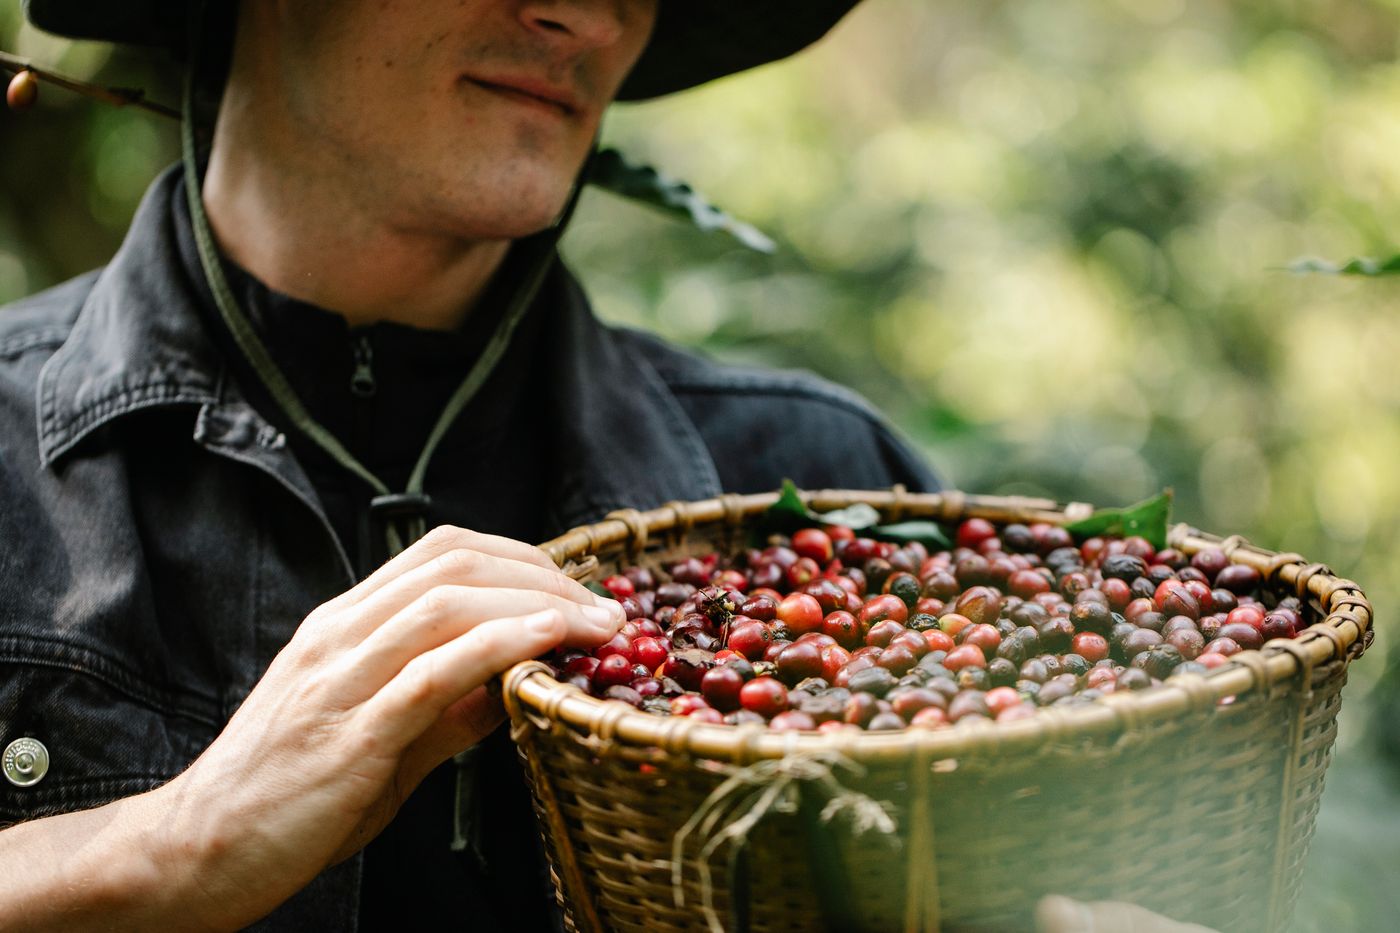
Coffee is the crop where pruning is production rather than tidying. The bush bears on young wood, so the pruning cycle exists to keep replacing exhausted wood with new. The recurring jobs are the same on single and multiple stem systems: take out worn, unproductive wood, remove unselected suckers while they are still soft enough for secateurs, and open the canopy so air moves and sprays reach the inside. When a stem is cut low, make it a clean sloping cut with a saw so water runs off, even though a panga is what usually comes to hand.
Avocado pruning is mostly about light and access: take out crossing and inward growing wood, keep the skirt off the ground, and bring height down over several seasons rather than in one drastic cut. Large wounds and newly exposed bark are both hard on avocado.
Macadamia rewards shaping early. Select well spaced scaffolds around a central leader and remove narrow angled unions while they are still pencil thick, because a narrow union with bark trapped inside it will split later under a full nut load.
Mango is about opening the centre. A dense, dark, humid interior is exactly what fruit rots and dieback prefer, so thinning the middle, removing dead wood and clearing old panicle stalks does more good than shortening the outside. Citrus wants its skirt lifted, its dead wood out and its water sprouts removed, and it is the crop where blade hygiene matters most.
Sterilise Between Trees, Not Between Blocks
Here is the uncomfortable part: a pruning blade is a delivery system. It picks up sap, spores and bacteria from the tissue it has just cut, carries them on the edge and in the pivot, and then places them directly into fresh cambium on the next tree. That is the one place a pathogen would normally struggle to reach on its own, and you have taken it there.
Fungal cankers and dieback on mango and avocado, bacterial problems in citrus and coffee and a number of viral diseases all travel this way. It is the mechanism behind many outbreaks that seem to follow the pruning crew down the row.
The protocol is short. Wipe the visible sap and sawdust off first, because organic matter neutralises most disinfectants before they can act. Then disinfect the cutting edge, working the blades open and shut so the pivot gets treated too. The trick that makes this survive a real working day is to carry two pairs of secateurs, one soaking in a small container while the other is in use.
Tighten the standard when needed. Cutting out visibly diseased wood means cutting well back into clean tissue and disinfecting after every single cut, not every tree. And do not leave those prunings in the row: diseased wood on the ground is a reservoir that reinfects the block. Burn or remove it, and keep chipping and mulching for healthy material.
One caution: most disinfectants attack steel, springs and pivots. Rinse, dry and oil the tools at the end of the day, or you trade a disease problem for a corrosion one.
A Sharp Edge Is a Safety Feature
Blunt tools need force, force slips, and slips cut hands. But there is a quieter reason: a bypass blade that has not been sharpened in two seasons has stopped shearing and started crushing. It still looks like a bypass secateur. It is behaving like an anvil.
On a bypass blade, the bevel is on the outer face only. Work that bevel at its existing angle with a fine file or a diamond hone, a few strokes at a time. Never grind the flat inner face; wipe it only, to lift the burr. Flatten it and the blades stop meeting. Files and hones are listed on our price list.
Sap does more damage to cutting action than wear does: it stiffens the joint and glues grit to the blade. Clean it off with a rag and soapy water. Then check the pivot bolt: most decent secateurs adjust, and the target is blades that close smoothly with no side play. Too loose and they fold wood instead of cutting it; too tight and the operator tires and starts twisting.
Blades and springs on quality secateurs are consumables, which is most of the argument for buying quality. Pruning saw teeth are usually hardened and will not take a file, so replace the blade rather than sharpen it. Store everything dry, lightly oiled and out of the sun.
Ten minutes at the end of a pruning day spent cleaning, oiling and touching up edges is the difference between tools that last a decade and tools that quietly start damaging your trees. If you are putting a pruning kit together, talk to any of our six branches through the contact page or send us a photo of the trees on WhatsApp.
Key Takeaways
- Trees close wounds from the rim inwards, so a clean cut with an intact bark rim is what makes healing possible.
- Bypass secateurs shear and belong on live wood. Anvil tools crush, so keep them for dead wood and cutting prunings up.
- Match the tool to the diameter. Twisting to finish a cut springs the pivot and ruins the tool permanently.
- Cut just outside the branch collar. A flush cut removes the tree's barrier, and a long stub rots back past it.
- Wipe sap off, then disinfect between trees, and after every cut when removing diseased wood. Oil the tools afterwards.
Frequently Asked Questions
Should I use bypass or anvil secateurs?
Use bypass secateurs on any wood you want the tree to heal over. Two blades pass each other and shear the fibres, leaving a clean face and an undamaged bark rim. Anvil secateurs close a blade onto a flat plate and part the wood by crushing it, which kills a band of tissue on both sides of the cut. Keep anvil tools for dead wood, for chopping prunings down for mulch or burning, and for tough dry stems where nothing living is at stake.
Where exactly should I cut a branch off a tree?
Just outside the branch collar, the slightly swollen ring of trunk tissue where the branch joins. Find the raised bark ridge in the crotch on the upper side and the swelling on the underside, then cut on a line from just outside the ridge to just outside the collar, angled slightly away from the trunk. A flush cut removes the collar and lets decay run into the trunk. A long stub leaves dead wood the collar cannot grow around.
How do I stop pruning from spreading disease between trees?
Wipe visible sap and sawdust off the blade first, because organic matter neutralises most disinfectants, then disinfect the cutting edge before you move to the next tree. Carrying two pairs of secateurs so one soaks while the other works makes the habit cost no time at all. When you are cutting out visibly diseased wood, cut well back into clean tissue and disinfect after every single cut, then remove or burn the prunings rather than leaving them in the row.
What size branch can secateurs cut?
As a working guide, bypass secateurs handle green wood up to roughly two centimetres, loppers take you to about five, and anything thicker belongs to a pruning saw. Those ranges shift with species and blade condition, so use the honest test instead: if you have to twist the tool or add a second hand to a one-hand tool to finish the cut, the tool is too small. Twisting springs the pivot, bends the blade away from the hook and ruins the tool.
How do I keep pruning blades sharp?
On a bypass blade the bevel is on the outer face only. Work that bevel at the existing angle with a fine file or a diamond hone, a few strokes at a time, and only ever wipe the flat inner face to lift the burr. Grinding the inner face flat makes the blades stop meeting. Clean sap off with a rag and soapy water or a solvent, adjust the pivot bolt until the blades close smoothly with no side play, and replace the blade or spring when it is worn.