A dairy farmer can do almost everything right, feed a good ration, keep healthy cows, milk cleanly, and still lose money at the collection point. The reason is usually invisible: the milk soured, tested positive on the alcohol test, or carried a bacteria count the processor would not accept. In most of these cases the animal was never the problem. Heat and time were.
Fresh milk leaves the udder warm and almost sterile. Within minutes it starts picking up bacteria from hands, cans, cloths, and the air, and those bacteria multiply fastest in warm milk. Every hour that milk sits at room temperature in Nakuru, Eldoret, or the humid Coast is an hour the count keeps climbing. Cooling and hygiene are not extra steps you do when you have time. They are the two levers that decide whether your milk is graded first quality or rejected.
This guide walks through the practical side of milk cooling and cleaning on a Kenyan farm: cans versus tanks, how to protect the cold chain from the milking shed to the cooler, the cleaning routine that keeps counts low, and what processors and cooperatives are actually looking for when they test your delivery. It builds on our guide to choosing milking equipment for Kenyan dairy farms, and focuses on what happens to the milk after it is drawn.
Why Milk Spoils So Fast in Kenya
Raw milk is a near-perfect food, and not only for people. The bacteria that were present on the udder, on the milker's hands, and inside a poorly washed can treat that warm milk as an ideal place to breed. In warm conditions their numbers can double in a short time, and the total bacterial count is exactly what the processor measures.
Two things drive the count up: temperature and time. You cannot always shorten the time between morning milking and evening collection, but you can control the temperature. Bringing milk down promptly after milking slows bacterial growth dramatically and keeps the milk within grade for far longer. That single habit, cooling quickly and keeping it cool, is the foundation of everything else in this article.
Cans or a Cooling Tank: Choosing for Your Scale
The right cooling setup depends on how much milk you handle and how far you are from the collection point or processor. There is no single correct answer, only the one that fits your herd, your route, and your budget.
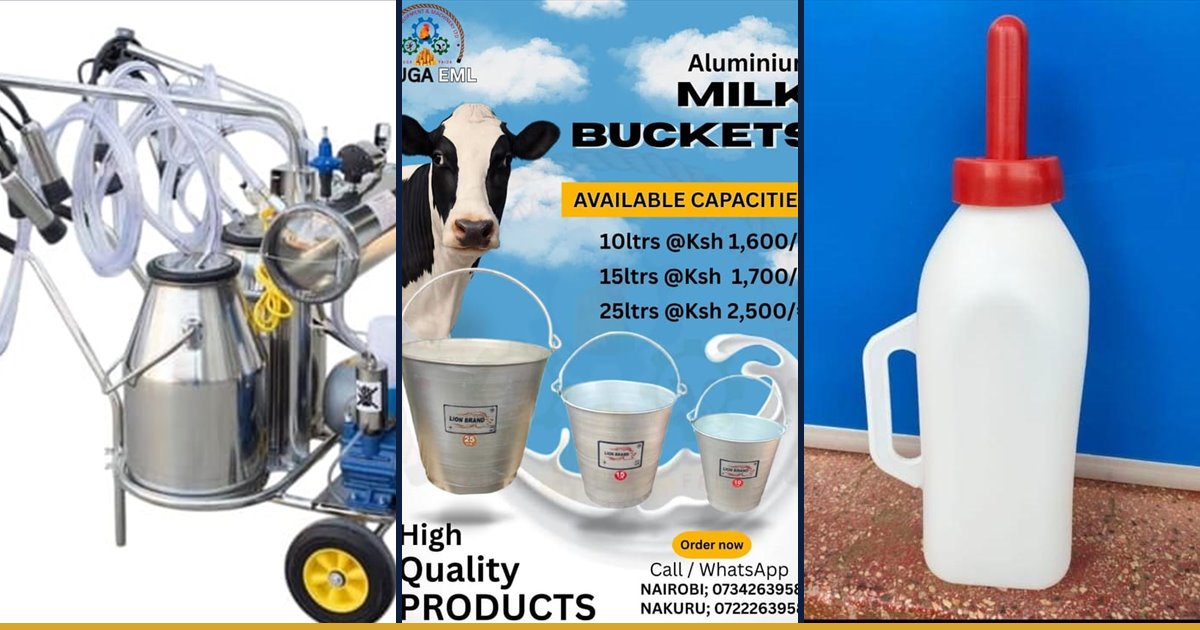
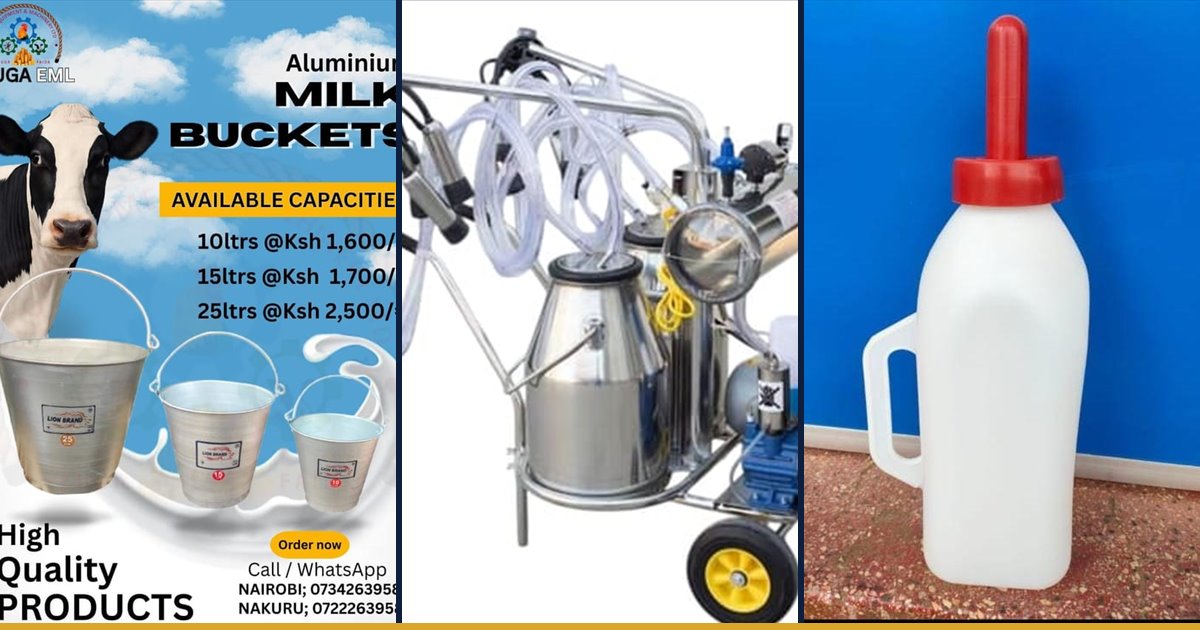
Aluminium milk cans remain the workhorse of the Kenyan smallholder. They are affordable, tough, easy to carry on a boda or bicycle, and simple to clean by hand. For a farmer with a few cows delivering to a nearby cooperative cooler twice a day, good cans and fast delivery are often enough. The limitation is that a can does not cool milk on its own. It only holds it. If your milk has to wait, cans alone will not keep the count down.
Direct expansion cooling tanks are stainless steel tanks with built-in refrigeration and a stirrer. They pull milk down to a low holding temperature quickly and keep it there until collection, which is why cooperatives and larger farms use them as bulk coolers. For a farm producing enough milk to justify one, or a group of farmers pooling their milk, a cooling tank is the equipment that lets you hold milk safely between collections instead of racing the clock every session.
Instant and pre-coolers sit between the two. A water pre-cooler passes milk through a plate or coil cooled by clean water on its way to the can or tank, knocking off the first burst of heat before storage. On a farm with reliable cool water, this is a low-cost way to give milk a head start.
Protecting the Cold Chain From Shed to Cooler
The cold chain is the unbroken path milk travels from the udder to the point where it is finally chilled and stored. Every warm gap in that chain is where the bacteria count grows. Your job is to keep the gaps short and the milk moving toward cold.
The chain starts before cooling equipment is even involved. Milk that is drawn cleanly into a sanitised can, strained through a clean filter, and moved promptly to the cooler arrives with a head start. Milk that sits in an open bucket in a warm shed while other cows are milked has already lost ground. The figure below shows how the count tends to move over a session depending on whether milk is cooled promptly or left standing.
Power reliability shapes the whole chain. In areas with frequent outages, a tank that loses its cooling during a long blackout can undo a good milking session. This is where solar equipment and a backup plan matter, and where a water pre-cooler earns its place by reducing how much work the refrigeration has to do. Plan the cold chain around the power you actually have, not the power you wish you had.
The Cleaning and Sanitising Routine That Keeps Counts Low
Clean equipment is half of milk quality. A single poorly washed can, cloth, or filter can raise the count of an otherwise clean batch, because leftover milk film is exactly where bacteria breed between milkings. The good news is that the routine is simple and cheap, and it works the same on cans as on a tank.
The order matters. Rinsing with hot detergent before the cold rinse simply drives milk protein onto the metal, where it bakes into a hard film that no amount of scrubbing removes easily. Follow the sequence below every time, for every piece of equipment that touches milk.
A few habits make this routine far more effective. Keep a brush that is used only for dairy equipment, never a general kitchen cloth. Use clean water for the final rinse, because rinsing sanitised cans in dirty water simply puts the bacteria back. And store cans and lids inverted on a rack in the open air, not stacked wet with the lids on, where trapped moisture keeps the film alive until the next milking.
Water: The Quiet Ingredient in Clean Milk
It is easy to focus on the shiny stainless tank and forget that most of the cleaning routine depends on water. You need enough clean water for rinsing, and ideally cool water for pre-cooling. On many Kenyan farms the bottleneck is not the milk equipment at all, it is inconsistent or dirty water.
Reliable storage tanks, clean piping, and simple filtration turn water from a weak link into a strength. If your farm struggles with water supply or quality, our range of water equipment covers storage and handling that supports both your herd and your milk hygiene. Cows that drink clean water and equipment washed in clean water both push your milk quality in the same direction.
Meeting Processor and Cooperative Quality Standards
When you deliver milk, the buyer is not taking your word that it is good. They test it. Understanding the common tests removes the mystery and tells you exactly what your cooling and hygiene are being judged on.
The alcohol or clot-on-boiling test is the quick gate at the collection point. Milk that has started to sour clots when mixed with alcohol or when heated, and it is rejected on the spot. This is almost always a cooling and time problem, and it is the test that prompt chilling protects you from.
The organoleptic check is the human one: smell and appearance. Off odours, an unusual colour, or visible dirt fail here. Clean milking, straining through a clean filter, and clean cans keep you on the right side of it.
The total bacterial count and platform tests are the deeper measures used by processors and better cooperatives to grade milk and, in many cases, to set the price they pay. A low count is the direct reward for fast cooling and disciplined cleaning. The farms that consistently grade well are rarely the ones with the fanciest equipment, they are the ones that never skip the routine.
Building a Setup That Fits Your Farm
You do not need to buy everything at once. Milk quality is built in the right order. Start with clean cans, a clean filter, and the five-step cleaning routine, because those cost little and prevent the most common rejections. Add a water pre-cooler when you have reliable cool water and want to protect milk that has to wait. Move to a cooling tank when your volume, or a group of farmers pooling milk, justifies holding milk safely between collections.
The thread running through all of it is discipline, not expense. A smallholder with two cows, spotless cans, and a fast delivery habit can deliver first-grade milk every day. A large farm with a good tank and careless cleaning can still fail a test. Match the equipment to your scale, protect it with the routine, and the grades follow.
Come and see cans, coolers, and cleaning supplies at any of our branches, or message us your daily litres and delivery distance and we will help you build a setup that fits.
Key Takeaways
- Heat and time, not the cow, cause most milk rejections. Cool promptly after milking and keep milk cold until collection.
- Match your setup to scale: good cans and fast delivery for smallholders, a pre-cooler where water allows, a cooling tank for larger volumes or pooled milk.
- Protect the cold chain from shed to cooler, and plan it around the power you actually have, with solar or a pre-cooler as backup.
- Follow the five-step routine every time: cold rinse, hot detergent wash, clean rinse, sanitise, then drain and air dry.
- Clean water underpins every rinse and dilution, so treat water supply as part of milk hygiene.
- Fast cooling and disciplined cleaning are what pass the alcohol, organoleptic, and bacterial-count tests that set your grade and price.
Frequently Asked Questions
Do I really need a cooling tank, or are cans enough?
It depends on volume and how long your milk waits. For a smallholder delivering to a nearby cooler soon after milking, clean cans and prompt delivery are often enough. If your milk has to be held for hours, or you produce enough to pool with neighbours, a cooling tank keeps the count down where cans alone cannot. Tell us your litres and distance and we will advise honestly.
Why does my milk fail the alcohol test even when the cow is healthy?
The alcohol test detects milk that has begun to sour, which is almost always a cooling and time problem rather than an animal health problem. Warm milk that waits before collection grows bacteria and starts to turn. Cooling promptly after milking and keeping it cold until delivery is the direct fix.
What is the correct order for cleaning milk cans?
Cold rinse first to wash off fresh milk, then a hot wash with dairy detergent and a dedicated brush, then a clean water rinse, then an approved sanitiser at the correct dilution, and finally drain and air dry the cans inverted. Never start with hot water, as that bakes milk protein onto the metal.
How does power reliability affect milk cooling?
A cooling tank depends on steady power to hold milk cold, so a long outage can undo a good session. In outage-prone areas, plan around it with a solar-backed setup, a water pre-cooler to reduce the cooling load, and a habit of delivering milk before it can warm up. Design the cold chain around the power you have.
Can dirty water spoil otherwise clean milk?
Yes. If your final rinse or sanitiser dilution uses dirty water, you put bacteria straight back onto clean equipment. Clean, reliable water is part of milk hygiene, which is why sorting out water storage and treatment often lifts milk quality as much as new milk equipment does.