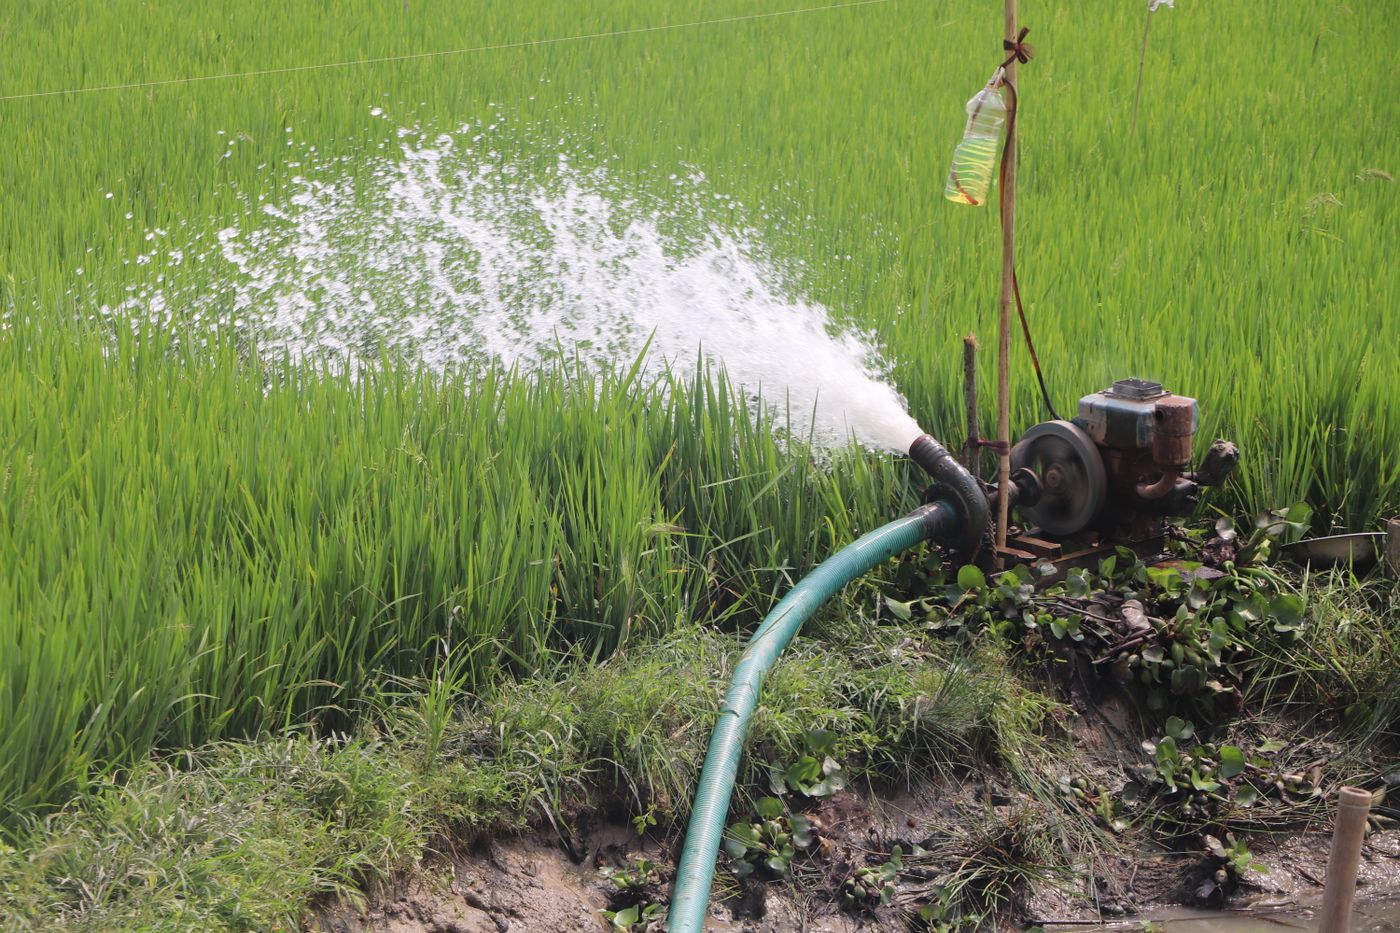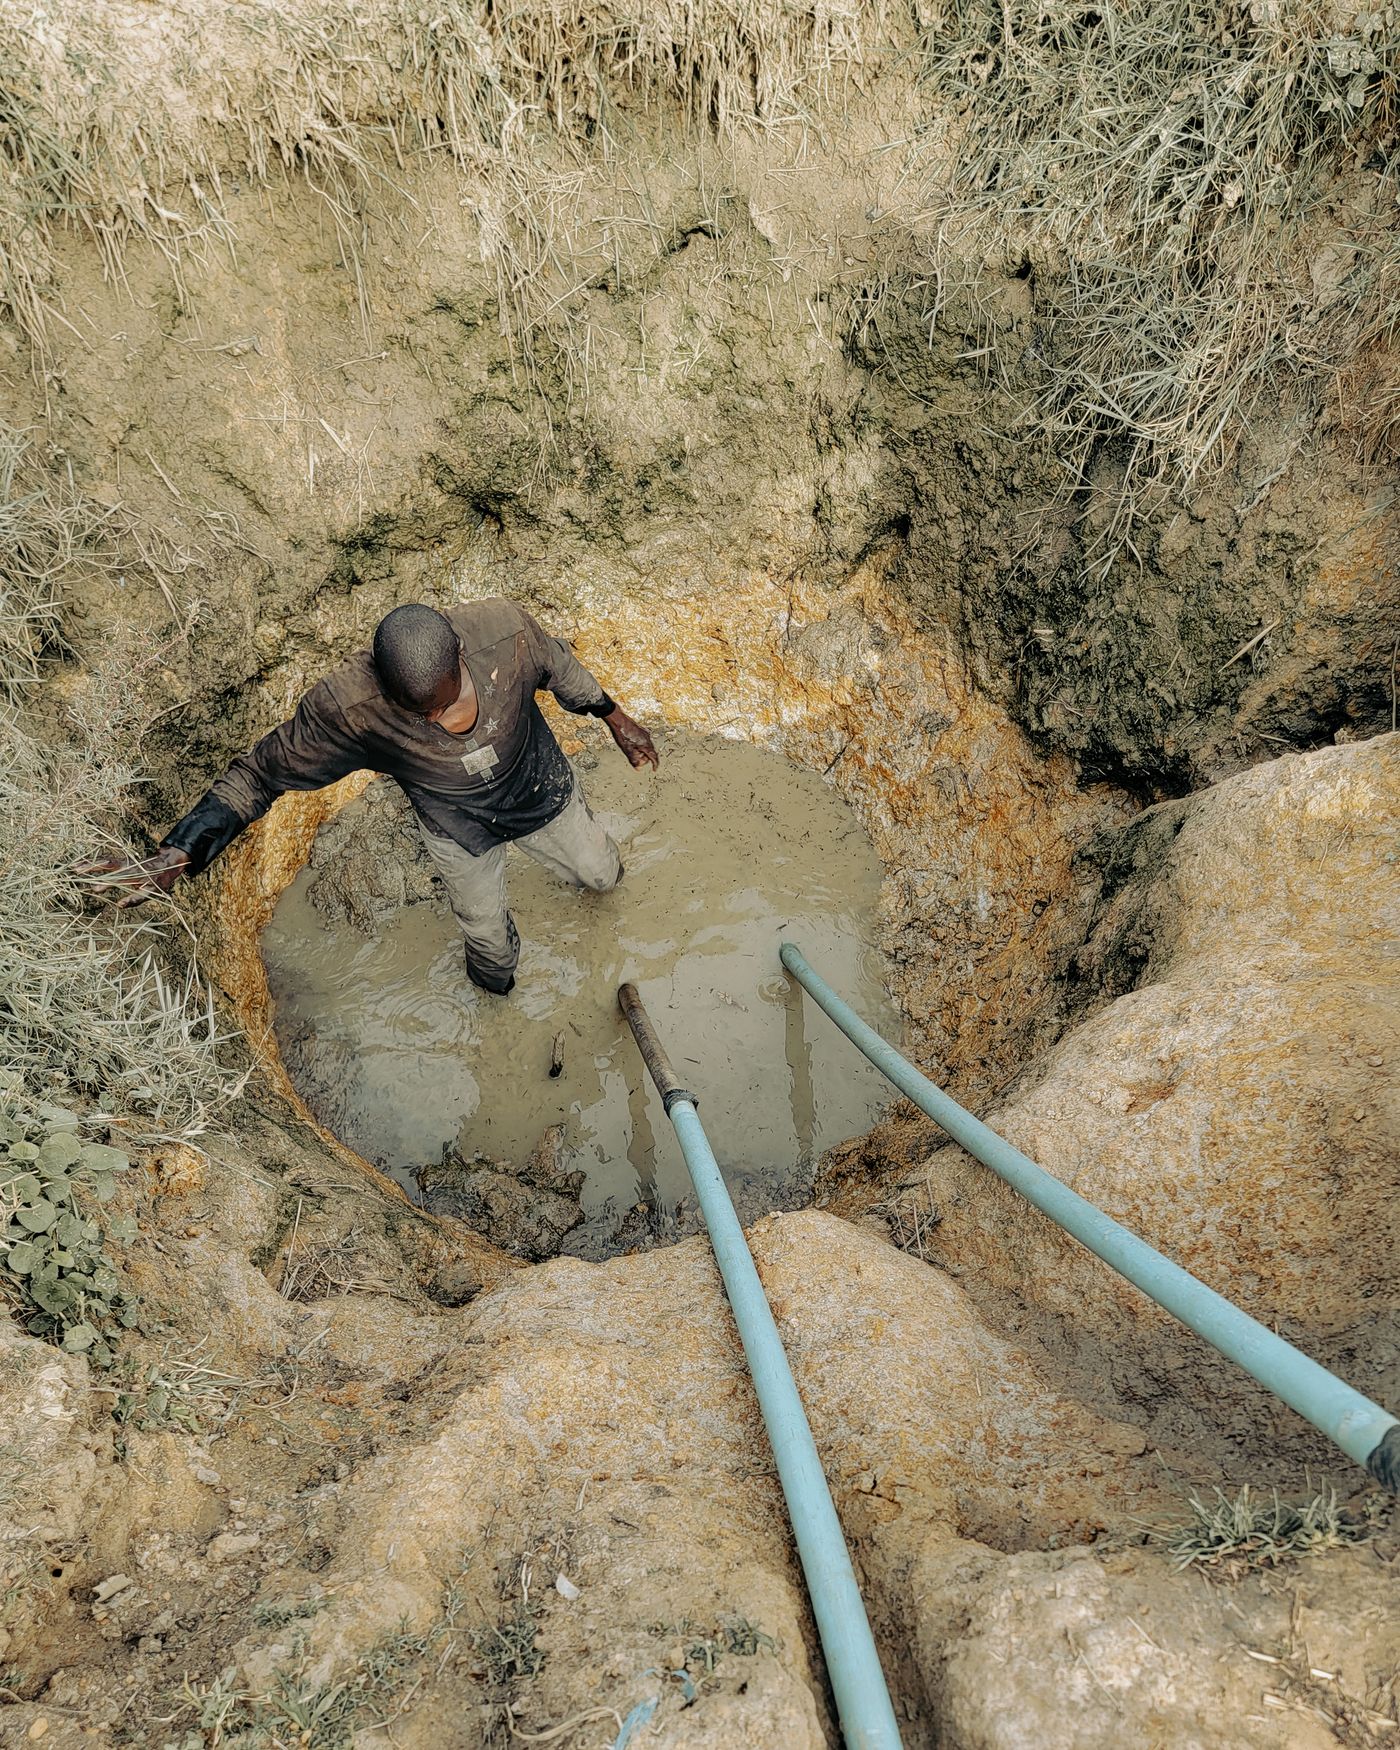
A farmer lays two hundred metres of black HDPE pipe from a shallow well to a tank on the ridge. The pump runs, the tank fills, and everyone is happy for a month. Then a wet patch appears in the maize halfway up the slope. Someone digs and finds a compression fitting that was never tightened properly, sitting under a stone that has slowly pushed the pipe out of line. The tank has been filling slowly for weeks, and the repair now means digging in the middle of a planted field.
High density polyethylene, HDPE for short, is the pipe most Kenyan farms use for buried water mains, and for good reason. It comes in long coils with few joints, it is smooth inside, it flexes with moving ground and it does not rust. But the pipe is only as good as the joints and the trench it lies in, and those are exactly the parts that get rushed on the day.
This guide covers the practical side of HDPE on a farm: reading what is printed on the pipe, choosing fittings, making a compression joint that does not leak, laying and burying the line, testing it before you backfill, and repairing it when a jembe or a rat finds it. Our farm plumbing guide explains where HDPE fits beside PPR, PVC and lay-flat hose, and our article on pipe sizing and friction loss covers choosing the diameter.
Read the Pipe Before You Buy It
Everything you need to know is usually printed along the side of the pipe at regular intervals. Three markings matter most on a farm. The first is the outside diameter in millimetres, such as 25, 32, 40 or 50. HDPE is sized by its outside diameter, so the fittings you buy must match that number, not an inch size remembered from steel pipe.
The second is the pressure rating, often shown as PN followed by a number, such as PN6, PN10 or PN16. The number is the working pressure in bar the pipe is designed for at around 20 degrees Celsius. A higher rating means a thicker wall, which means a smaller bore for the same outside diameter, so a PN16 pipe carries a little less water than a PN6 pipe of the same size. The third is the material grade, commonly PE80 or PE100; PE100 is a stronger material, so a PE100 pipe reaches the same pressure rating with a thinner wall.
How do you choose the rating? Work out the highest pressure the line will ever see. On a pumped line that is usually right at the pump outlet, and it includes the height to the tank plus friction. As a rough guide, every 10 metres of vertical height adds about 1 bar. A pump lifting water 45 metres puts at least 4.5 bar on the bottom of the line before friction. Choose a rating with a comfortable margin above your working pressure, and if the pump can deliver more pressure than the pipe is rated for, size the pipe to the pump, not to the tank.
The Fittings You Will Actually Use
On farm-sized HDPE, most joints are made with compression fittings, also called mechanical or push and tighten fittings. Inside each end is a rubber O-ring that seals against the pipe, a split grip ring that bites into the outside wall to stop the pipe pulling out, and a threaded nut that squeezes the whole assembly together. They need no power or special training and can be undone later.
The common shapes are straight couplers to join two pipes, reducers to step from one size to another, tees for branches, elbows for sharp turns, end caps, and male or female adaptors that change from compression to a threaded end so you can connect a tap, a valve, a pump outlet or a tank fitting. Larger pipes are often joined by butt fusion or electrofusion, which need a machine and a trained operator, so they are usually a contractor's job.
| Fitting | What it does | Where you will use it |
|---|---|---|
| Straight coupler | Joins two pipes of the same size | End of a coil, repairs |
| Reducing coupler | Joins two different sizes | Main to a smaller branch |
| Equal or reducing tee | Takes a branch off the main | Feeds to troughs, houses, plots |
| Elbow | Makes a sharp turn | Corners where the pipe cannot sweep |
| Male or female adaptor | Changes to a threaded end | Pump outlet, tank, valves, taps |
| End cap | Closes the end of a line | Future extensions, washouts |
Two warnings. First, PVC solvent cement does not bond to polyethylene, so never try to glue HDPE. Second, do not heat the pipe over a fire to soften it or force it onto a fitting. Overheated polyethylene loses strength and fails later under pressure.
Making a Compression Joint That Does Not Leak
A compression joint takes a couple of minutes and almost every leak traces back to a skipped step. The pipe end must be square, clean and smooth, and it must go fully into the fitting, past the O-ring, before the nut is tightened.
Cut square. Use a plastic pipe cutter or a fine-tooth saw with the pipe held steady, and cut at right angles. An angled cut leaves one side short of the O-ring. Chamfer and clean. Take the sharp outer edge off the cut with a knife or file so it does not catch and roll the O-ring as it goes in, then wipe off soil and swarf. Grit on the pipe or in the fitting is a leak waiting to happen.
Mark the depth. Measure how far the pipe should go into the fitting, or hold the loosened fitting against the pipe, and mark the insertion depth on the pipe with a marker. Push home. Loosen the nut a few turns, then push the pipe in firmly with a slight twist until it passes the O-ring and reaches the mark. You will feel resistance as it passes the seal. If the mark is not at the nut, the pipe is not home. Never use oil or grease, which can damage the rubber.
Tighten. Screw the nut up hand tight, then finish with a fitting wrench or strap wrench as the maker directs. Do not stand on a pipe wrench to crank it. A good joint is firm, not crushed.
Laying and Burying the Line
Burying an HDPE main protects it from the sun, from grass fires, from livestock and tractor wheels, and from people who need a short length of pipe. Black HDPE resists sunlight well, but a buried pipe is still safer and cooler.
How deep? There is no single figure for every farm, and the right answer depends on the soil and what crosses above it. Many installers aim for at least around 450 to 600 millimetres of cover in fields, and more under farm tracks and gateways where vehicles pass. Keep the line away from trees, whose roots find weeping joints.
Bed the pipe on soft soil or sand, free of stones, and backfill the first layer around it by hand with fine soil, again without stones. A sharp stone pressing on the pipe for years under the weight of soil and the pulse of the pump can cut through it. Shovel the rocky spoil back only once the pipe is covered.
Lay the pipe with a gentle snaking path along the trench bottom rather than pulled tight. Polyethylene expands and contracts with temperature much more than steel, and a commonly quoted figure from pipe makers is about 0.2 millimetres per metre of pipe for every degree Celsius of change. A pipe laid tight on a hot afternoon shortens in cool soil and pulls on every fitting.
Bend the pipe gently rather than fitting elbows wherever you can, because every fitting is a possible leak and a source of friction. Pipe makers publish a minimum bending radius, often given as a multiple of the outside diameter; check the figure for your pipe, and use an elbow where the turn is tighter than that. At tees, bends and dead ends on pumped lines, the water pushes on the fitting every time the pump starts. On larger lines, a block of concrete or well-compacted soil behind the fitting stops it creeping.
Valves, Air and Washouts
A buried main works better with a few simple additions. Fit an isolation valve near the pump and at the start of each major branch so you can work on one section without draining everything. On a line that rises and falls over the land, air collects at the high points and can choke the flow. An air release valve at the highest points, or at least a tap you can open, lets it escape. At the lowest point, a washout or drain lets you flush out sand and silt, especially on lines fed from shallow wells and rivers.
Test Before You Backfill
Never bury a line you have not tested. Leave the joints exposed, close the far end, fill the pipe slowly from the low end with the high points open so air can escape, then close them and bring the line up to working pressure with the pump or a test pump. Walk the line and look at every joint. Hold the pressure for a while; a small early drop on a gauge can be the polyethylene stretching rather than a leak.
Any joint that weeps should be undone, checked for grit, a rolled O-ring or a short insertion, and remade. Tightening a weeping joint harder rarely fixes it. Once every joint is dry, backfill in layers with the fine soil first.
Repairing a Damaged Line
Sooner or later a jembe, a post-hole digger or a hungry rodent will put a hole in the pipe. The standard repair is simple. Dig out enough of the line that you can move the pipe ends, cut out the damaged section square, and replace it with a short new piece of the same pipe joined with two compression couplers, or use a single repair coupler if the gap is small. Push the ends home to their depth marks and tighten as before.
Keep a small repair kit on the farm: two couplers in each pipe size you use, a short offcut of each pipe, a cutter, a marker and the right wrench. Our list of spares worth keeping on the farm applies the same idea to other equipment.
A Quick HDPE Checklist
- Pipe outside diameter and pressure rating chosen for the highest pressure the line will see, with a margin.
- Fittings that match the pipe size exactly, from a reputable maker.
- Pipe cut square, chamfered, clean and pushed fully home to a depth mark.
- Nuts hand tight and firmed with the right wrench, never crushed.
- Trench bottom free of stones, pipe bedded and covered first with fine soil.
- Pipe snaked in the trench, bends gentle, thrust support at tees and dead ends on pumped lines.
- Isolation valves, air release at high points and a washout at the low point.
- Line pressure tested and every joint inspected before backfill.
For pumps, pipe wrenches and plumbing tools to go with your new main, browse our water equipment range or ask any Fuga branch in Eldoret, Nairobi or Nakuru. Bring the length of the run, the height to the tank and your pump details, and we will help you put together a line that fills the tank at full speed for years.
Key Takeaways
- HDPE is sized by outside diameter; buy fittings that match that millimetre size exactly, not an inch size.
- Choose the pressure rating (PN) for the highest pressure the line will ever see, usually at the pump outlet, with a margin; every 10 metres of height adds about 1 bar.
- A compression joint needs a square cut, a chamfered clean end, a depth mark and the pipe pushed fully past the O-ring before the nut is tightened.
- Never glue HDPE with PVC cement and never heat it over a fire to force it onto a fitting.
- Bed the pipe on stone-free soil, snake it in the trench to allow for movement with temperature, and keep tight turns to proper elbows.
- Pressure test with the joints exposed before backfilling, and record where every joint and valve sits.
Frequently Asked Questions
Can I glue HDPE pipe like PVC?
No. PVC solvent cement does not bond to polyethylene. HDPE on farms is normally joined with compression fittings, and larger pipes with butt fusion or electrofusion, which melt the pipe material together using a machine.
Why does my HDPE compression fitting leak?
The usual causes are a pipe end that was not cut square, grit on the pipe or in the fitting, an O-ring rolled by a sharp unchamfered edge, or a pipe that was not pushed fully in past the O-ring. Undo the joint, clean and check everything, mark the insertion depth and remake it. Tightening harder rarely fixes a leak.
How deep should I bury an HDPE water pipe on a farm?
It depends on your soil and what crosses above the line. Many installers aim for at least around 450 to 600 millimetres of cover in fields, and more under tracks and gateways where vehicles pass. Bed and cover the pipe with fine, stone-free soil.
What pressure rating of HDPE pipe do I need?
Work out the highest pressure the line will see, usually at the pump outlet. As a rough guide every 10 metres of height adds about 1 bar, plus friction in the pipe. Choose a PN rating comfortably above that, and if your pump can produce more pressure than the pipe is rated for, size the pipe to the pump.
How do I repair a cut HDPE pipe?
Expose the damaged section, cut it out square, and replace it with a short piece of the same pipe joined with two compression couplers, or use a single repair coupler if the gap is small. Chamfer and mark the ends, push them fully home and tighten. Keeping spare couplers and an offcut on the farm makes this a short job.