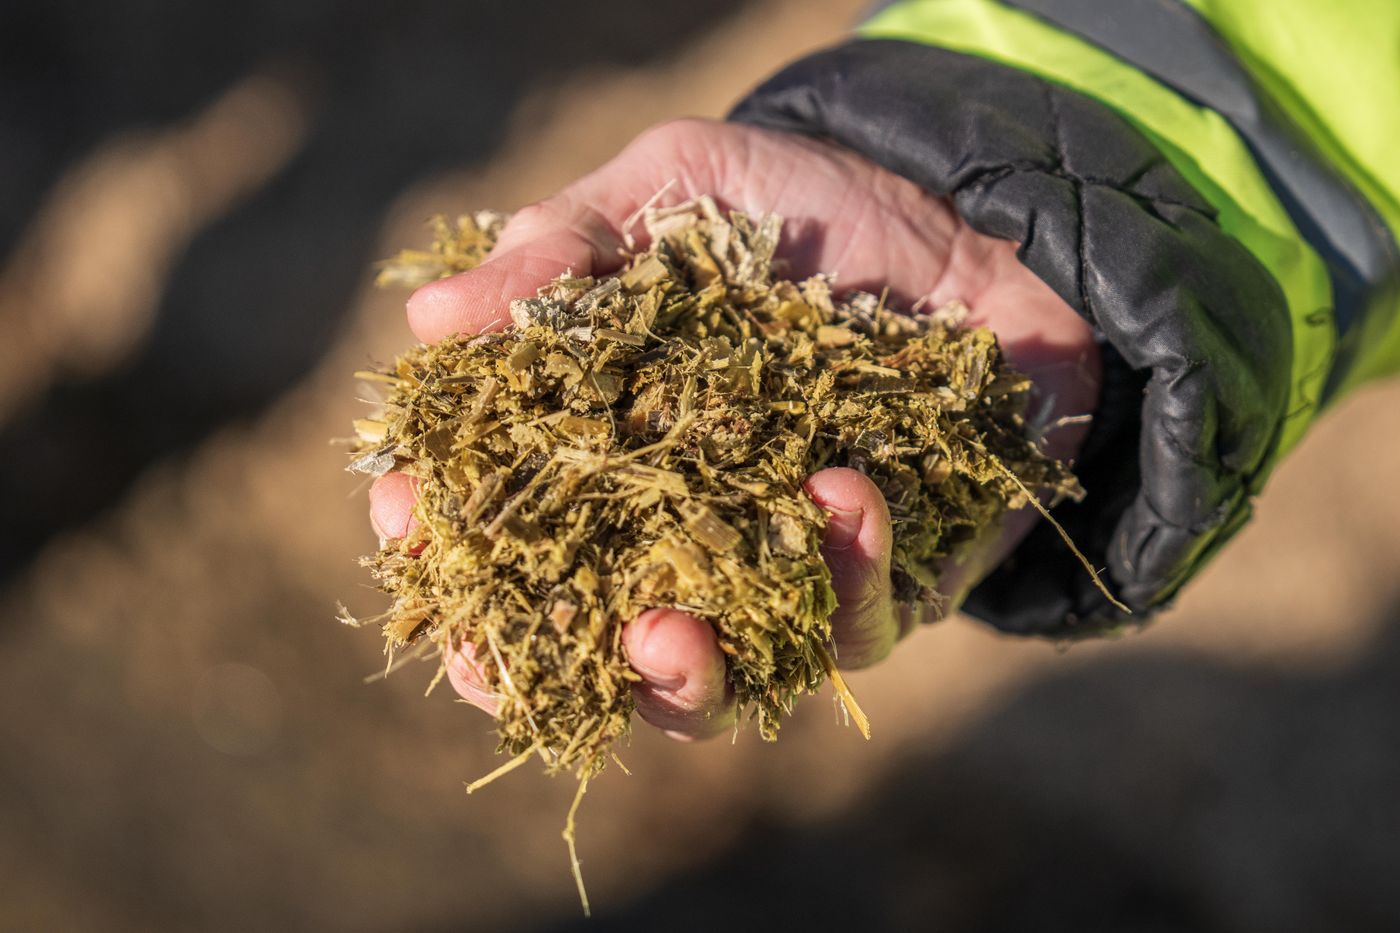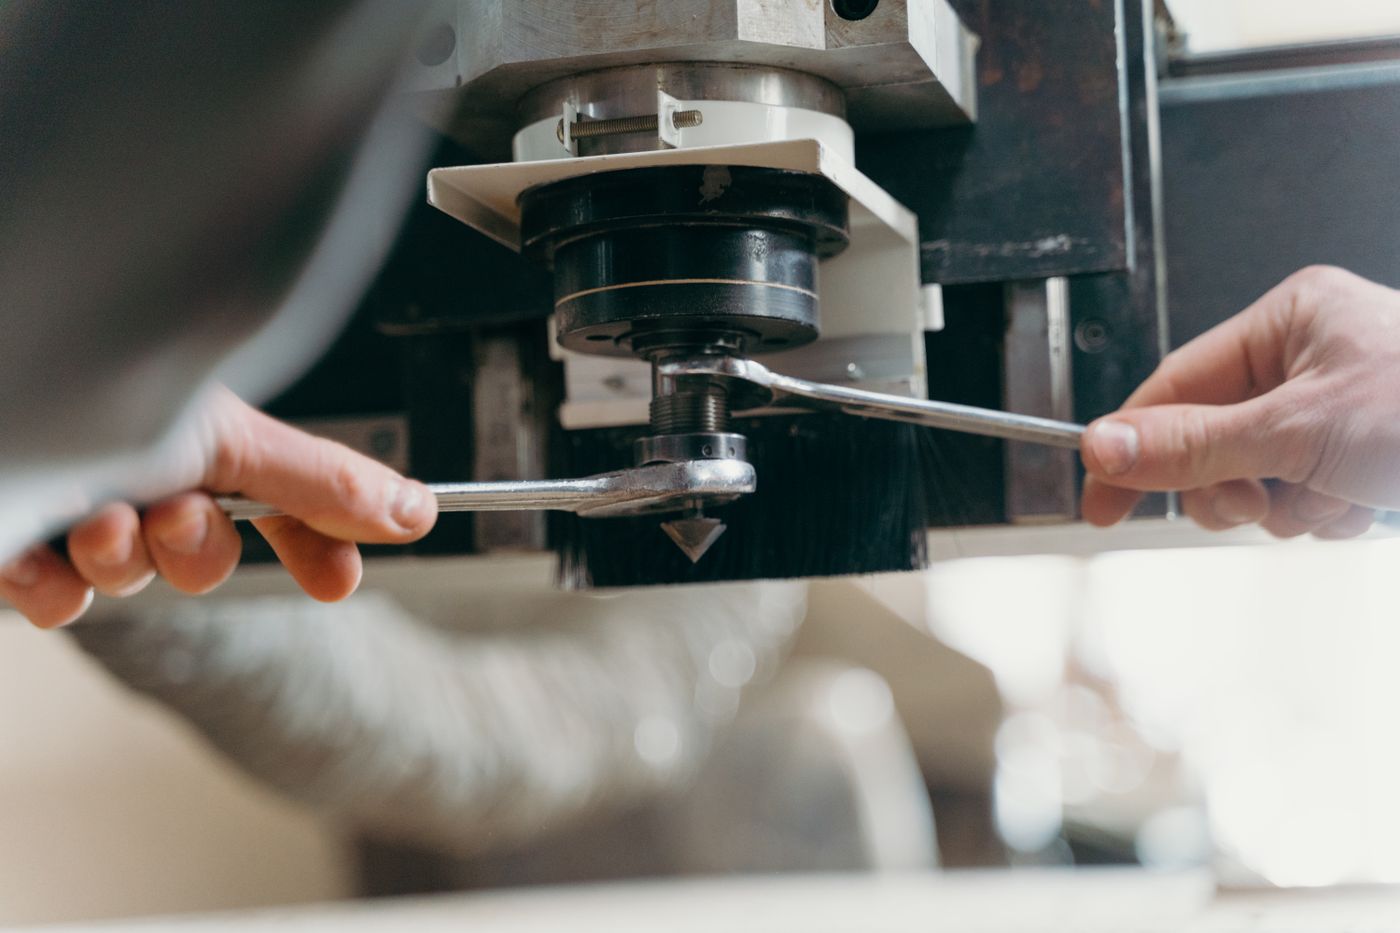
The machine has not broken. That is exactly what makes the problem hard to see. It still starts, it still spins, it still swallows napier and still throws something into the sack at the other end. But it takes longer than it did last season, the motor labours where it used to hum, and the fodder coming out is bruised and stringy rather than cut. Somewhere over the past few months your chaff cutter quietly stopped cutting and started tearing.
Nobody writes that down as a fault, so nobody fixes it. Meanwhile it costs you on three sides. Torn fodder bleeds juice and sours faster in the sack. A machine forcing material through draws more current or more fuel for the same bag. And whatever ruins the cut is also loading the bearings, cooking the belt and working on the blade bolts, which is how a disappointing machine becomes a dangerous one.
The good news is that a chaff cutter is a simple thing with four wear systems: the cutting pair, the bearings, the drive and the feed. Each announces itself long before it fails. This guide covers how the cut is actually made, how to set blade to plate clearance, how to sharpen without destroying the steel, how to keep bearings and belts alive, and which noises mean stop now.
Cutting Clean Is a Shear, Not a Chop
The single most useful idea in this whole article is that a chaff cutter blade does not cut on its own. It cuts against something. The moving blade passes a fixed edge, usually called the shear plate, counter knife or ledger plate, and the fodder is severed between the two. A chaff cutter is a pair of scissors that happens to be round.
Think what a loose pair of scissors does to paper. The blades are as sharp as ever, but with the pivot slack the paper folds into the gap instead of being severed. Nothing is wrong with the edges. Everything is wrong with the relationship between them.
That is the condition most tired chaff cutters are in. Three things must be true at once for a clean cut: the moving edge keen, the fixed edge square rather than rounded, and the gap between them small and even across the whole sweep. Fix one and ignore the other two and you have not fixed the machine.
The difference shows in the trough first. A sheared stem has a flat, bright end. A torn stem has a crushed, frayed end that weeps, and bruised material loses sap, heats faster in a heap and moulds sooner. That matters most when the chop is headed for a pit or a tube, as our guide to making silage in Kenya sets out.
Sharpening alone rarely fixes a chaff cutter. If the machine cuts badly and you only touch the blades, you have solved one third of the problem. The fixed plate and the gap between the two are the other two thirds, and they are usually the reason the blade went blunt so quickly in the first place.
Blade to Plate Clearance: The Setting That Decides Everything
Clearance is the gap between the passing blade edge and the fixed plate, and the target is the smallest even gap that never lets metal touch metal through a full rotation. Where the manual gives a figure, it beats any rule of thumb. Where it does not, the test most fundis use is a strip of paper that passes with light drag. The first step of the procedure is not optional.
- Isolate the machine: unplug it at the socket, or pull the cap off the spark plug. Never rely on a switch.
- Clean the housing out. Packed chaff behind the plate will hold it off its seat and give you a false setting.
- Slacken the adjusters on the plate or the blade carriers, whichever your machine uses.
- Turn the rotor by hand through one full revolution and find the blade that comes closest to the plate. Set the gap on that one, because it sets the limit for all of them.
- Set the gap with a feeler gauge or the paper test, then check both ends of the plate. Tight at one end and wide at the other is the commonest error.
- Tighten everything properly, then turn the rotor by hand through two more revolutions, listening for contact, before any power goes near it.
Both errors have a signature. Too wide, and stems fold into the gap, the ends come out bruised, the motor labours and the blade edge rolls over instead of wearing back cleanly. Too tight, and the blade kisses the plate: a bright rubbing mark, heat, an edge blunted in minutes, hardware that works itself loose, and in the worst case a cracked blade at full speed.
Clearance also drifts on its own. The blade wears back, the plate wears a groove where the material sits, and bearing play lets the rotor wander. Nothing loosened, nobody touched it, yet the gap is wider than it was. That is why it is a routine check, not a one time setting.
Sharpening Without Ruining the Steel
Chaff cutter blades are hardened and tempered steel, and the heat treatment is the whole value of the part. The most common sharpening mistake is therefore not a bad angle but a hot grinder. Lean hard on a wheel and the edge runs from straw colour to blue in seconds, and blue means the temper has been drawn out of that strip of steel. Softened steel will not hold an edge again however often you sharpen it. So work in light passes, keep a tin of water beside you, cool the blade often, and never let the edge change colour.
Keep the original bevel. Chaff cutter blades carry a fairly stout single bevel because they must survive grit, soil and the occasional stone. A thin razor edge feels impressive on the bench and chips within an hour of real work, so copy the angle already on the blade.
Balance matters as much as sharpness. On a rotor turning at speed, a blade with noticeably more metal taken off it than its partners throws an out of balance force on every revolution, straight into the bearings and the frame welds. Mark the blades, give each the same number of passes, and weigh them against each other if you have an accurate scale.
Do not forget the fixed plate. Its square corner does the shearing, and once that corner is rounded the machine tears however sharp the blades are. On many machines the plate can be turned end for end to present an unworn corner, which is the cheapest performance fix available. Dress it with a flat file rather than grinding it hollow.
When to stop sharpening and start replacing. Retire a blade for a crack anywhere, especially from a bolt hole, for holes gone oval, for chips deep enough that grinding them out would reshape the blade, or for one ground so far back that clearance can no longer be set. Replace blades as a set so the rotor stays balanced, with new bolts and lock nuts.
Never fit an ordinary bolt to a blade. Blade bolts are a specified grade, a specified length and usually a specified head, and they are the only thing holding a piece of steel travelling at speed. A mild steel bolt from the hardware tray looks identical and is not. Buy the blade bolt set with the blades.
Bearings: The Quiet Part That Fails Loudly
The rotor shaft carries the blades, the flywheel mass and a great deal of stored energy, and the bearings are the only reason all of it stays where it should be. They are also the part least likely to be inspected, because they sit behind a cover and make no fuss until the week they make a great deal of it.
A chaff cutter is a hard life for a bearing: fine plant dust everywhere, acidic plant juice, a constant sideways load from belt tension, a pulse added to that load by unbalanced blades, and a machine that often lives outside under a sheet where condensation works past tired seals overnight.
Greasing is little and often, not a lot and rarely. Sealed bearings are filled for life and have no nipple. Where a nipple is fitted, a couple of strokes at the interval the manual states is the dose, because emptying half a gun into a housing pushes the seal out, and once the seal is gone the dust comes in. Stay with one grease, since some types are incompatible and the mixture turns to soup.
Three checks tell you nearly everything and take under a minute. Listen: a rising whine, a rumble or a gritty noise that changes with load is a bearing talking to you. Feel: warm is normal after a run, but a housing you cannot keep a hand on, or one much hotter than its opposite number, is a bearing being destroyed. Rock it: with the machine isolated and stopped, try to move the rotor up and down and in and out. A sound machine has no perceptible play.
One diagnostic point beats any tool: if the same bearing fails twice, the bearing is not the fault. Look for a belt run far too tight, a bent shaft, a housing worn oversize so the outer race spins in it, or a machine standing on ground that is not flat. Replacement is within reach of a competent fundi, since the number is printed on the race, but pull with a puller rather than a hammer and never drive a bearing on through the balls.
Belts and Pulleys: Tension, Alignment and the Early Death of Both
The belt is the cheapest part of the machine and the one most often blamed. In truth a belt usually dies of something else: wrong tension, a pulley out of line, a worn groove, or a bearing making the machine hard to turn.
Tension is a narrow window with a penalty on each side. Too loose and the belt slips under load, which makes heat, glazes the flanks to a shine and produces that squeal at start up. Too tight and you have added a permanent sideways load that goes into the bearings and can bow a shaft. Slack belts kill belts, tight belts kill bearings. A widely used rule of thumb is about sixteen millimetres of deflection per metre of span under moderate thumb pressure, but the manual's figure, where there is one, wins.
Alignment is the other half. Lay a straight edge or pull a string across the faces of both pulleys: they should touch it in the same plane. A misaligned drive wears the belt on one flank, runs it hot, and eventually flips it out of the groove. A belt that keeps turning over or jumping off is not a bad belt, it is a bad line.
Look at where the belt sits in the groove. A V belt grips on its two sloping sides and should never touch the bottom. If it has sunk so its top face is below the rim of the pulley, the groove is worn and a new belt will be ruined at the same rate. Where a machine uses more than one belt, change them as a matched set, because one new belt beside a stretched old one carries the whole load and fails early.
Retire a belt showing cracks on the inside face, glazed flanks, frayed edges or black rubber dust under the machine, and put the guard back on before the machine runs. The wider logic of drives is in our article on belts, pulleys and bearings.
The Feed System and the Fasteners That Loosen Themselves
On roller fed machines, the feed rollers decide chop length as much as the blades do. They deliver material at a steady rate, so worn or slipping rollers give an uneven feed, which shows up as inconsistent lengths and as a shock load every time a wedge arrives at once. Check the roller teeth for rounding, the spring or weight that presses the top roller down, and the chain that drives them: hooked sprocket teeth mean the chain has stretched. Where a gearbox is fitted, check the oil, because milky oil has water in it and glittering oil has metal in it.
The least glamorous job on the machine prevents more damage than anything else on this page: going over the fasteners with a spanner. Vibration undoes things, and a chaff cutter vibrates for a living. Every week, put a spanner on the blade bolts, the plate bolts, the bearing housings, the motor mounts, the guard fixings and the bolts holding the machine to its stand.
Cleaning is maintenance, not housekeeping. Packed chaff holds moisture against steel, adds unbalanced mass to the rotor, blocks airflow over a motor and hides cracks. Brush the housing out after every session, leave the covers open to dry, and store the machine under cover. The same discipline keeps a smaller machine such as a vegetable chopper working.
Reading the Symptoms Before the Breakdown
Machines rarely fail without warning. They fail without the warning being understood. A chaff cutter speaks through four channels: the fodder, the sound, the feel and the power it draws.
Bruised ends, wildly inconsistent lengths or whole stems passing untouched point at the cutting pair rather than the power unit. A squeal at start up is a slipping belt, a rising whine is a bearing, a knock exactly once per revolution is something on the rotor, and a rattle that comes and goes is a loose guard or a bolt that has already backed off. Vibration through the frame that was not there a month ago is a balance problem, and those compound, because imbalance destroys the bearings that were holding everything true.
The fourth channel is the one people misread. A motor tripping its overload, or an engine bogging on a load it used to take, has almost never weakened by itself. It is driving a machine that has become hard to turn: a blunt edge, a wide clearance, a packed housing or a dying bearing.
Four signs mean stop, now: a burning smell, visible smoke, a knock that changes with load, and vibration that has appeared suddenly. Switch off, isolate and let the rotor stop completely before you look. A chaff cutter rotor carries enough stored energy that a failure at running speed is not a repair question, it is an injury question.
A Service Routine That Fits Around Milking
Maintenance schedules fail when they ask a dairy farmer to do something at a time of day that does not exist. This one fits the gaps that are already there.
Safety runs through all four columns. Isolate before you touch anything, every single time. Never push material in by hand, use the feed tray and a stick or push plate. Keep loose clothing and gloves away from the feed opening, because a glove caught in a roller takes the hand with it. And the rotor does not stop when the power does: a flywheel carrying that mass keeps turning long after the switch is off, so wait until it has genuinely stopped rather than until it merely sounds slow.
The last piece of the routine is the shelf. Keep a set of blades, the matching bolt set, a spare belt, the two main shaft bearings and a shear plate where you can reach them, because the morning the machine stops is the wrong time to go shopping. If the herd has outgrown the machine rather than the machine failing you, our guide on how to choose the right chaff cutter works through sizing, the range is on our chaff cutters page, and the figures on our price list are the current ones.
Key Takeaways
- A chaff cutter cuts like scissors, between a moving blade and a fixed plate. Sharpening the blade while ignoring the plate and the gap fixes one third of the problem.
- Set clearance on the blade that passes closest, check the gap at both ends, and turn the rotor by hand twice before applying power.
- Heat ruins a blade on the grinder. Light passes, frequent cooling, the original bevel, and equal metal off every blade to keep the rotor balanced.
- Bearings fail from dust, belt load and imbalance, so listen, feel for heat and check for play. Slack belts kill belts and tight belts kill bearings, so check tension and alignment together.
- Stop immediately for a burning smell, smoke, a knock that changes with load, or new vibration.
Frequently Asked Questions
How often should I sharpen chaff cutter blades?
There is no calendar answer, because the interval is set by what the machine eats. Clean green napier is gentle, while material dragged through soil or grit blunts an edge in a fraction of the time. Use the machine as the gauge: when cut ends look bruised rather than clean, when the motor labours on a load it used to take, or when you are feeding more slowly to keep up, it is time. Check the clearance in the same session, because a wide gap blunts blades faster than the fodder does.
What is the correct blade to plate clearance on a chaff cutter?
Follow the figure in your machine's manual if it gives one. Where it does not, the target is the smallest even gap that never lets the blade touch the plate through a full rotation, checked with a feeler gauge or a strip of paper that passes with light drag. Set it on the blade that passes closest, confirm the gap at both ends, then turn the rotor by hand through two complete revolutions before switching on.
Why does my chaff cutter belt keep slipping or breaking?
Start with tension and alignment rather than the belt itself. Too slack and it slips, overheats and glazes. Too tight and it destroys bearings and can bow a shaft. Then look at the pulleys: a belt sunk to the bottom of the groove means the groove is worn out, and a new belt will fail at the same rate. Check both pulley faces against a straight edge, and replace multi belt drives as a set.
Is it worth repairing an old chaff cutter or should I replace it?
Repair is usually better value while the frame, the shaft and the housings are sound, because blades, bolts, belts and bearings are standard parts. Replacement starts to make sense when the shaft is bent, when housings have worn oversize so new bearings spin in them, when the frame is cracked at several welds, or when the herd has outgrown the machine.
A chaff cutter that is looked after is one of the least demanding machines on a dairy farm and one of the most valuable, because it decides how much of the fodder you grew actually reaches a cow. Bring us the symptom rather than the diagnosis: tell us what the cut ends look like and what noise the machine makes, and we will tell you which system is at fault.