The panga in the corner of most compounds has not met a file since the day it was bought. It still cuts, in the sense that enough force applied enough times gets through the stem. What has changed is how much force, and where that force goes when the blade skids off instead of biting.
A bench grinder restores an edge like that in about a minute. Used badly it destroys the steel permanently in the same minute, and the damage stays invisible until the tool refuses to hold an edge again. Here is how to stay on the right side of that line, and when to leave the grinder off and pick up a file.
Why a Blunt Tool Is the Dangerous One
A sharp edge concentrates your effort into a tiny contact area, so it enters at first touch and the force stays in the cut. A blunt edge spreads that effort over a wider rounded contact, needs far more force to start, and until it starts, it slides.
Everything bad follows from the sliding. The chisel skates across the grain towards the hand holding the work. The panga glances off a green stem and keeps its arc. In each case the tool arrives somewhere unintended, carrying all the extra force the bluntness demanded.
Blunt tools also change behaviour: you steady the work with your free hand instead of clamping it, and swing harder and less accurately. Those are technique faults caused by an edge.
A blunt blade does not fail to cut you. It still opens skin, just with more crushing and a more ragged wound, because it needed more force to get there. The idea that a dull edge is the safe one is exactly backwards.
What Is Actually Happening at a Cutting Edge
An edge is the line where two ground surfaces meet. Under magnification it is never a line but a rounded apex with a measurable radius. Sharpening makes that radius small, and bluntness is that radius growing.
It grows three ways. Abrasion wears the apex away against wood, soil and grit. Rolling folds the tip over when the steel is too soft or the bevel too thin for the load. Chipping breaks pieces out when the steel is hard or the angle too acute. Hence the trade-off behind every sharpening decision: a thin edge cuts with less force and fails sooner, a thicker one is the reverse.
One more thing catches almost everybody. As you grind towards an edge, the last of the metal folds over rather than falling away, forming a thin lip called a burr. It feels beautifully sharp to the thumb and is not sharp at all: it is weakened steel that snaps off in the first serious cut. Removing it, by working the other face lightly and finishing on a stone, is the real last step.
Wheels, Grades and the Dressing Everyone Skips
A bench grinder carries a coarse wheel for shaping and a fine one for finishing, and the blotter on each states abrasive type, grit and grade. Grit is the obvious one: about 36 for reshaping damage, 60 for general sharpening, 80 and finer for finishing.
Grade is the one people miss, and it is not grit. It is how firmly the bond holds each grain: a soft grade sheds blunt grains and keeps presenting fresh ones, cutting cooler at the cost of wheel life, while a hard grade lasts longer but holds dull grains that rub.
Grey aluminium oxide suits mild steel and rough work. White aluminium oxide is friable, fracturing to expose fresh grains, which makes it cooler on hardened tool steel such as chisels. Green silicon carbide is for masonry and carbide, not for hardened steel. One number is not optional: the maximum speed marked on the wheel must equal or exceed the machine's.
A wheel in daily use stops being the wheel you bought. Metal embeds in the pores, which is loading, and grains blunt until the face goes shiny, which is glazing. The symptoms are more sparks and heat for less steel removed, vibration, and a squeal instead of a steady cutting note. A star wheel or diamond dresser puts it right in under a minute: traverse the face in light passes until it is matt, open and square, wearing goggles and a mask because dressing throws dust.
Pressure is not the way to remove more steel. On a glazed wheel, pressing harder does almost nothing except convert your effort into heat at the exact point you least want it. If the grinder feels slow, dress the wheel or fit a coarser one. Never answer a dull wheel with a heavier hand.
Burning: The Damage You Cannot Undo
A hardened tool owes its properties to heat treatment: hardened, then tempered back to a controlled toughness. Reheat it past that tempering temperature and the hardness goes. Too much pressure with too little cooling does exactly that, in seconds, at the one place that matters.
Clean steel announces it. A band of pale straw appears first, then brown, then purple, then blue. Those oxide colours are a temperature gauge sitting on the workpiece, and blue at the tip means that steel is now soft. It will blunt again almost immediately however carefully you sharpen it.
The tip goes first because it is the thinnest section, with the least mass to absorb heat and nowhere to conduct it away. A chisel can be barely warm in the hand while the last millimetre turns blue.
The cure is habits, not a trick. Dress the wheel so it cuts. Use light pressure, keep the tool traversing rather than parked in one spot, and take passes of a couple of seconds. Quench before the edge feels hot rather than after, because a tool merely warm in your hand was far hotter at the tip. If much steel must come off, take the bulk back from the edge first.
Burnt steel can only be put right by grinding back past the colour into sound metal, which costs you tool length. That is the honest reason to slow down.
Angles for the Tools You Actually Own
Bench chisels and plane irons take a primary bevel near 25 degrees ground on the wheel, and many people hone a small secondary bevel near 30 degrees on a stone. That secondary bevel is the working edge, renewed in seconds, which keeps the grinder out of the job.
Pangas and slashers want a long thin bevel, roughly 20 to 25 degrees included, filed along the whole length. They cut by slicing, so keenness pays, but keep the original profile rather than carving a new shape near the tip.
Axes need about 25 to 30 degrees with a slightly convex shoulder rather than a thin flat bevel, which chips on a knot and jams in the cut. Splitting axes are deliberately blunter, because they wedge wood apart rather than sever fibres. Jembes and hoes are sharpened on the leading edge from the upper face, near 30 to 40 degrees.
Mower and brush cutter blades sit near 30 degrees and gain nothing from a razor finish, because they cut by tip speed. Balance matters far more: grinding one end more than the other leaves the blade unbalanced, and an unbalanced blade at working speed destroys spindle bearings. Hang it on a nail through the centre hole and grind the heavy side until it sits level. Files, dressers and blades are on our price list, and the machines under farm equipment.
Safety at the Wheel
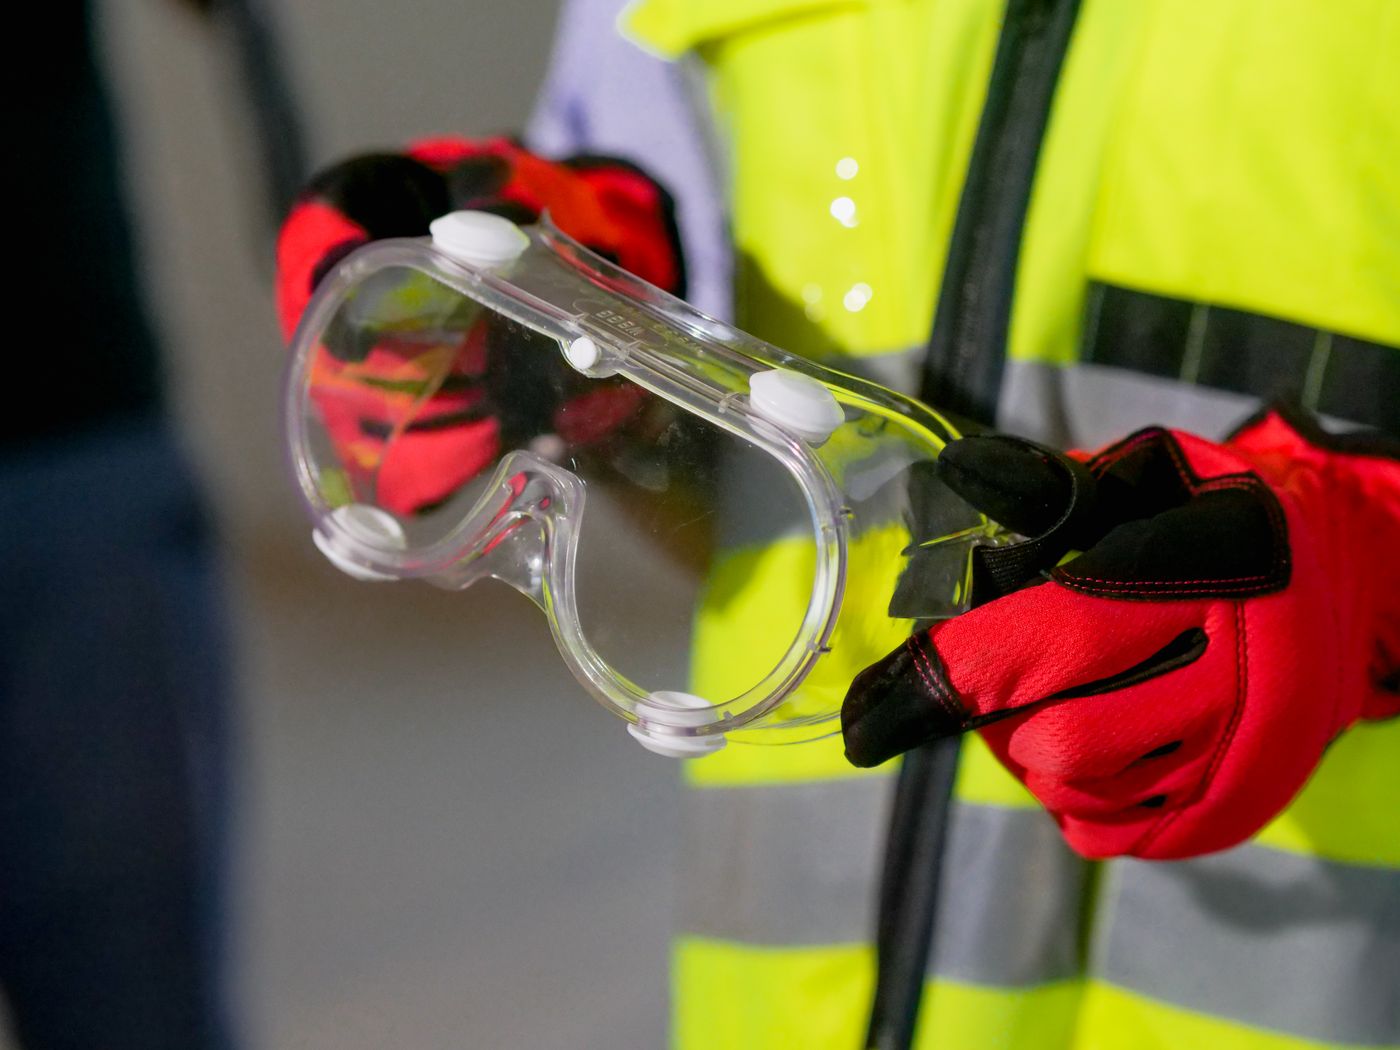
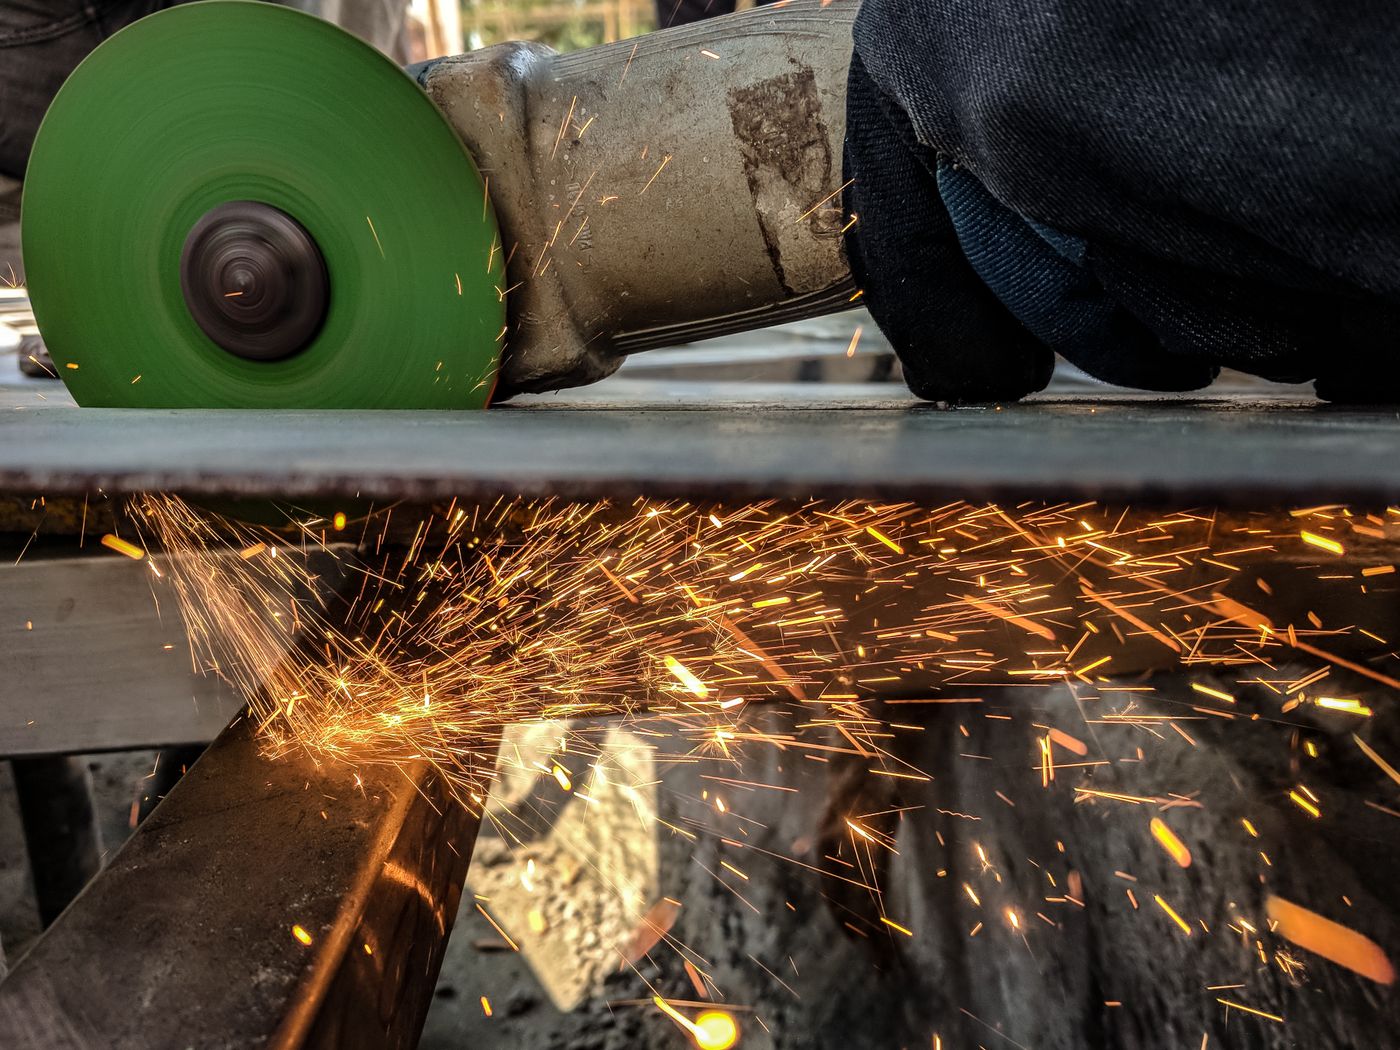
Eye protection every time. Grinding throws hot particles continuously, and the little clear shield on the machine is a spark deflector, not eye protection. Wear impact rated goggles, with a face shield over them for heavy work.
Set the tool rest to a 3 mm gap or less from the wheel face, with the machine switched off and unplugged. A wider gap can drag the workpiece down between rest and wheel, trapping fingers and shattering the wheel. The wheel shrinks as it wears, so the gap grows and must be reset. Set the spark guard to a similar clearance.
Grind on the face, never on the side of a straight wheel, which is built for force applied radially. Check a new wheel before fitting: suspend it on a finger and tap it lightly with something non metallic, listening for a clear ring rather than a dull thud. Fit it with its paper blotters, then stand to one side and run it for a minute before putting work to it. Bolt the grinder to the bench.
Never grind aluminium, brass, lead, wood or plastic on a stone wheel. Soft materials smear into the pores and load the wheel almost instantly, it stops cutting, heat builds, and a heavily loaded wheel can fail. Aluminium is the worst offender because it effectively welds itself into the abrasive.
Then the housekeeping: no loose sleeves, hair tied back, no rags or fuel where sparks land. A glove can be caught by a rotating wheel, so hold small parts in pliers or a jig. Grinders, wheels, dressers and protective kit sit under workshop and industrial tools.
When a File or a Stone Beats the Wheel
The grinder is a shaping machine. Its proper jobs are reprofiling a chipped edge, restoring an angle that has been lost, and removing damage. Reaching for it out of habit is how tools end up short, hollow ground and burnt.
A flat file handles pangas, jembes, slashers, axes and mower blades perfectly well, makes no heat worth worrying about, works in the field without power and costs very little. Files cut on the push stroke only, so lift on the return, and never use one without a handle, because the tang is a spike.
A stone is the right finish for chisels, plane irons and knives: coarse to fine, bevel flat, burr removed. Two minutes after each session keeps an edge indefinitely. Chainsaw chains are their own discipline, needing a round file of the correct diameter for the chain pitch held at the maker's angle in a guide. Freehand grinding a chain on a bench wheel destroys the cutter geometry.
The rule that covers all of it: restore by hand, reshape on the wheel. Sharpen at the end of a job rather than the start of the next, so the tool is ready when somebody grabs it in a hurry, which is exactly when a blunt edge does its damage. If you are unsure which wheel grade suits your tools, ask us on the contact page.
Key Takeaways
- A blunt tool needs more force, and that force goes somewhere when the edge skates. Sharp is the safer state.
- Match the angle to the work: 20 to 25 degrees for a panga, 25 to 30 for chisels and axes, 30 to 40 for mower blades and jembes.
- Dress the wheel before you grind: a glazed wheel rubs instead of cutting, and rubbing is what burns edges.
- Straw, brown, purple and blue at the tip mean the temper is being drawn. Light passes and frequent quenching prevent it; only grinding past the colour cures it.
- Goggles every time, tool rest at 3 mm or less with the power off, grind on the face and never the side, and never put aluminium or wood to a stone wheel.
- Balance a rotary mower blade after grinding, or the spindle bearings pay for it.
Frequently Asked Questions
Why is a blunt tool more dangerous than a sharp one?
Because a blunt edge does not bite where you place it, so you compensate with force. A sharp edge enters at first contact and the force stays in the cut. A blunt one skates, carrying that extra force towards whatever is in its path. Blunt tools also push you into holding work by hand and swinging harder.
What angle should I sharpen a chisel, panga or axe to?
About 25 degrees for a bench chisel or plane iron, with an optional 30 degree secondary bevel for hardwood or mallet work. A panga takes a thinner bevel near 20 to 25 degrees because it slices rather than chops. An axe wants 25 to 30 degrees with a slightly convex shoulder, and mower blades sit near 30 degrees.
How do I stop a bench grinder from burning the edge?
Light pressure, keep the tool traversing the wheel face, take short passes, and quench before the edge feels hot rather than after. Dress the wheel so it cuts instead of rubbing, because rubbing makes the heat. Watch for straw, brown, purple and blue at the tip: blue means the edge is softened and must be ground back past the colour.
How often should I dress a bench grinder wheel?
Whenever it stops cutting freely, which in regular use can be every few tools. The signs are more sparks and heat for less steel removed, a shiny glazed face, vibration, or a squeal instead of a steady cut. A star wheel or diamond dresser fixes it in under a minute.
Can I grind aluminium or wood on a bench grinder?
No. Aluminium, brass and lead smear into the pores of a stone wheel and load it almost instantly, which stops it cutting, builds heat and can weaken the wheel to bursting point. Wood and plastic clog and burn the same way. Shape soft materials with a file or an abrasive made for them.